8i | 9i | 10g | 11g | 12c | 13c | 18c | 19c | 21c | 23c | Misc | PL/SQL | SQL | RAC | WebLogic | Linux
Oracle9i (9.2.0.4.0) Installation On RedHat Advanced Server 2.1 Linux
This article is intended as a brief guide to installing Oracle9i (9.2.0.4.0) on RedHat Advanced Server 2.1 Linux. For additional information and platform variations read the Installation Guide for UNIX Systems.
- Download Software
- Unpack Files
- Hosts File
- Set Kernel Parameters
- Setup
- Installation
- Post Installation
Download Software
Download Sun's Java Development Kit (JDK 1.3.1).
Download the Oracle installation files from Oracle Technology Network.
Unpack Files
First unzip the files.
gunzip ship_9204_linux_disk1.cpio.gz
gunzip ship_9204_linux_disk2.cpio.gz
gunzip ship_9204_linux_disk3.cpio.gz
Next unpack the contents of the files.
cpio -idmv < ship_9204_linux_disk1.cpio
cpio -idmv < ship_9204_linux_disk2.cpio
cpio -idmv < ship_9204_linux_disk3.cpio
You should now have three directories (Disk1, Disk2 and Disk3) containing installation files.
Hosts File
The "/etc/hosts" file must contain a fully qualified name for the server.
<IP-address> <fully-qualified-machine-name> <machine-name>
Set Kernel Parameters
Add the following lines to the "/etc/sysctl.conf" file.
kernel.shmmax = 2147483648
kernel.shmmni = 128
kernel.shmall = 2097152
kernel.sem = 250 32000 100 128
fs.file-max = 65536
net.ipv4.ip_local_port_range = 1024 65000
Run the following command to change the current kernel parameters:
/sbin/sysctl -p
Add the following lines to the "/etc/security/limits.conf" file.
oracle soft nofile 65536
oracle hard nofile 65536
oracle soft nproc 16384
oracle hard nproc 16384
Setup
Install the Java development kit.
# Run the bin file. Agree to the terms and conditions.
./j2sdk-1_3_1_17-linux-i586.rpm.bin
# Install the RPM file.
rpm -ivh jdk-1.3.1_17.i586.rpm
Create the new groups and users.
groupadd oinstall
groupadd dba
groupadd oper
groupadd apache

useradd -g oinstall -G dba oracle
passwd oracle

useradd -g oinstall -G apache apache
passwd apache
Create the directories in which the Oracle software will be installed.
mkdir -p /u01/app/oracle/product/9.2.0
chown -R oracle.oinstall /u01
Login as the oracle user and add the following lines at the end of the ".bash_profile" file.
# Oracle 9i
ORACLE_BASE=/u01/app/oracle; export ORACLE_BASE
ORACLE_HOME=$ORACLE_BASE/product/9.2.0; export ORACLE_HOME
ORACLE_TERM=xterm; export ORACLE_TERM
PATH=$ORACLE_HOME/bin:$PATH:/usr/java/jdk1.3.1_17/bin; export PATH
ORACLE_OWNER=oracle; export ORACLE_OWNER
ORACLE_SID=TSH1; export ORACLE_SID

LD_LIBRARY_PATH=$ORACLE_HOME/lib; export LD_LIBRARY_PATH
CLASSPATH=$ORACLE_HOME/JRE:$ORACLE_HOME/jlib:$ORACLE_HOME/rdbms/jlib; export CLASSPATH
ORACLE_OEM_JAVARUNTIME=/usr/java/jdk1.3.1_17; export ORACLE_OEM_JAVARUNTIME

TMP=/tmp; export TMP
TMPDIR=$TMP; export TMPDIR
Installation
Log into the oracle user. If you are using X emulation then set the DISPLAY environmental variable.
DISPLAY=<machine-name>:0.0; export DISPLAY
Start the Oracle Universal Installer (OUI) by issuing the following command in the Disk1 directory.
./runInstaller
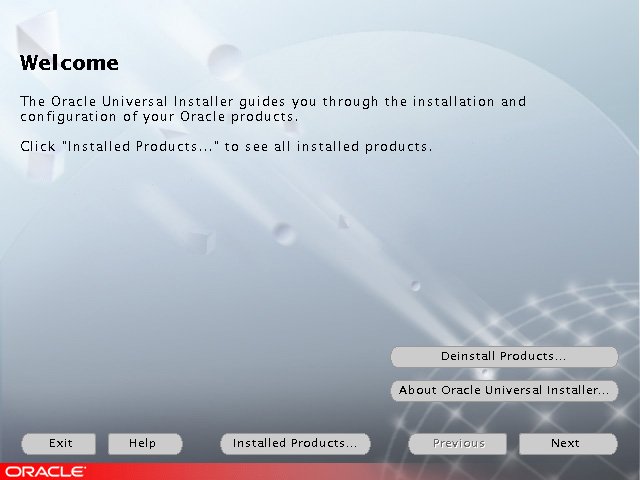
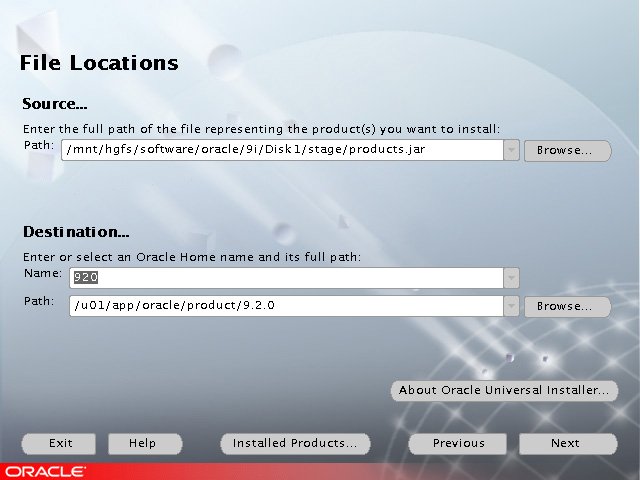
During the installation enter the appropriate ORACLE_HOME and name then continue as normal. For a more detailed look at the installation process, click on the links below to see screen shots of each stage.
- Welcome
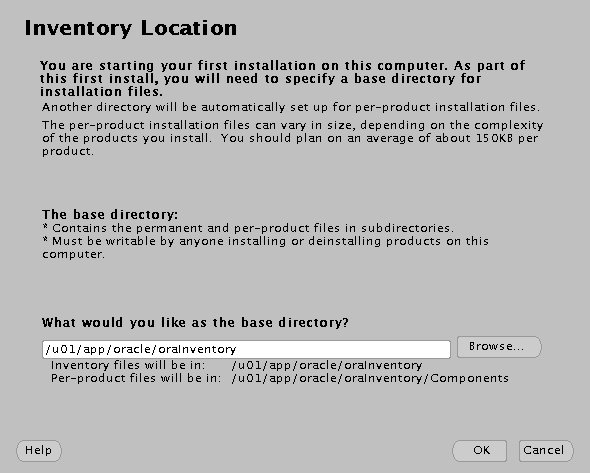
- Inventory Location
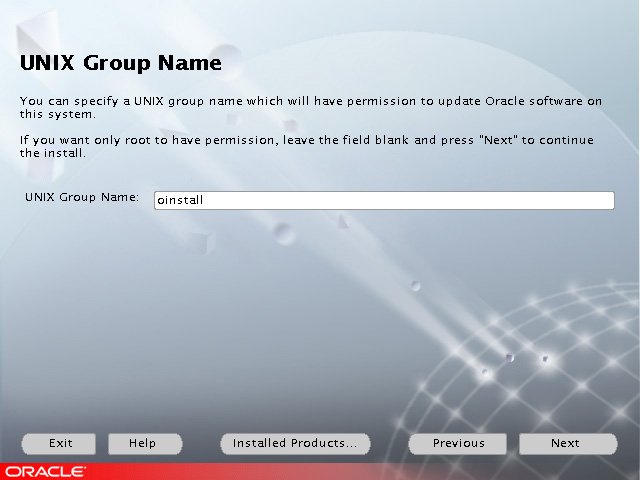
- UNIX Group Name
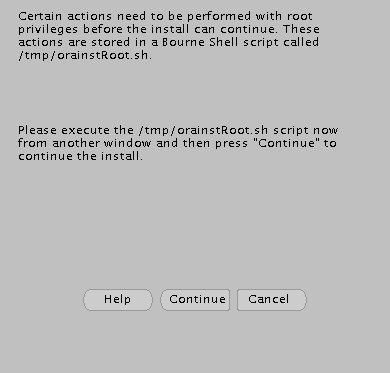
- UNIX Group Name Privileges Dialog
- File Locations
- Available Products
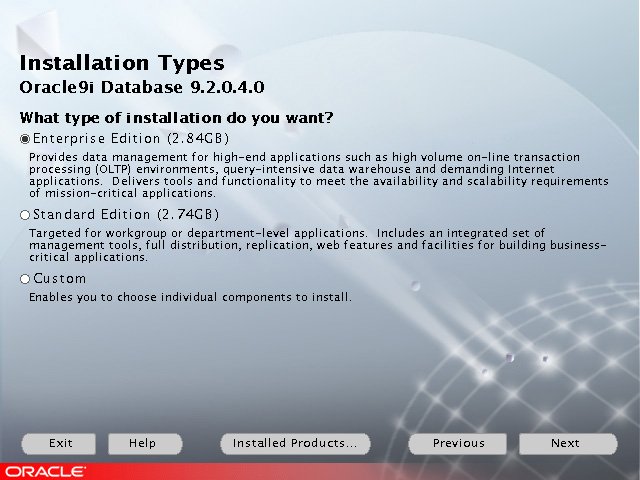
- Installation Types
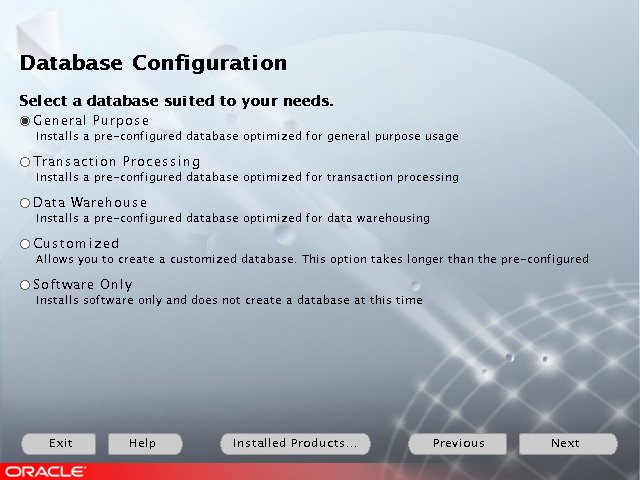
- Database Configuration
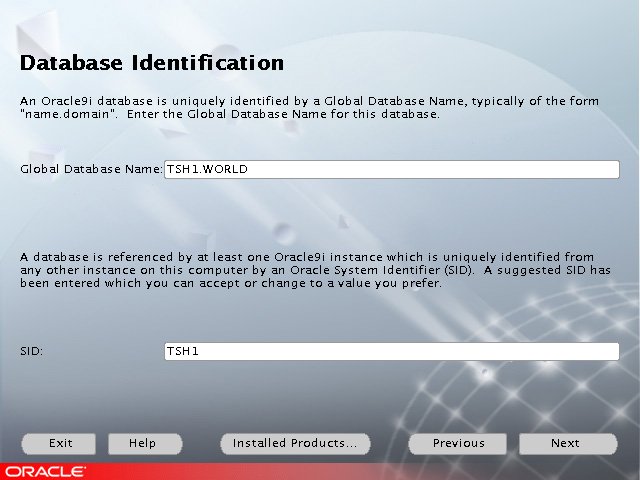
- Database Identification
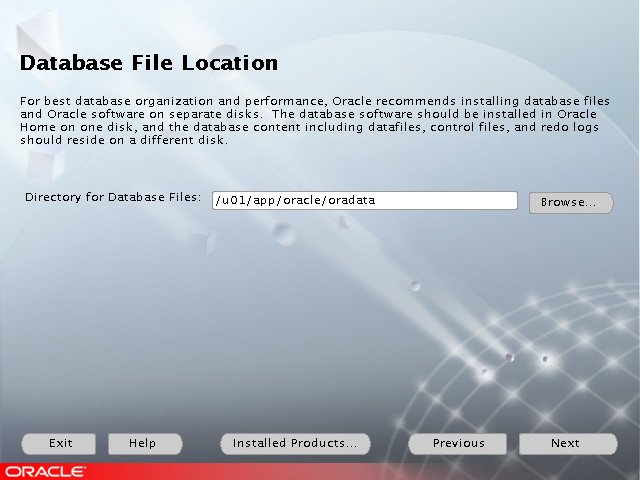
- Database File Location
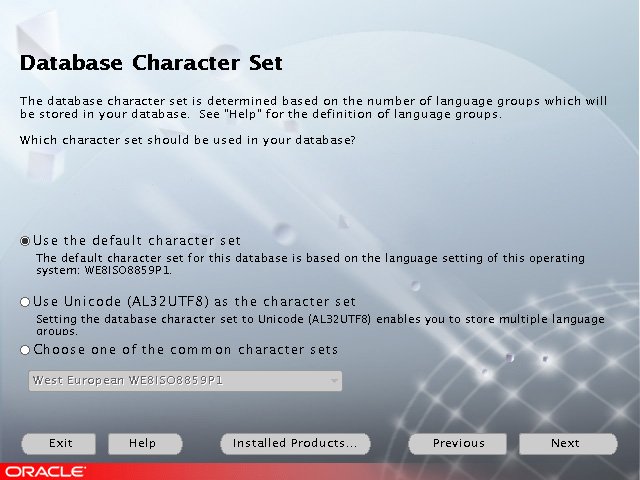
- Database Character Set
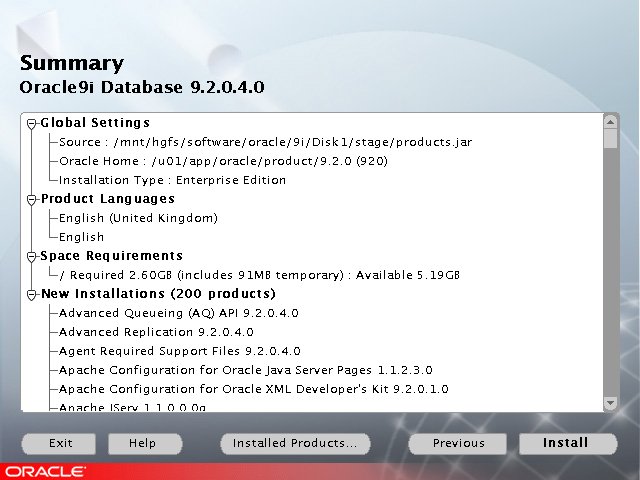
- Summary
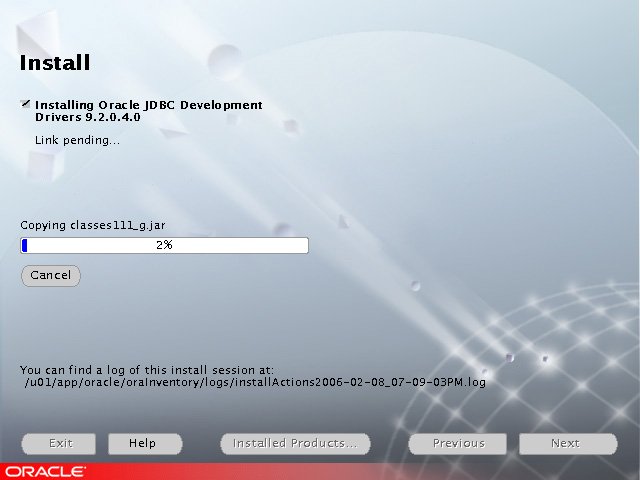
- Install
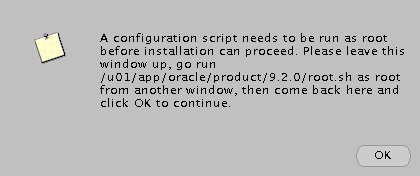
- Setup Privileges
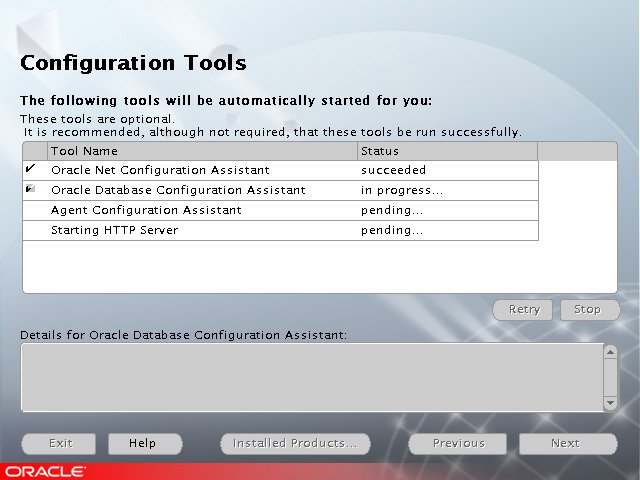
- Configuration Tools
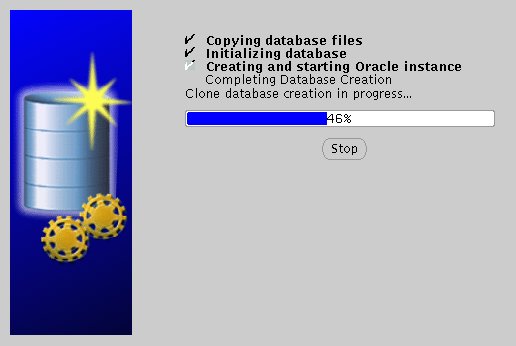
- Database Configuration Assistant
- Database Configuration Assistant Passwords
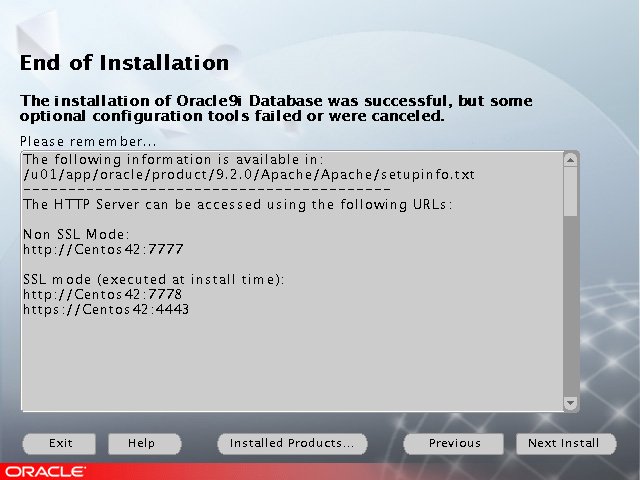
- End Of Installation
Post Installation
Once the instance is created edit the "/etc/oratab" file setting the restart flag for each instance to 'Y'.
TSH1:/u01/app/oracle/product/9.2.0:Y
For more information see:
Hope this helps. Regards Tim...