8i | 9i | 10g | 11g | 12c | 13c | 18c | 19c | 21c | 23c | Misc | PL/SQL | SQL | RAC | WebLogic | Linux
Oracle Cloud : Schema as a Service
The "Schema as a Service" model was the first DBaaS offering delivered on the Oracle Cloud and at the time of writing is still the only one publicly available. As the name suggests, it provides a single schema, up to a maximum size of 50G. This article gives an overview of its use. Remember, the Oracle Cloud is still a work in progress, so the interface may change on a regular basis.
Related articles.
- Oracle Databases in the Cloud
- A Cure for Virtual Insanity: A Vendor-Neutral Introduction to Virtualization Without the Hype
- Oracle Database Consolidation Comparison
Create a New Schema Service
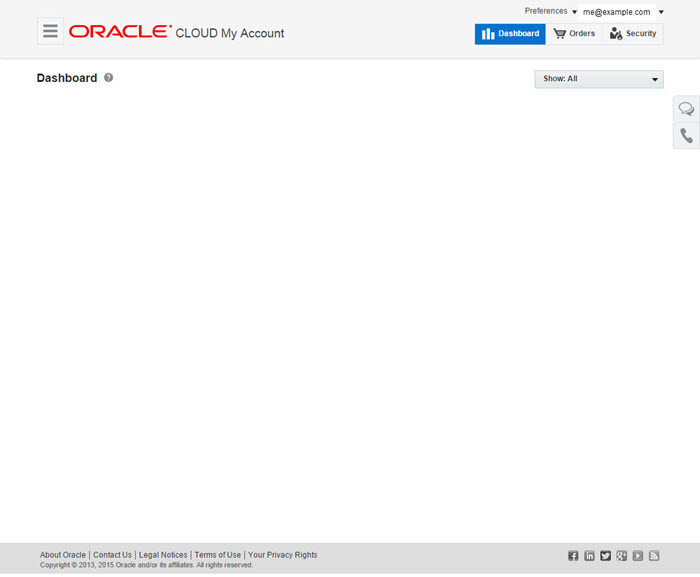
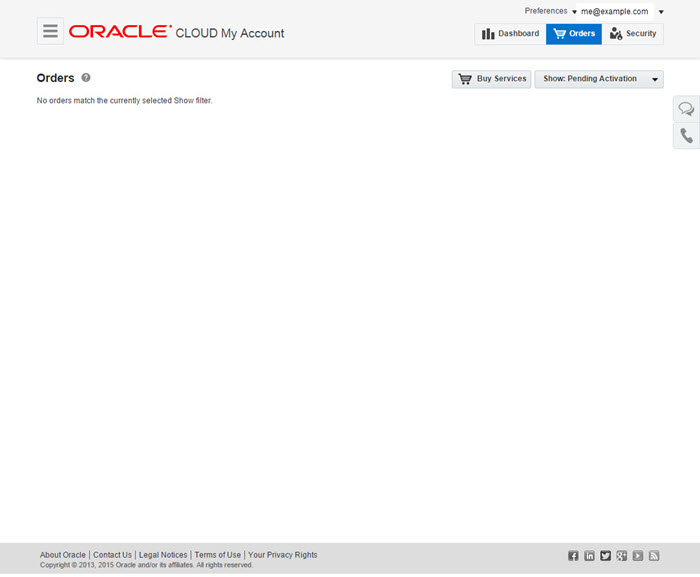
Log in to your Oracle Cloud account and navigate to the account dashboard. Click on the "Orders" button. If you are using a free trial, you will not need to place a new order. The service will be created as part of the sign-up to the free trial.
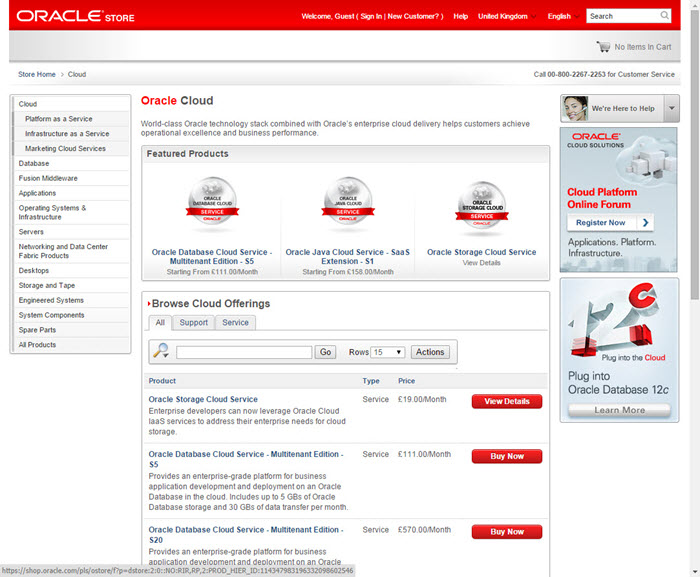
Click on the "Buy Services" button.
Select the database cloud service you require.
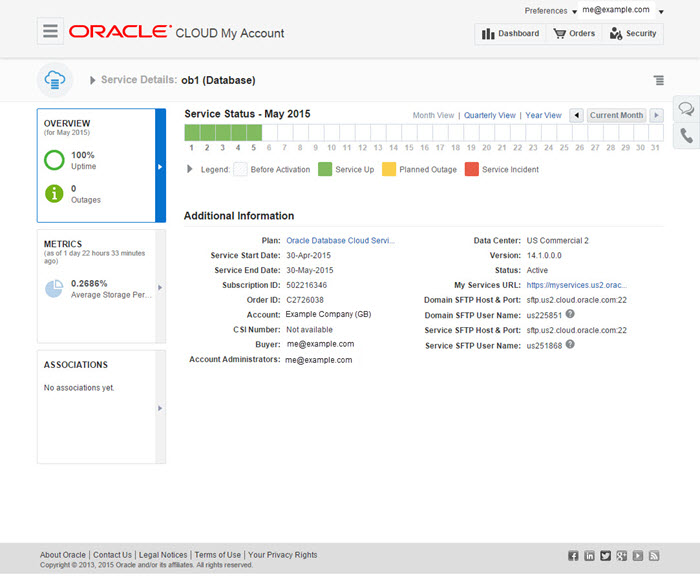
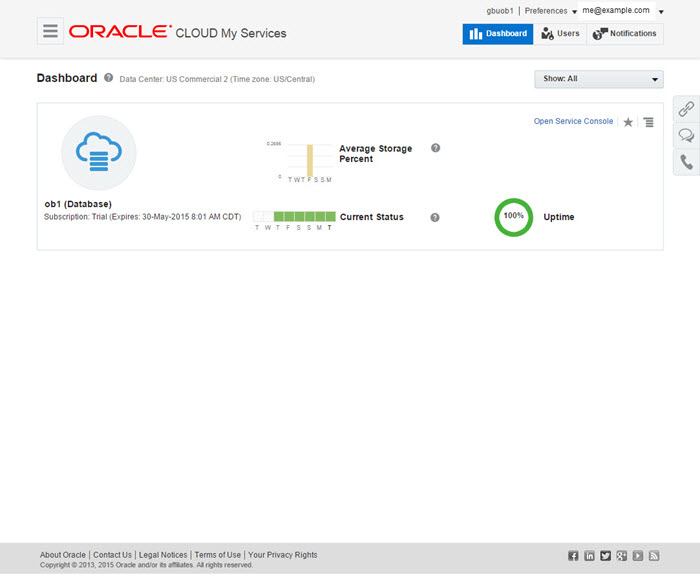
When the service is available, it will be listed in the account dashboard. If you used a free trial, this is really your starting point. Clicking on the service name takes you to the account-level service details.

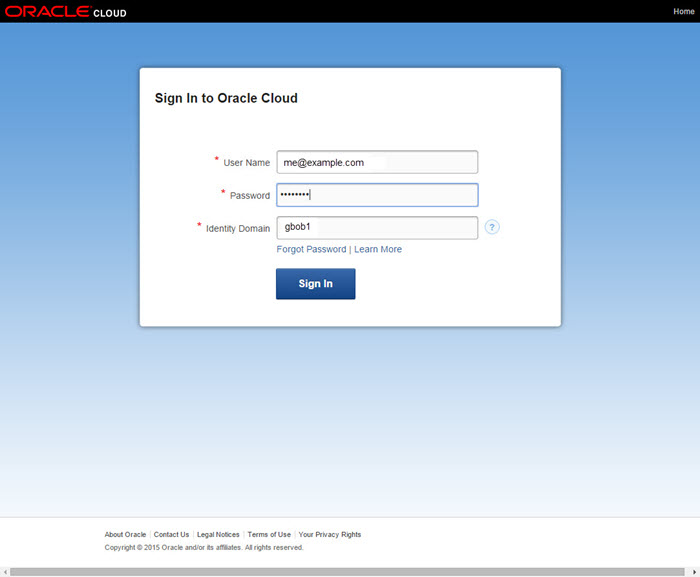
Confusingly, this service details screen is still at account level, but looks very similar to a service-level screen we will see later. Click on the link next to the "My Services URL".
You will be required to log in using your service password, not your original cloud password.
The resulting service-level dashboard shows some basic information about the service. Click the "Open Service Console" link.
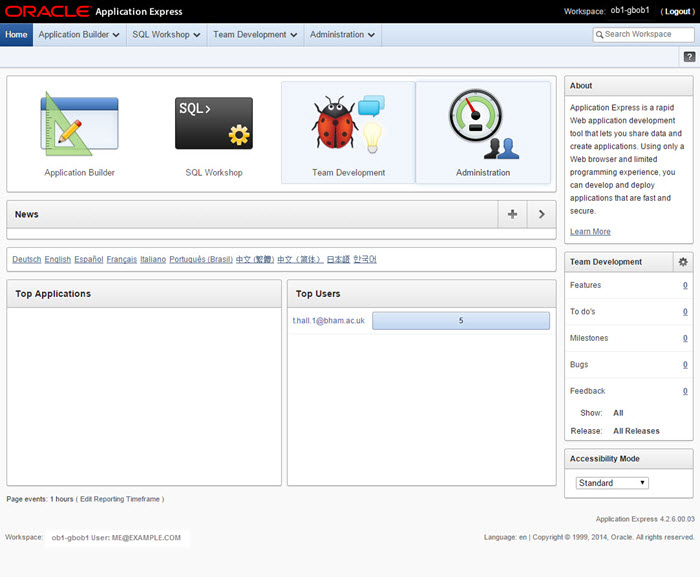
The "Service Console" is Application Express (APEX).
From the service-level dashboard, rather than clicking the "Open Service Console" link, if you had drilled down into the service, you would see the service-level service details screen. This looks similar to a previous screen, but some of the links are different. The "Service Level URL" will be important when we are trying to connect to the service later.
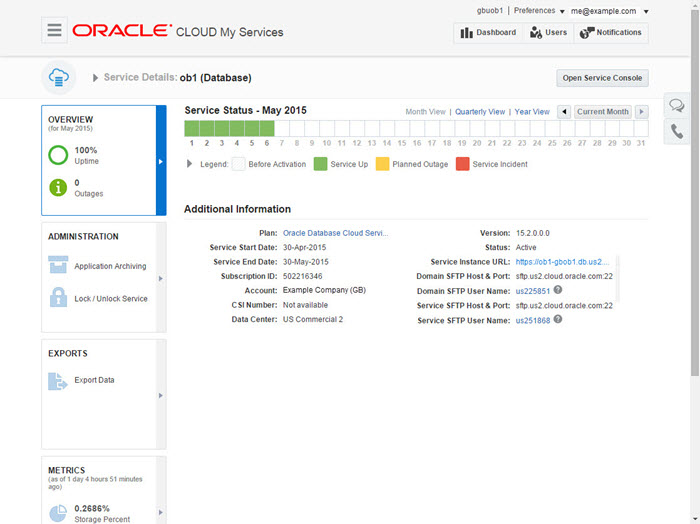
The sFTP URLs and users allow you to access some storage to allow you to upload/download files to the file system. If you need to use these you will need to click on the username links and set the passwords.
Connecting to the Service
External connections to the service are only available using REST web services. The easiest way to test these is to connect using SQL Developer.
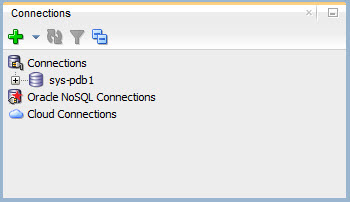
At the bottom of the connections list you will see a "Cloud Connections" node.
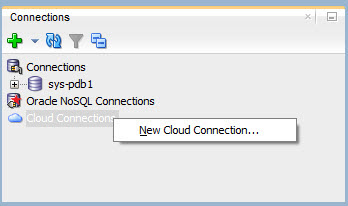
Right-click on the "Cloud Connections" node and select the "New Cloud Connection..." menu option.
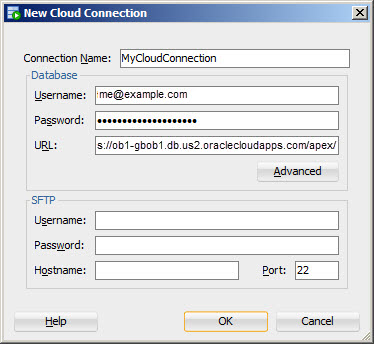
Enter the details for your new cloud connection and click the "OK" button. The username is the email address you signed up with. The URL is the "Service Level URL" from the service-level service details screen.
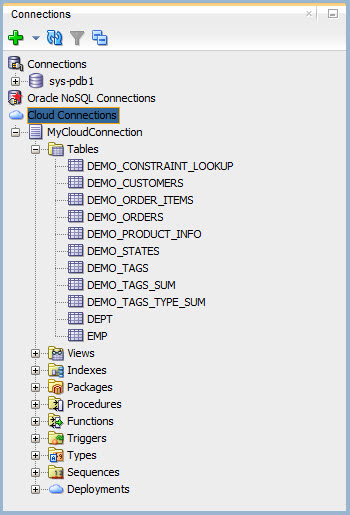
Once connected, expand the connection and you will see the demo tables, which are loaded by default. You can now start creating your schema.
Restrictions
- External connections to the service are via REST web services, so you can't make SQL*Net connections to the service.
- The maximum schema size available is 50G at this time.
- The only administrative tools available at this time are the built in APEX console and SQL Developer.
For more information see:
- Oracle Cloud
- Oracle Databases in the Cloud
- A Cure for Virtual Insanity: A Vendor-Neutral Introduction to Virtualization Without the Hype
- Oracle Database Consolidation Comparison
Hope this helps. Regards Tim...