8i | 9i | 10g | 11g | 12c | 13c | 18c | 19c | 21c | 23ai | Misc | PL/SQL | SQL | RAC | WebLogic | Linux
Home » Articles » Linux » Here
Spacewalk : Installation on Oracle Linux
This article explains how to install Spacewalk on Oracle Linux. You do not need a support contract for Oracle Linux to use this method.
Related articles.
Server Prerequisites
Start with a minimum installation of Oracle Linux 7. You can add the desktop packages if you want, but they are not necessary. Once the OS installation is complete, perform the following tasks as the "root" user.
Make sure the Spacewalk server has a fully qualified domain name, with an entry in the "/etc/hosts" file.
192.168.56.10 ol7-sw.localdomain ol7-sw
Make the necessary firewall changes.
# OL7
firewall-cmd --add-service=https --permanent
firewall-cmd --add-service=http --permanent
firewall-cmd --reload
Repositories
You will need to enable a few repositories before you get started. Enable the Oracle Linux optional packages, addons and EPEL repository. The example below shows how in Oracle Linux 7.
yum install -y oracle-epel-release-el7
yum install -y yum-utils
yum-config-manager --enable ol7_optional_latest
yum-config-manager --enable ol7_developer_EPEL
yum-config-manager --enable ol7_addons
Add the Spacewalk repository for your version. There is an Oracle Linux Spacewalk repository, but it usually lags behind the main version.
# 2.8
yum install -y yum-plugin-tmprepo
yum install -y spacewalk-repo --tmprepo=https://copr-be.cloud.fedoraproject.org/results/%40spacewalkproject/spacewalk-2.8/epel-7-x86_64/repodata/repomd.xml --nogpg

# 2.9
yum install -y yum-plugin-tmprepo
yum install -y spacewalk-repo --tmprepo=https://copr-be.cloud.fedoraproject.org/results/%40spacewalkproject/spacewalk-2.9/epel-7-x86_64/repodata/repomd.xml --nogpg

# 2.10
yum install -y yum-plugin-tmprepo
yum install -y spacewalk-repo --tmprepo=https://copr-be.cloud.fedoraproject.org/results/%40spacewalkproject/spacewalk-2.10/epel-7-x86_64/repodata/repomd.xml --nogpg
Install Spacewalk
To keep things simple, we'll do a default installation using postgreSQL as the Spacewalk database.
# Configure the Spacewalk database.
yum install spacewalk-setup-postgresql -y

# Install Spacewalk
yum install spacewalk-postgresql -y
Create an answer file for the configuration of Spacewalk, adjusting the values as required.
cat > /tmp/answer-file.txt <<EOF
admin-email = root@localhost
ssl-set-cnames = spacewalk2
ssl-set-org = Spacewalk Org
ssl-set-org-unit = spacewalk
ssl-set-city = My City
ssl-set-state = My State
ssl-set-country = US
ssl-password = spacewalk
ssl-set-email = root@localhost
ssl-config-sslvhost = Y
db-backend=postgresql
db-name=spaceschema
db-user=spaceuser
db-password=spacepw
db-host=localhost
db-port=5432
enable-tftp=Y
EOF
Configure Spacewalk using the answer file created previously.
# Run this first to get round UTF8 issue.
# It will remove any existing PostgreSQL database.
rm -Rf /var/lib/pgsql/data
postgresql-setup initdb

# Now run normal config.
spacewalk-setup --answer-file=/tmp/answer-file.txt
You can restart the Spacewalk service using the following commands.
/usr/sbin/spacewalk-service stop
/usr/sbin/spacewalk-service start

/usr/sbin/spacewalk-service restart
You can now access the Spacewalk console using the following URL on the server.
https://localhost
If you want the console to be accessible externally, amend the "/etc/tomcat/server.xml" file as follows.
# From
<Connector port="8080" protocol="HTTP/1.1" connectionTimeout="20000" redirectPort="8443" URIEncoding="UTF-8" address="127.0.0.1"/>
# To
<Connector port="8080" protocol="HTTP/1.1" connectionTimeout="20000" redirectPort="8443" URIEncoding="UTF-8" address="192.168.0.10"/>
Restart Spacewalk.
/usr/sbin/spacewalk-service restart
Spacewalk Console
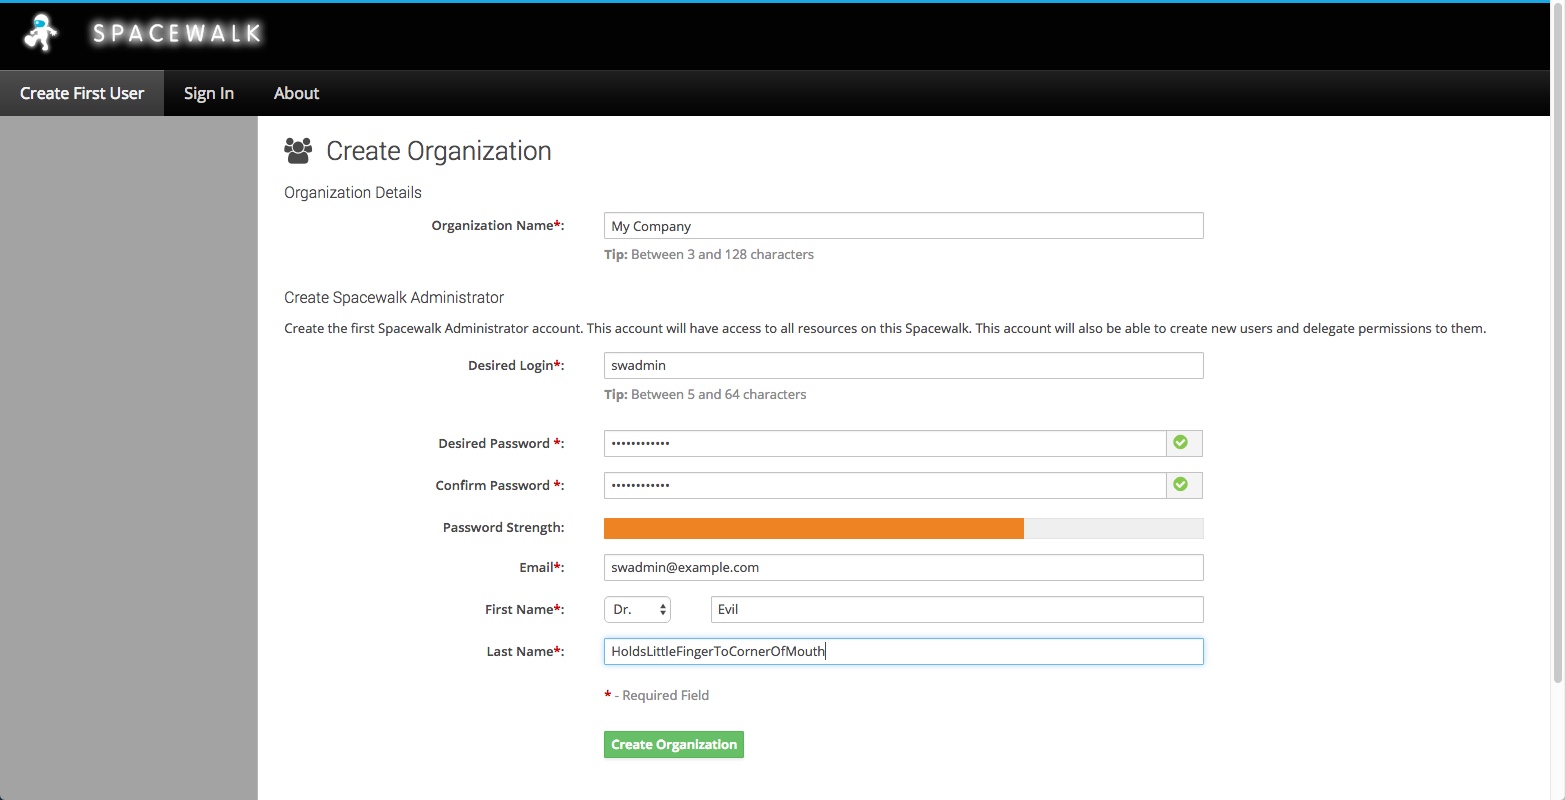
The first time you go to the Spacewalk URL you will be prompted to create a new organization with administrator login credentials. Enter the required information and click the "Create Organization" button.
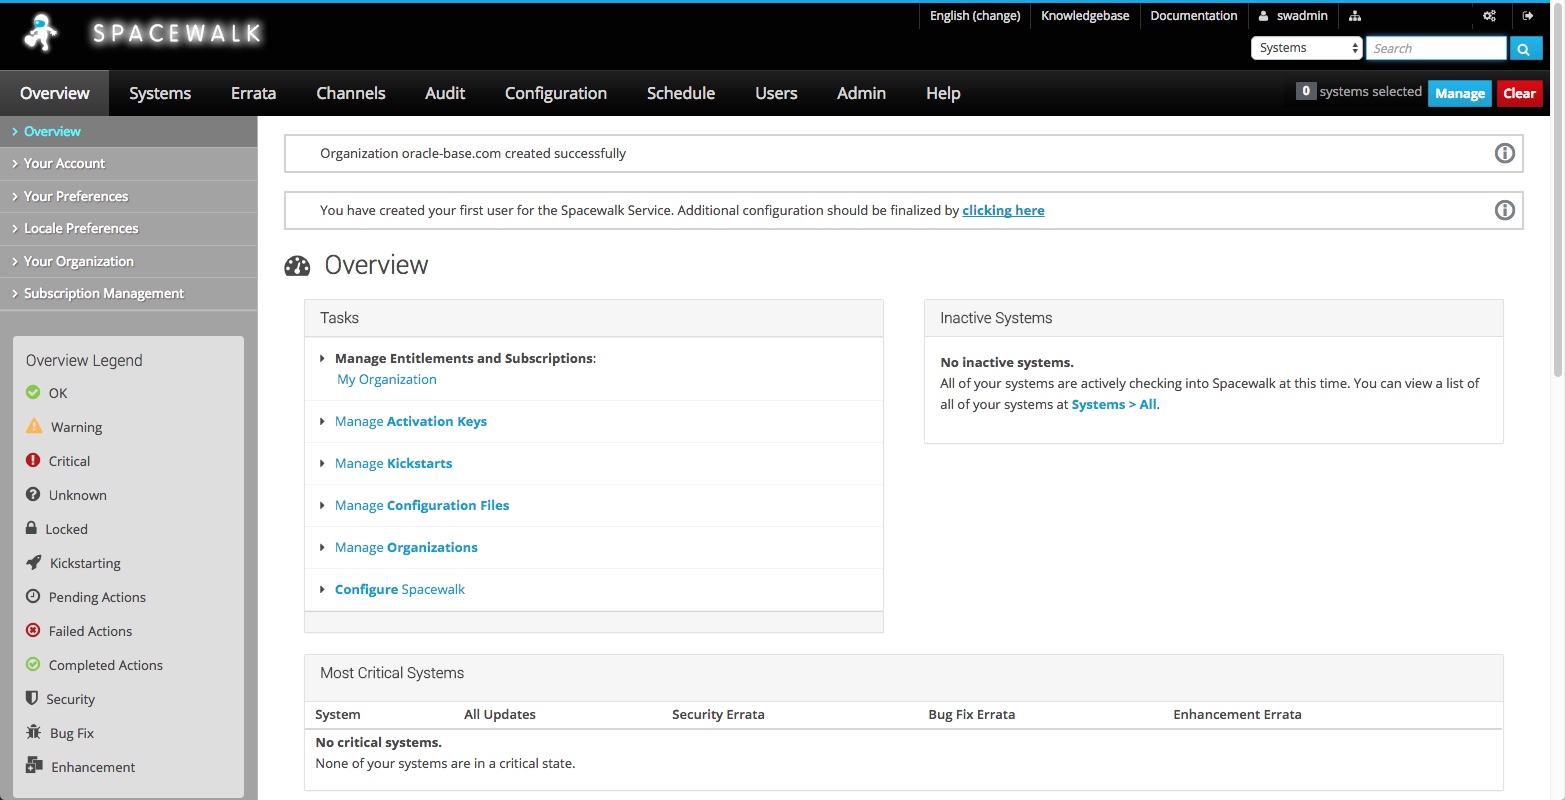
You are now able to start using Spacewalk.
Vagrant Builds
There are vagrant builds of Spacewalk available to here.
For more information see:
Hope this helps. Regards Tim...