8i | 9i | 10g | 11g | 12c | 13c | 18c | 19c | 21c | 23c | Misc | PL/SQL | SQL | RAC | WebLogic | Linux
WebLogic Server 12cR1 (12.1.2 and 12.1.3) : Create, Extend and Remove Domains
This article provides a quick overview of managing domains in WebLogic Server 12c. The examples all relate to WebLogic 12.1.2 and 12.1.3. If you are using WebLogic 12.1.1, you should probably refer to this article.
- Create a Domain
- Update a Domain
- Delete a Domain
- Creating a Boot Identity File
- Altering Server Port Settings
- Switching Development/Production Startup Mode
Related articles.
- Oracle WebLogic Server (WLS) 12cR1 (12.1.2) Installation on Oracle Linux 5 and 6
- Oracle WebLogic Server (WLS) 12cR1 (12.1.3) Installation on Oracle Linux 5 and 6
- WebLogic Server 12cR1 (12.1.2 and 12.1.3) : ADF Application Development Runtime Installation on Oracle Linux
- WebLogic Server 12cR1 (12.1.2 and 12.1.3) : Application Development Runtime - Repository Configuration Utility (RCU)
- WebLogic Server 12cR1 (12.1.2 and 12.1.3) : Clustered Domains
Create a Domain
Start the Configuration Wizard.
$ $WLS_HOME/common/bin/config.sh
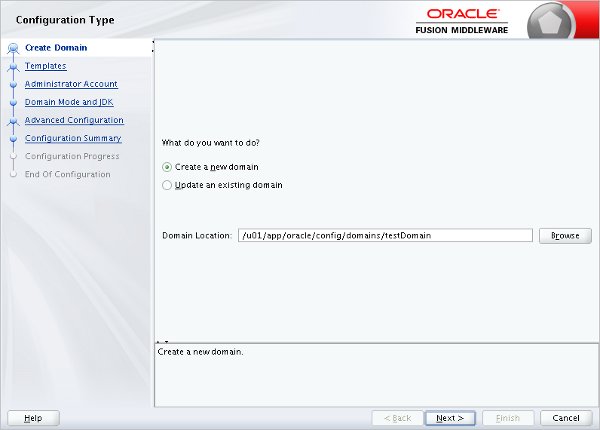
Accept the "Create a new WebLogic domain" option and enter the domain location, including the domain name at the end of the location. In this case I used "/u01/app/oracle/config/domains/testDomain". Click the the "Next" button.
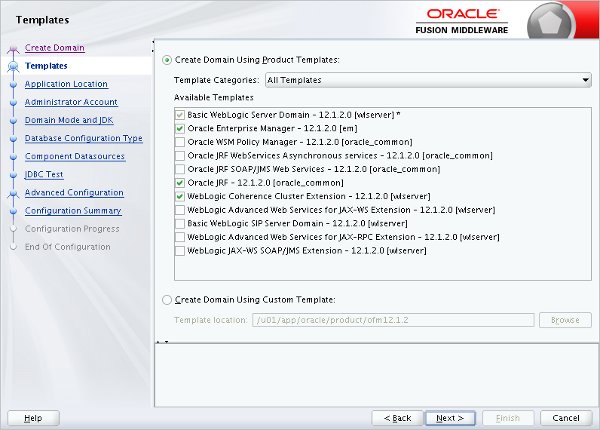
Select the templates the domain requires and click the "Next" button. Depending on the options you pick, a number of additional steps may be included.
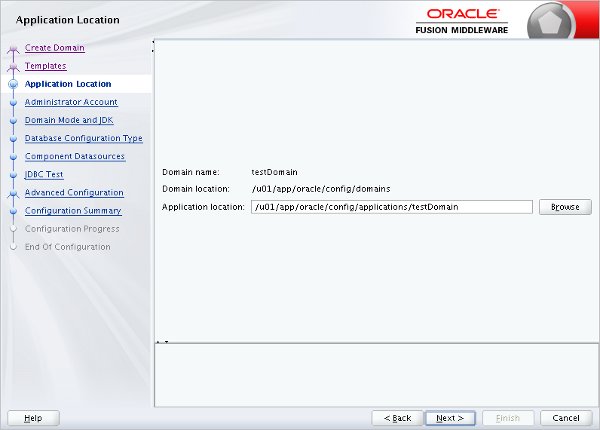
Enter the application location, including the domain name in the path, and click the "Next" button.
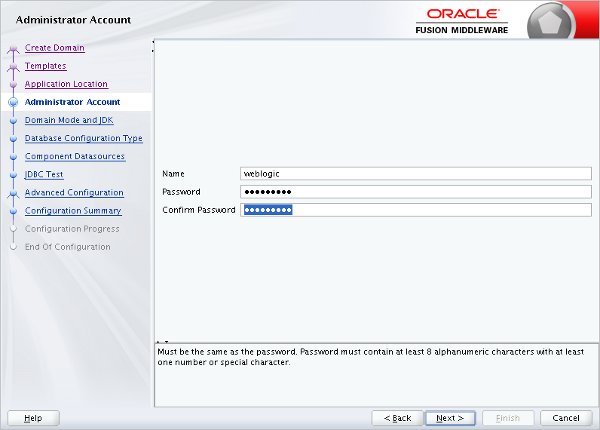
Enter the administor account credentials and click the "Next" button.
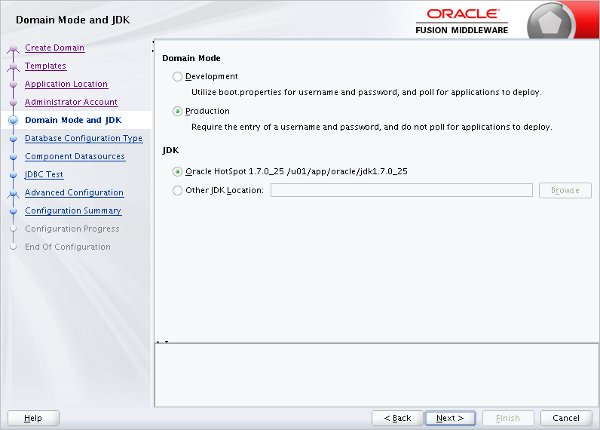
Enter the domain mode and JDK, then click the "Next" button.
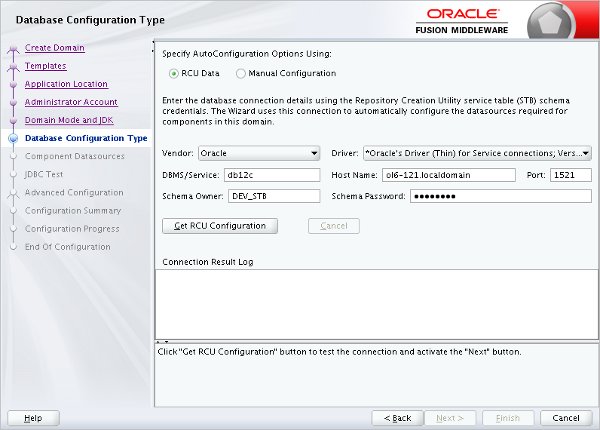
Select the "RCU Data" option and enter the database details. Click the "Get RCU Configuration" button.
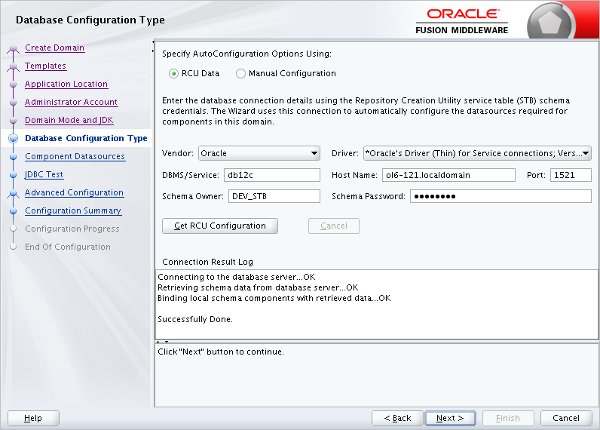
Once the details are retrieved, click the "Next" button.
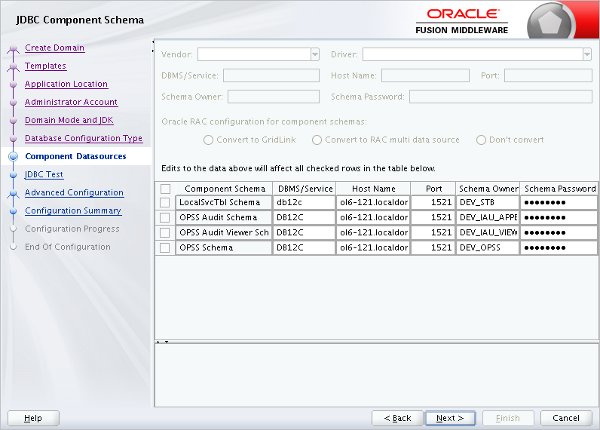
Accept the component datasources by clicking the "Next" button.
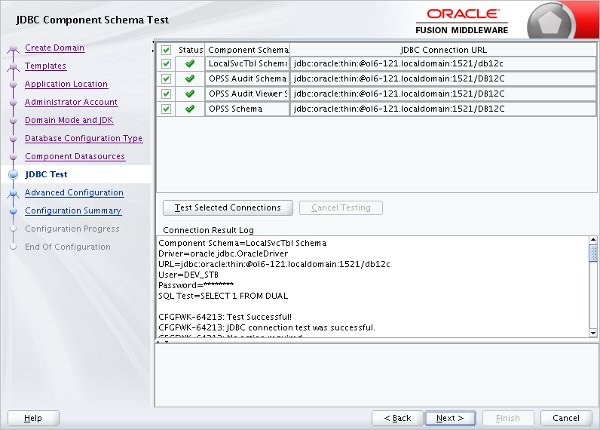
Once the JDBC tests have completed successfully, click the "Next" button.
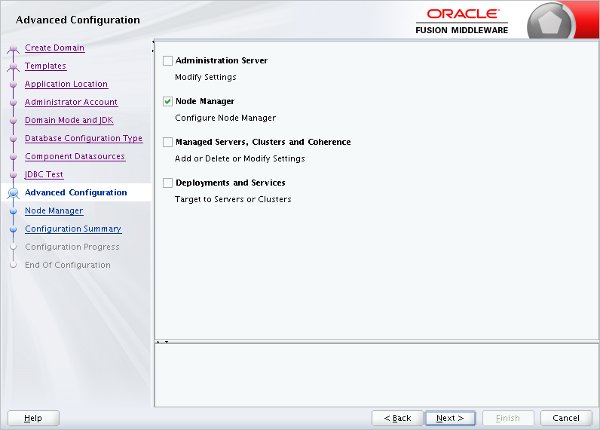
Select the advanced configuraton options you require and click the "Next" button. For this example I just configured the Node Manager. Depending on the options you pick, extra steps may be added.
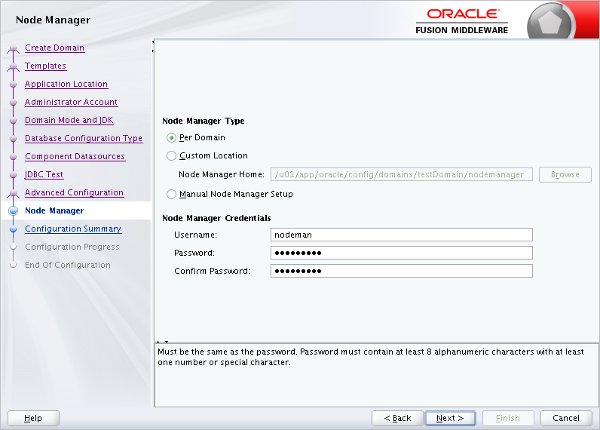
Select the type of node manager you require and enter the credentials. Click the "Next" button.
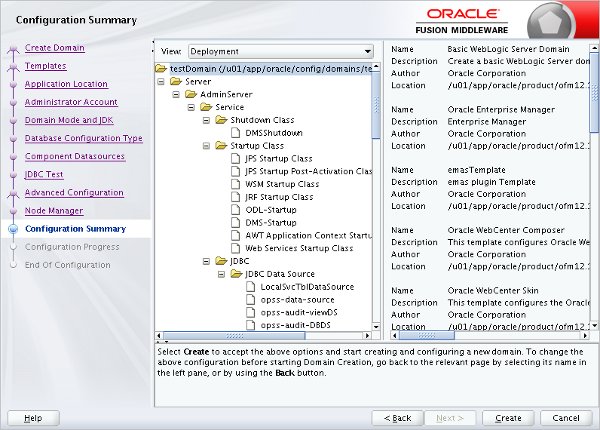
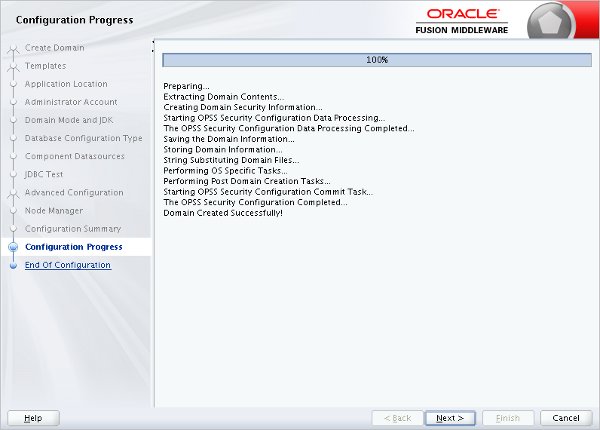
If you are happy with the summary information, click the "Create" button.
Once the configuration is complete click the "Next" button.
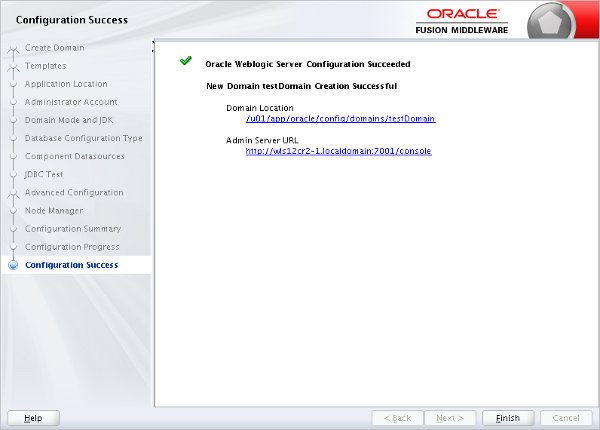
Make a note of the Admin Server URL and click the "Finish" button.
The following scripts are created for the "testDomain" domain. You will need to create a Boot Identity File if you want to use the "&" to start the domain or and managed servers as background processes.
$ # Set the domain home
$ export DOMAIN_HOME=$ORACLE_BASE/config/domains/testDomain

$ # Start NodeManager
$ nohup $DOMAIN_HOME/bin/startNodeManager.sh > /dev/null 2>&1 &


$ # Start WebLogic
$ nohup $DOMAIN_HOME/startWebLogic.sh > /dev/null 2>&1 &
$ # or
$ nohup $DOMAIN_HOME/bin/startWebLogic.sh > /dev/null 2>&1 &

$ # Stop WebLogic
$ $DOMAIN_HOME/bin/stopWebLogic.sh


$ # Start Managed Server
$ nohup $DOMAIN_HOME/bin/startManagedWebLogic.sh AdminServer > /dev/null 2>&1 &

$ # Stop Managed Server
$ $DOMAIN_HOME//bin/stopManagedWebLogic.sh AdminServer
Once the domain is started, the administration console is available in a browser using a URL such as "http://machine:7001/console".
Update a Domain
Updating a domain involves similar screens to those seen during the installation.
- Start the Configuration Wizard.
- Select the "Update an existing domain" option, select the required domain location and click the "Next" button.
- Select the additional product templates and click the "Next" button.
- Work through the additional configuration steps, as you did during the previous creation.
- If you are happy with the information in the configuration summary, click the "Update" button.
- Wait while the domain is update, then click the "Next" button.
- Click the "Finish" button to exit the Configuration Wizard.
Delete a Domain
To remove the "testDomain" domain we just created, do the following steps:
Stop the processes associated with the domain.
Remove the relevant domain entry from the "$MW_HOME/domain-registry.xml" file.
<?xml version="1.0" encoding="UTF-8"?>
<domain-registry xmlns="http://xmlns.oracle.com/weblogic/domain-registry">
  <domain location="/u01/app/oracle/middleware/user_projects/domains/testDomain"/>
</domain-registry>
If you are not using a per-domain node manager, remove the relevant domain entry from the "nodemanager.domains" file.
#Domains and directories created by Configuration Wizard
#Thu Aug 23 22:53:14 BST 2012
testDomain=/u01/app/oracle/middleware/user_projects/domains/testDomain
When using a per-domain node manager, the relevant file will be cleaned up by the following step.
Delete the "testDomain" application and domain directories.
$ rm -Rf $ORACLE_BASE/config/applications/testDomain
$ rm -Rf $ORACLE_BASE/config/domains/testDomain
Creating a Boot Identity File
When running in production mode, starting a server requires the credentials you provided while creating the domain. Using a boot identity file prevents you from having to type in the username/password each time the server is started.
Create a file called "boot.properties" with the following contents.
username=weblogic
password=mypassword
Save the file under the "$DOMAIN_HOME/servers/<server-name>/security" directory. The managed server will now start and stop without needing credentials. This should be done for the AdminServer, as well as all managed servers.
Alternatively, modify the JAVA_OPTIONS in the "setDomainEnv.sh" file to point to the location of the file. For example, if the "boot.properties" file is in the domain's home directory, you could place the following lines after the DOMAIN_HOME definition. This method works fine for startup, but shutdown will still require credentials, so it is not as convenient.
JAVA_OPTIONS="${JAVA_OPTIONS} -Dweblogic.system.BootIdentityFile=${DOMAIN_HOME}/boot.properties"
export JAVA_OPTIONS
The first time the server starts using a boot identity file, it will encrypt the credentials in the file and use them when starting in future.
Altering Server Port Settings
When you create a domain you will automatically create an AdminServer that listens on port 7001 by default. To change this, edit the "$DOMAIN_HOME/config/config.xml" file, adding or amending the "listen-port" entry, shown in bold.
  <server>
    <name>AdminServer</name>
    <listen-port>7004</listen-port>
    <listen-address/>
    <server-diagnostic-config>
      <name>AdminServer</name>
      <diagnostic-context-enabled>true</diagnostic-context-enabled>
    </server-diagnostic-config>
  </server>
Switching Development/Production Startup Mode
There are two locations where the startup mode can be set. If you are using the Java based controls the mode is picked up from the "$DOMAIN_HOME/config/config.xml" file. Set the "production-mode-enabled" tag to the appropriate value.
<production-mode-enabled>true</production-mode-enabled>
If you are starting the domain using the generated startup scripts, you should edit the "$DOMAIN_HOME/bin/setDomainEnv.sh" file. Set the "PRODUCTION_MODE" parameter to the appropriate value.
PRODUCTION_MODE="true"
export PRODUCTION_MODE
To prevent confusion, it makes sense to keep both files set to the same value.
For more information see:
- Creating a WebLogic Domain
- Oracle WebLogic Server (WLS) 12cR1 (12.1.2) Installation on Oracle Linux 5 and 6
- Oracle WebLogic Server (WLS) 12cR1 (12.1.3) Installation on Oracle Linux 5 and 6
- WebLogic Server 12cR1 (12.1.2 and 12.1.3) : ADF Application Development Runtime Installation on Oracle Linux
- WebLogic Server 12cR1 (12.1.2 and 12.1.3) : ADF Application Development Runtime - Repository Configuration Utility (RCU)
- WebLogic Server 12cR1 (12.1.2 and 12.1.3) : Clustered Domains
Hope this helps. Regards Tim...