8i | 9i | 10g | 11g | 12c | 13c | 18c | 19c | 21c | 23c | Misc | PL/SQL | SQL | RAC | WebLogic | Linux
Oracle Cloud : Autonomous Data Warehouse (ADW) - Create Service
This article provides a run through of creating a new Autonomous Data Warehouse (ADW) service on the Oracle Cloud.
The screens change a little with each quarterly release of Oracle Cloud. Even so, the screen shots in this article will give you a good idea of what is involved.
- Create Autonomous Data Warehouse (ADW) Service
- Connecting to the Autonomous Data Warehouse (ADW) Service Using SQL Developer
- Connecting to the Autonomous Data Warehouse (ADW) Service Using SQL*Plus
- Create a New User
- Loading Data
Related articles.
- Oracle Cloud : Autonomous Database (ADW or ATP) - Load Data from an Object Store (DBMS_CLOUD)
- Oracle Cloud : Autonomous Database (ADW or ATP) - Import Data from an Object Store (impdp)
- Autonomous Database
- Cloud : All Articles
Create Autonomous Data Warehouse (ADW) Service
Log into Oracle Cloud.
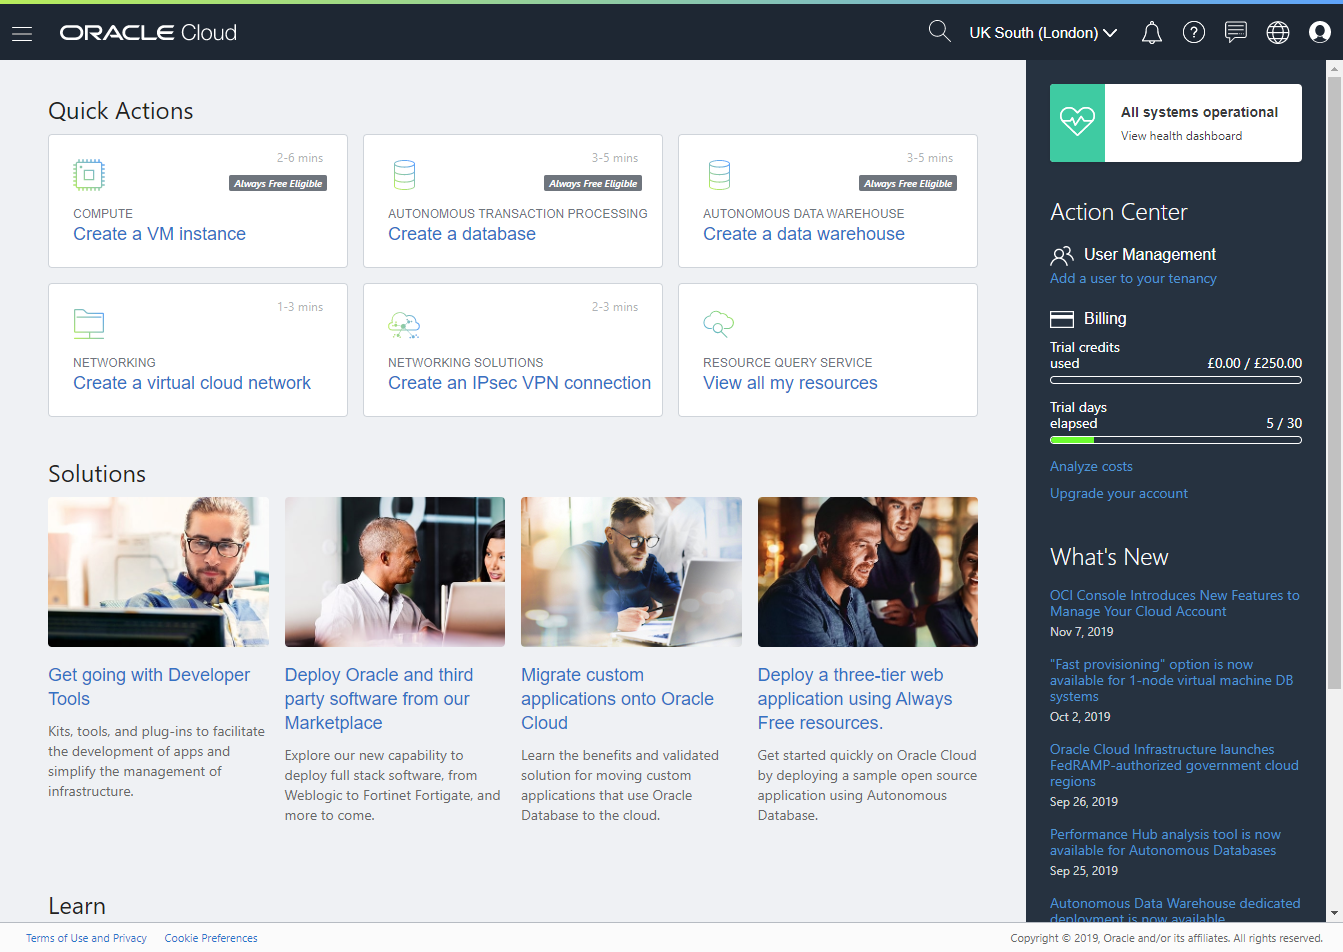
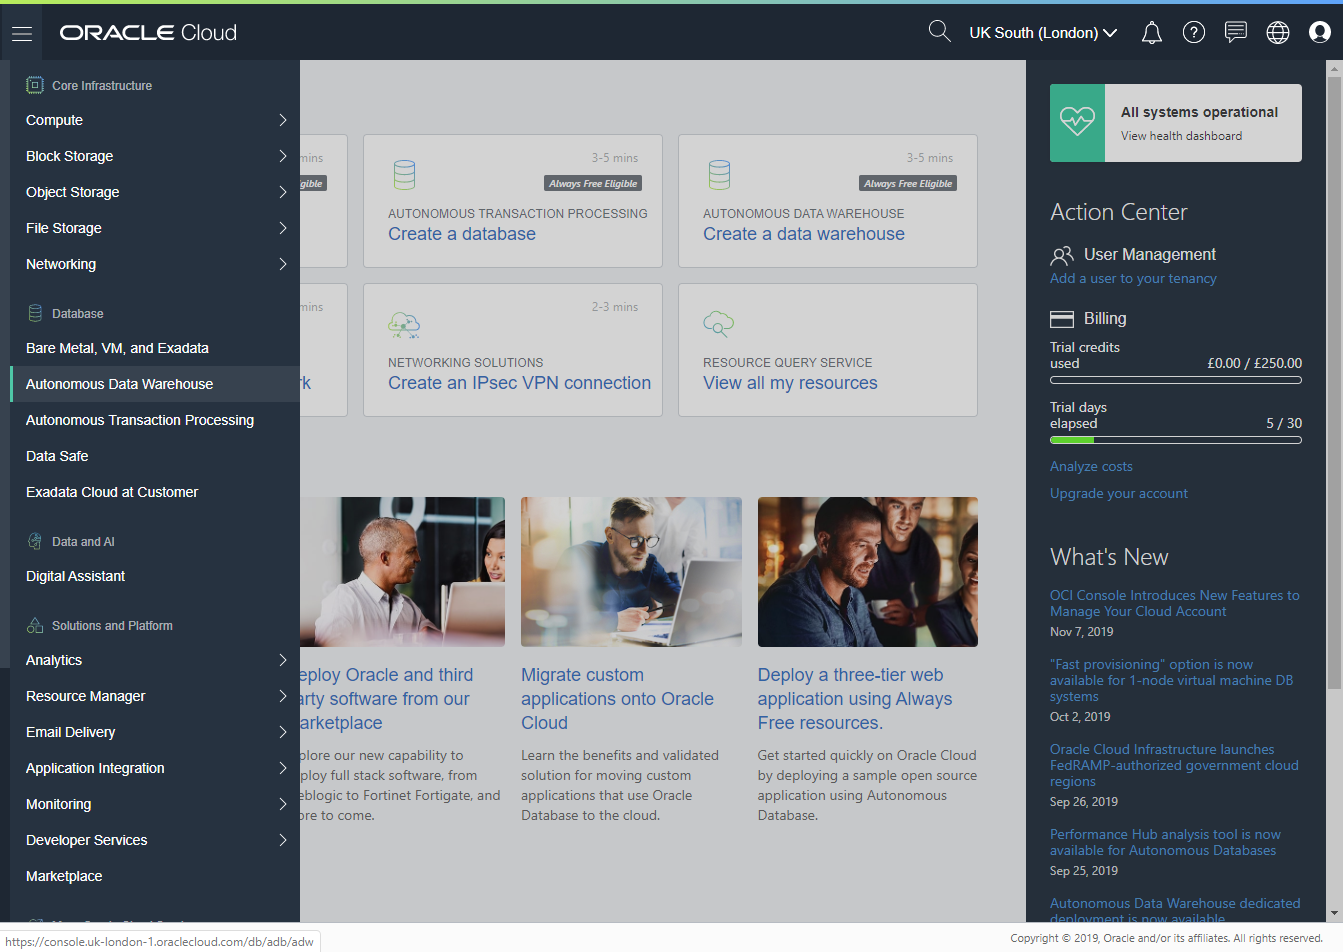
Open the menu by clicking the hamburger on the top-left of the screen. Click on the "Autonomous Data Warehouse" option.
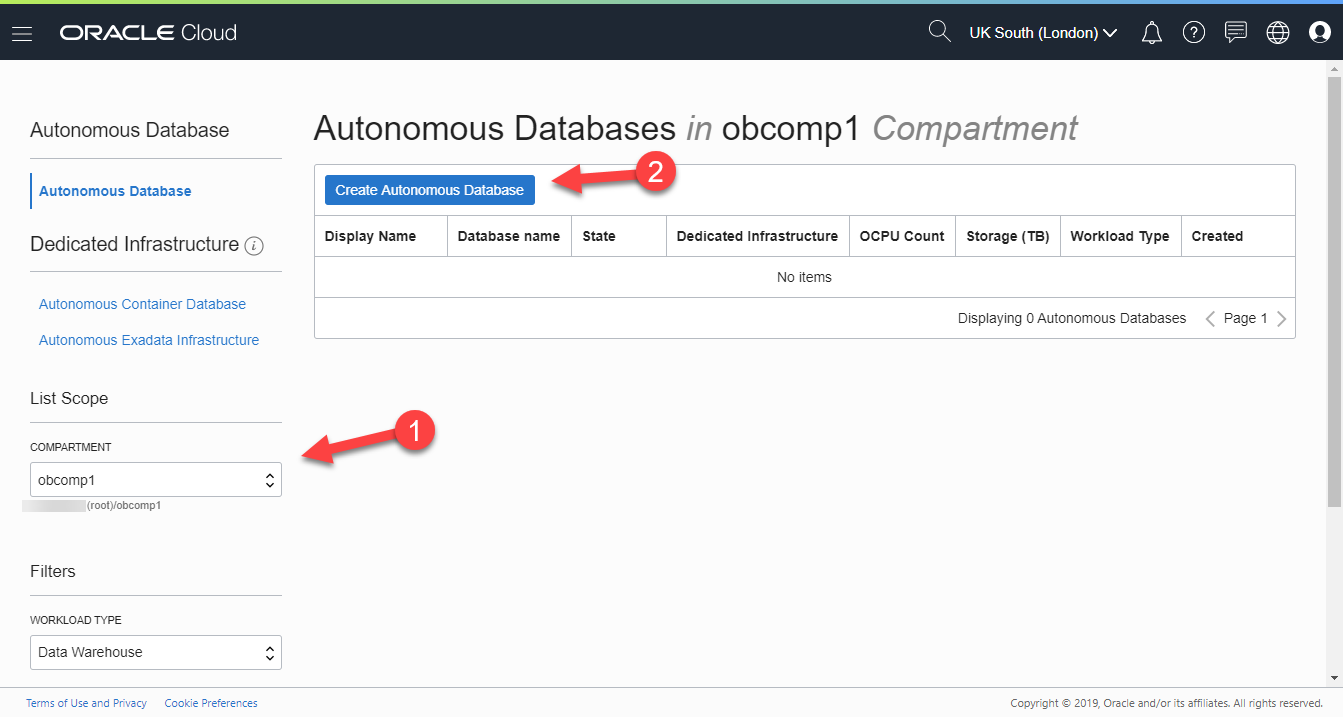
Select the compartment you want to build the service in, then click the "Create Autonomous Database" button.
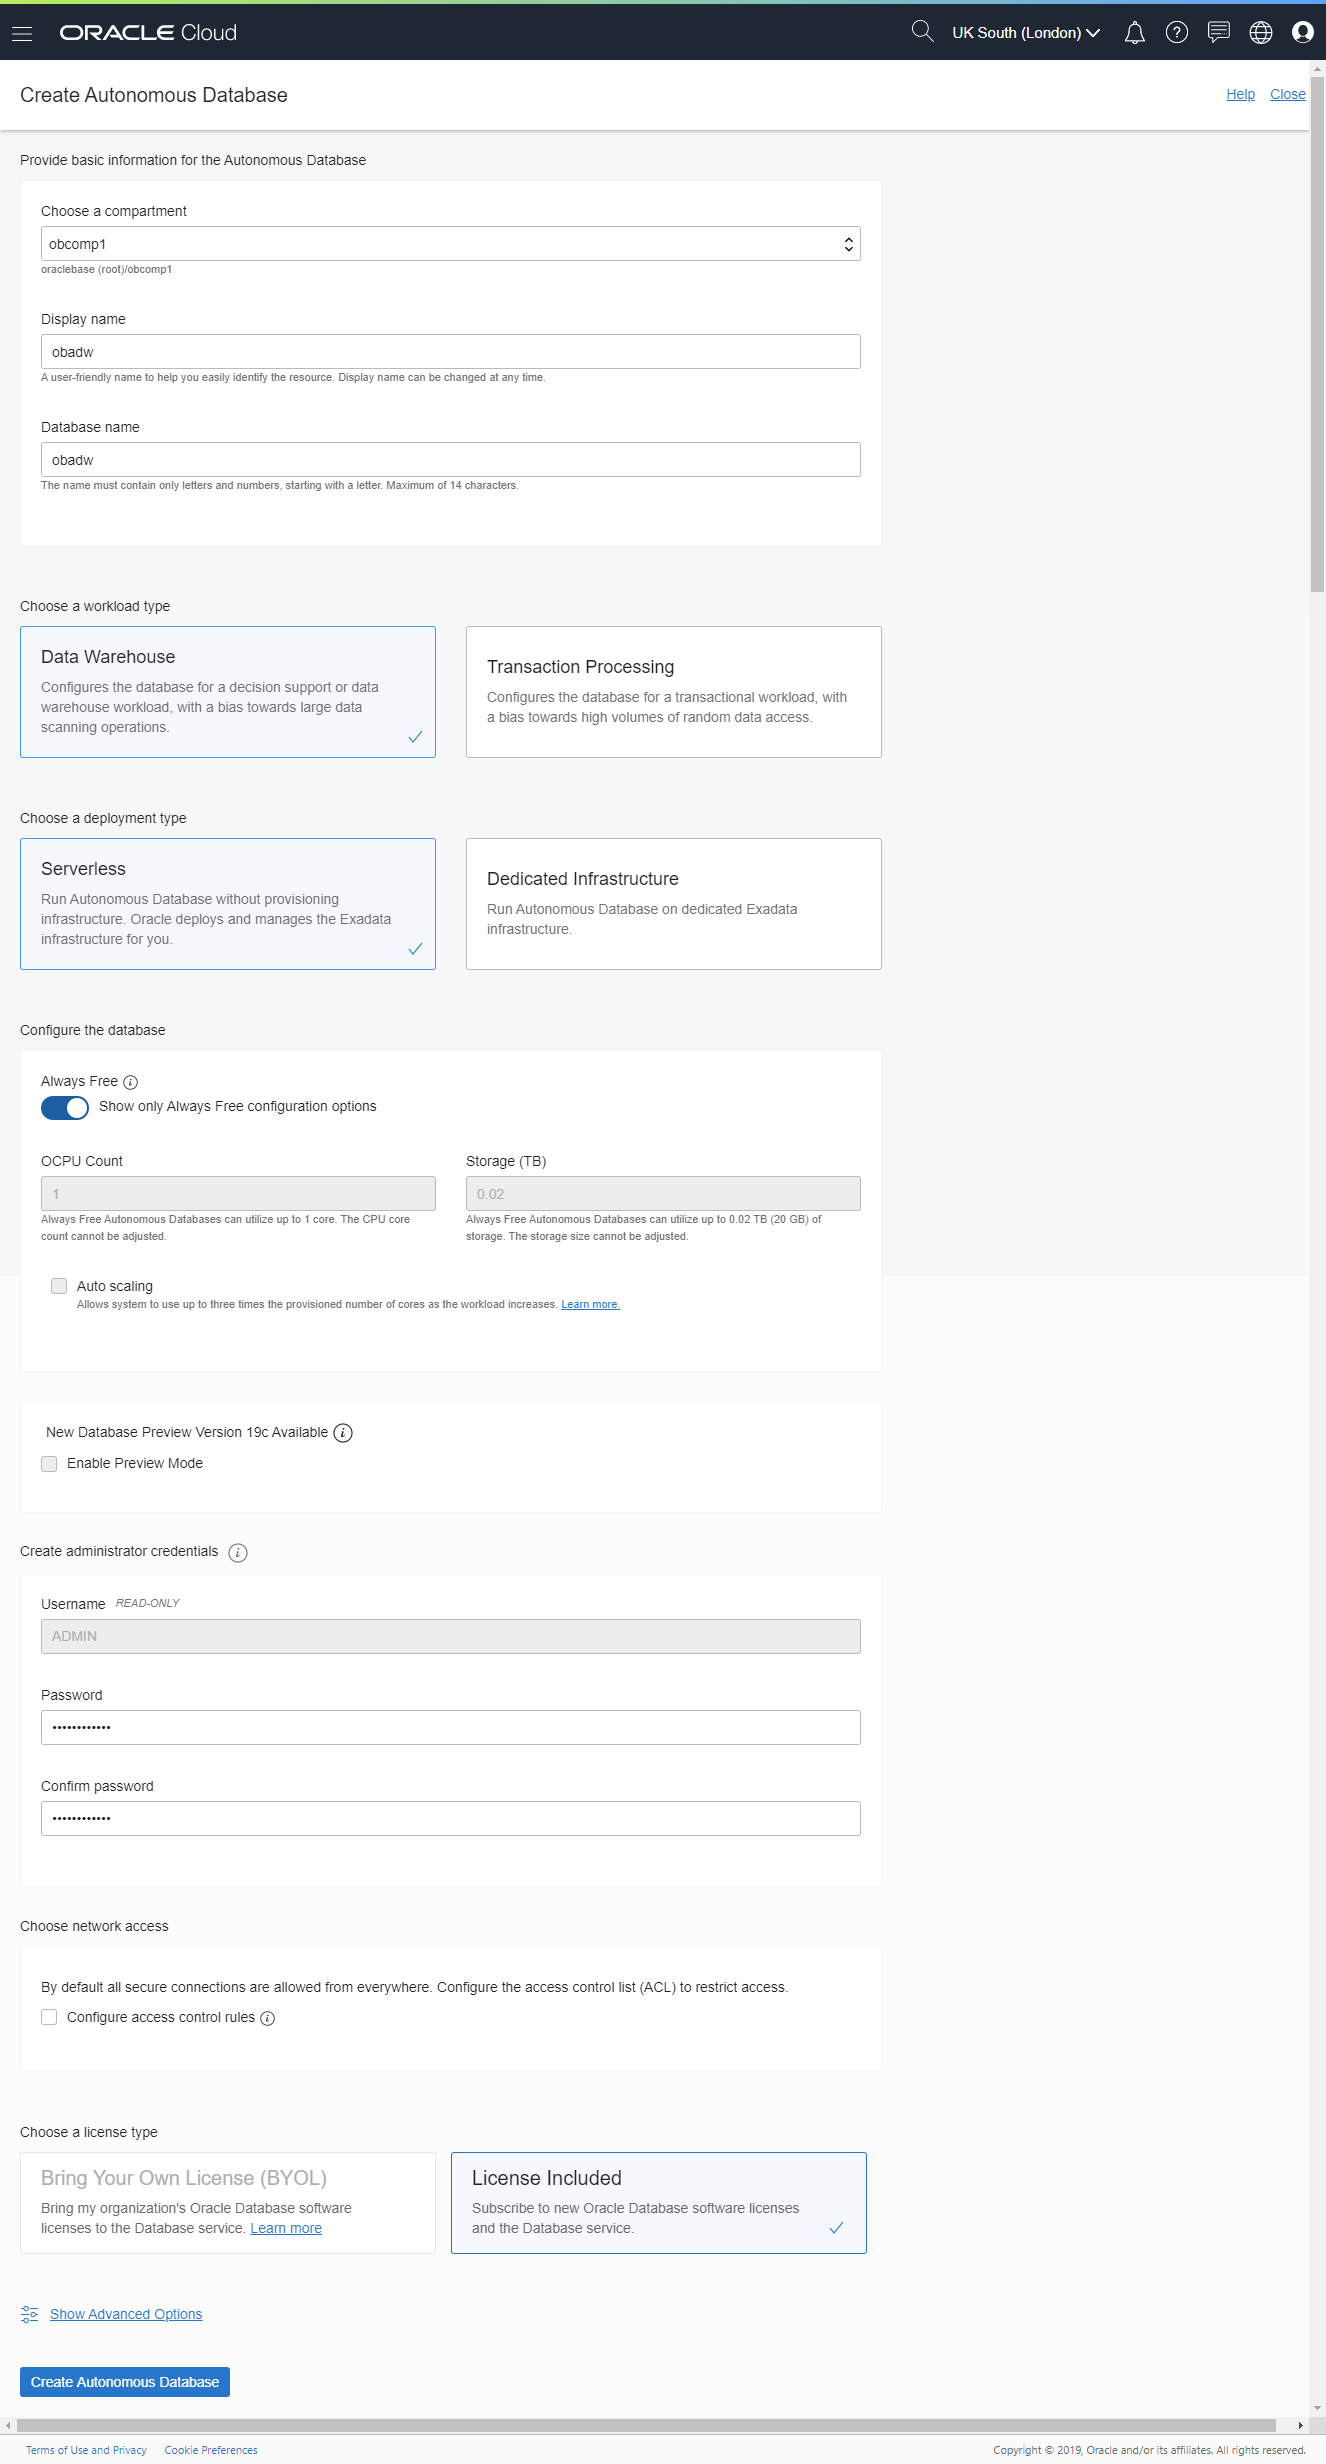
Enter the details of the service you want to create. The default sizes are 1 CPU core and 1TB of storage. Remember to select the appropriate licensing model. Click the "Create Autonomous Database" button. If you are using the Free Tier account, select the "Always Free" option, to make sure you have the proper settings.
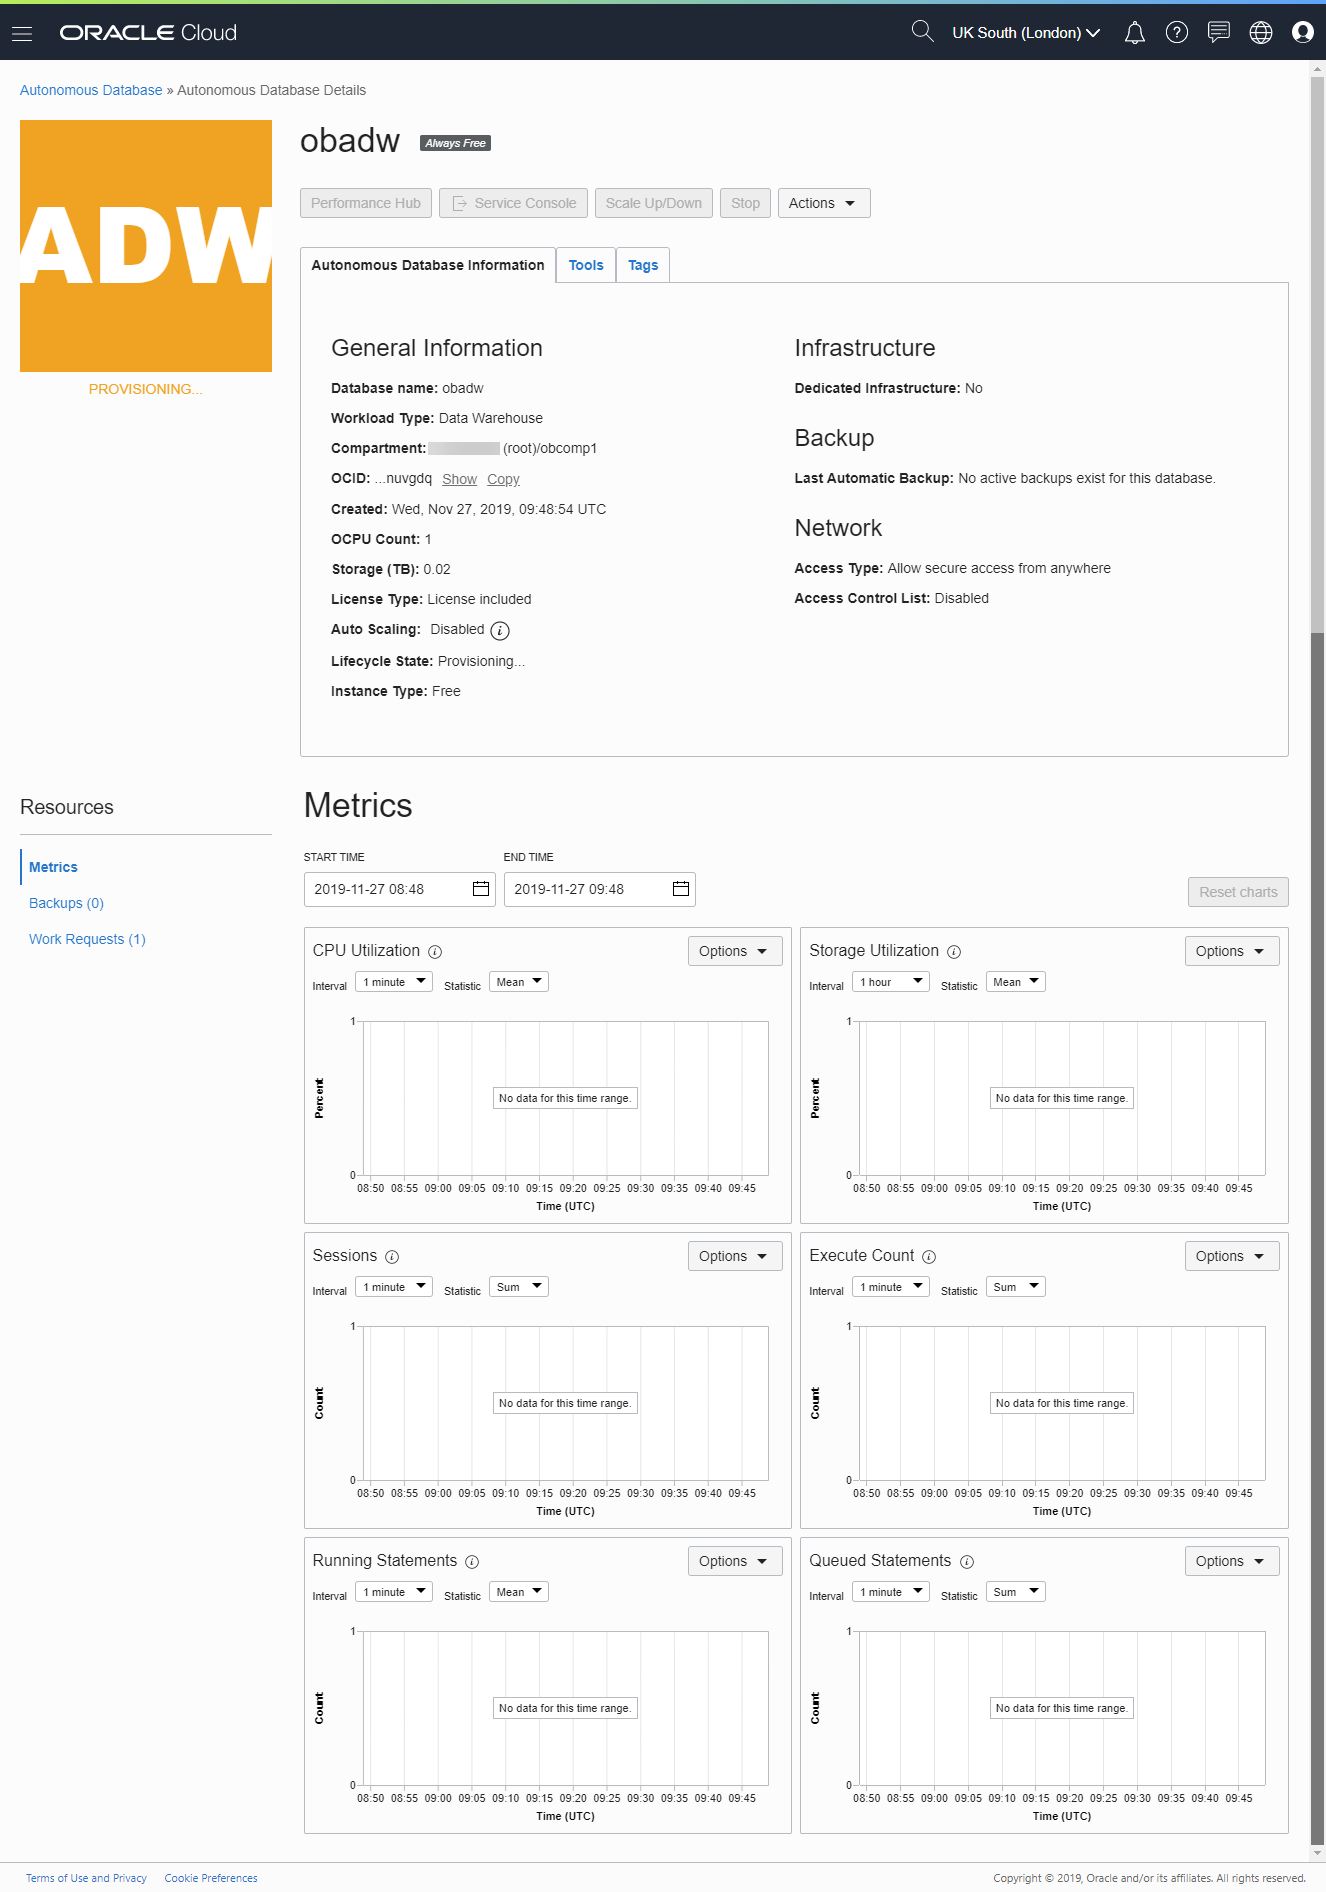
Wait while the service is provisioned. You will see the state is marked as "Provisioning".
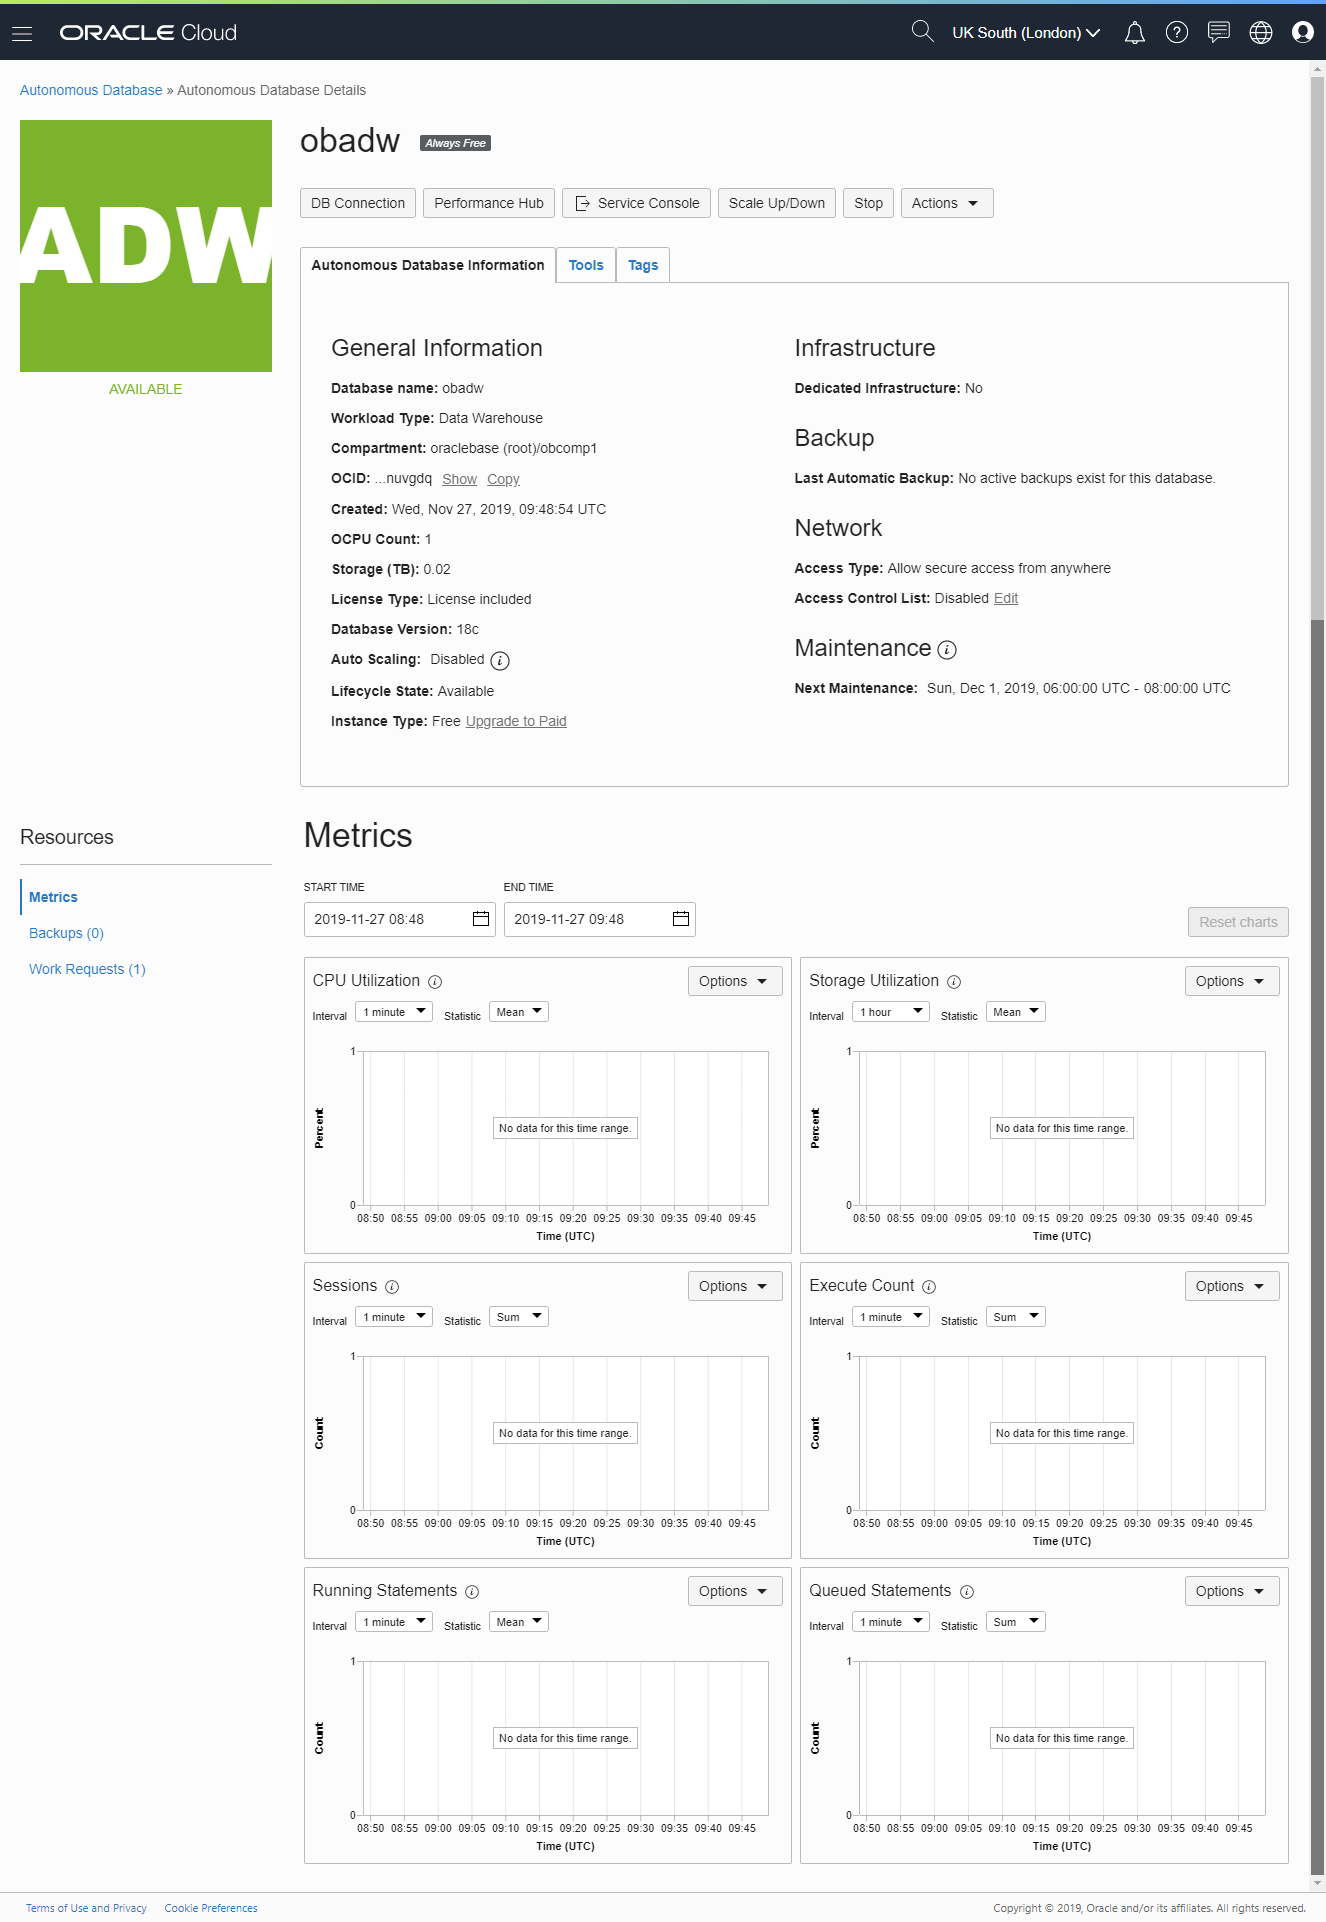
Once complete the state changes to "Available". The details screen allows you to perform some basic operations with the service, including scale up/down, manual backups and restores from backups. Click on the "Service Console" button.
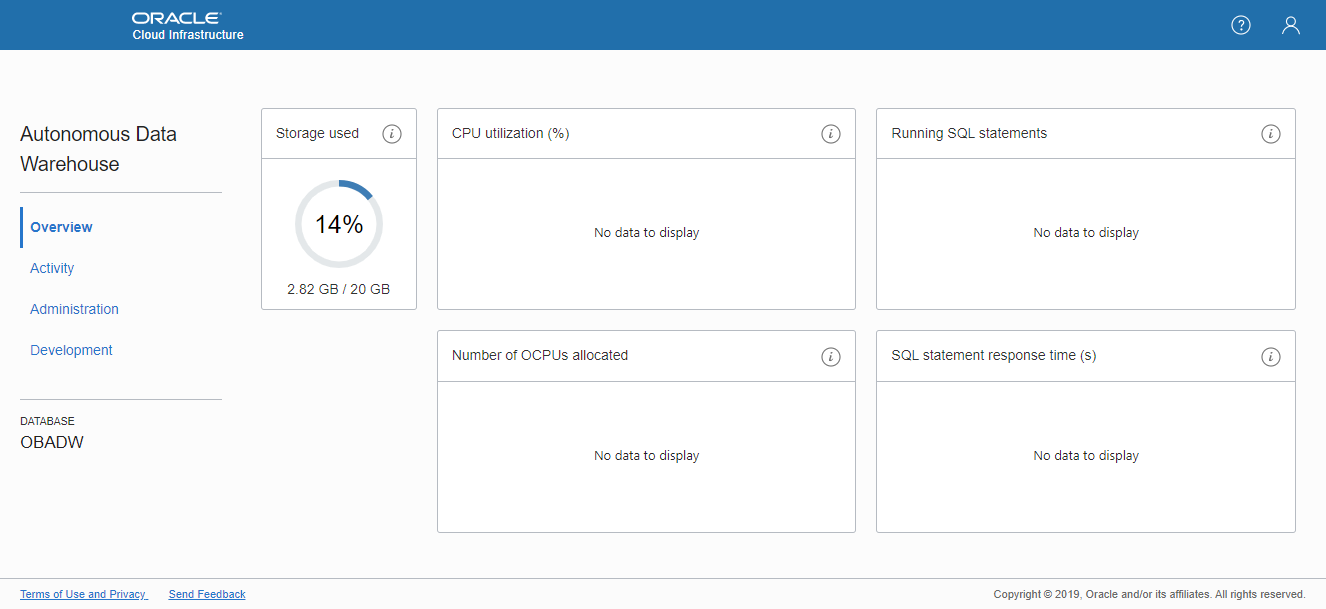
You are presented with the dashboard, which will look quite empty as the service has just been provisioned. Click the "Activity" link of the left of the screen.
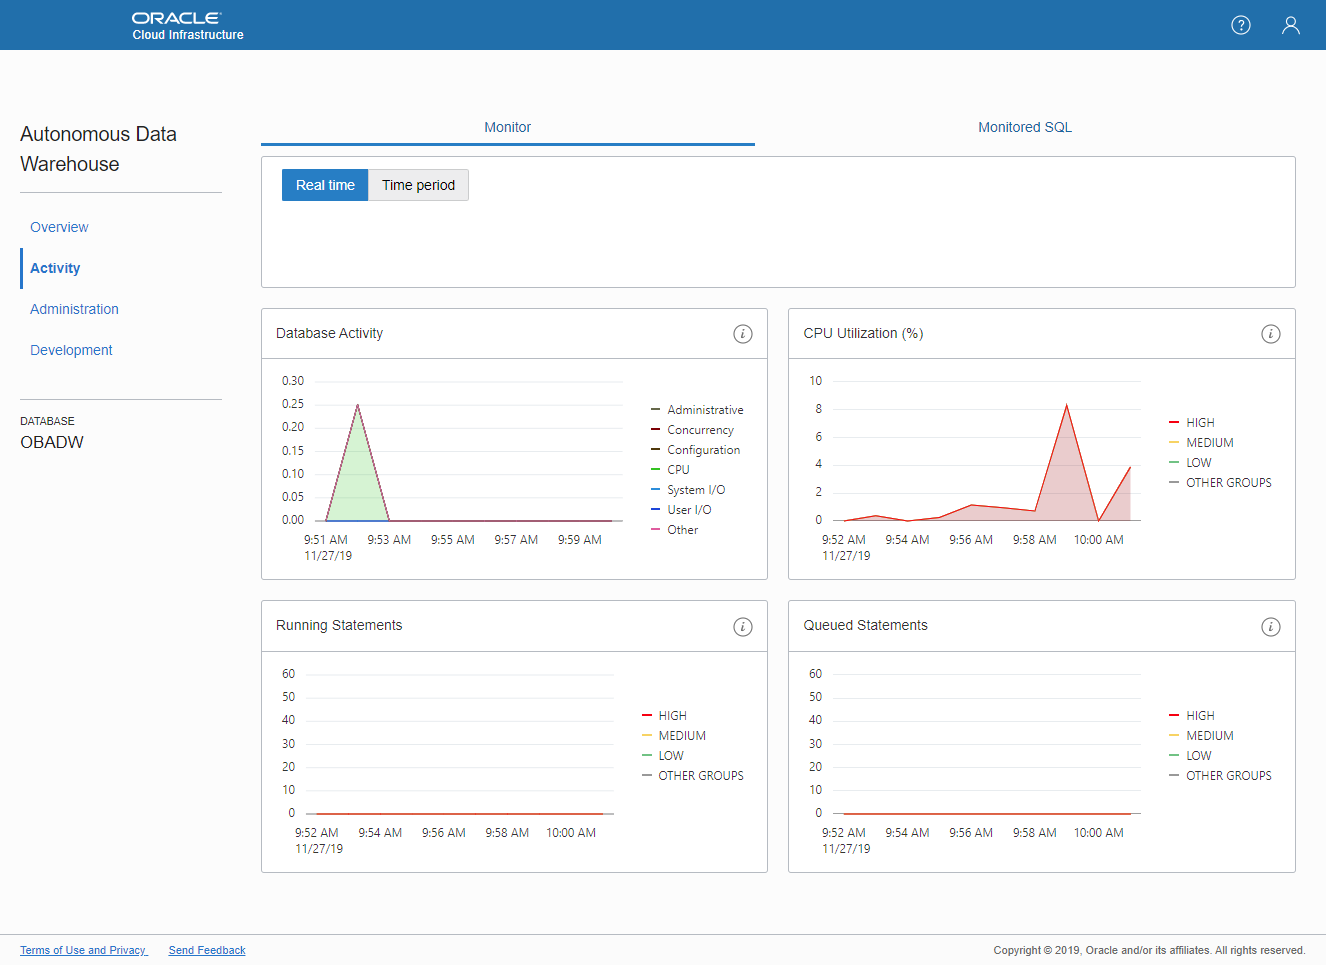
You are presented with the activity screen, which will look relatively quiet as the service has just been provisioned. Click the "Administration" link on the left of the screen.
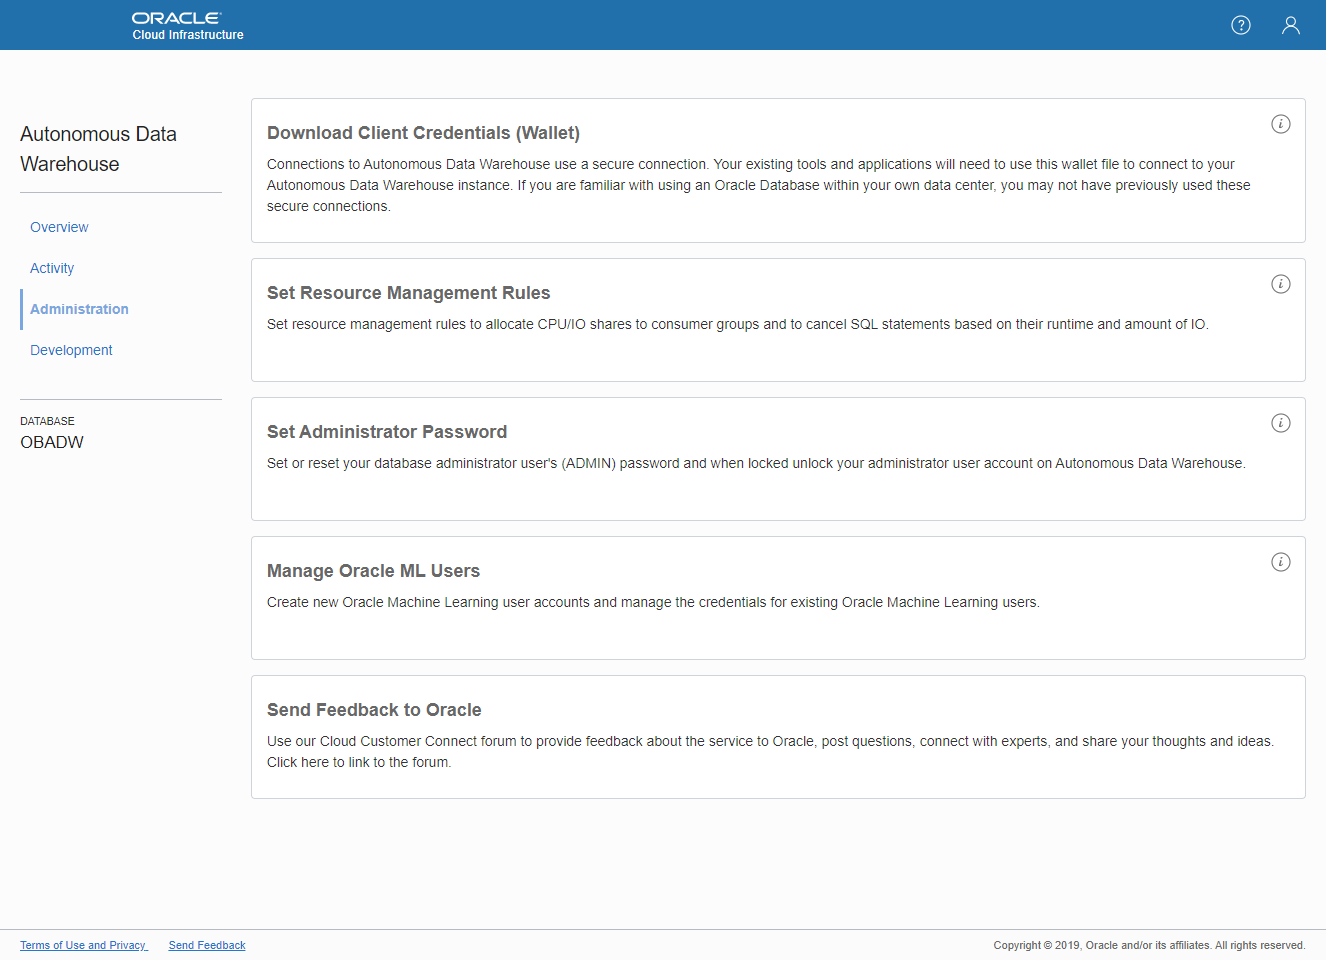
The administration screen allows you to perform some basic administration of the service, including downloading the client credentials wallet. Click the "Development" link of the left of the screen.
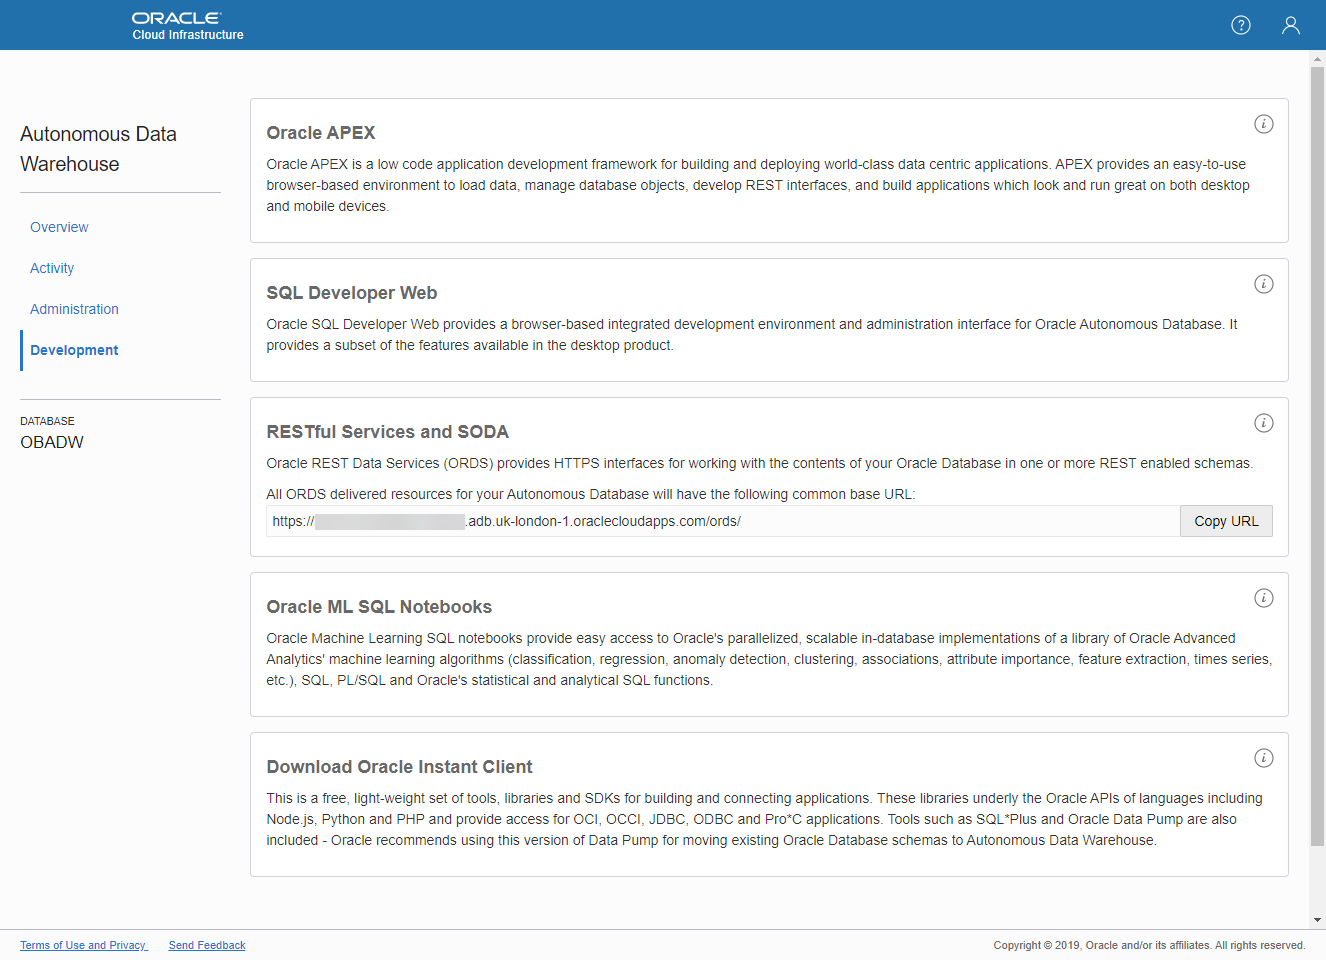
The development screen gives you access to a number of development features, including APEX and the SQL Developer Web tool. Click the "SQL Development Web" link.
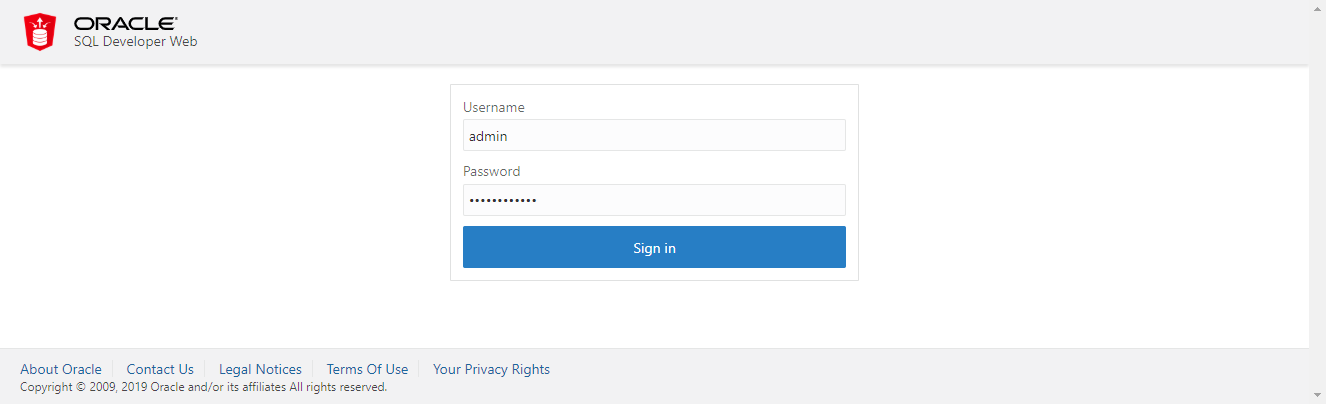
Sign in with the credentials you supplied during the build.
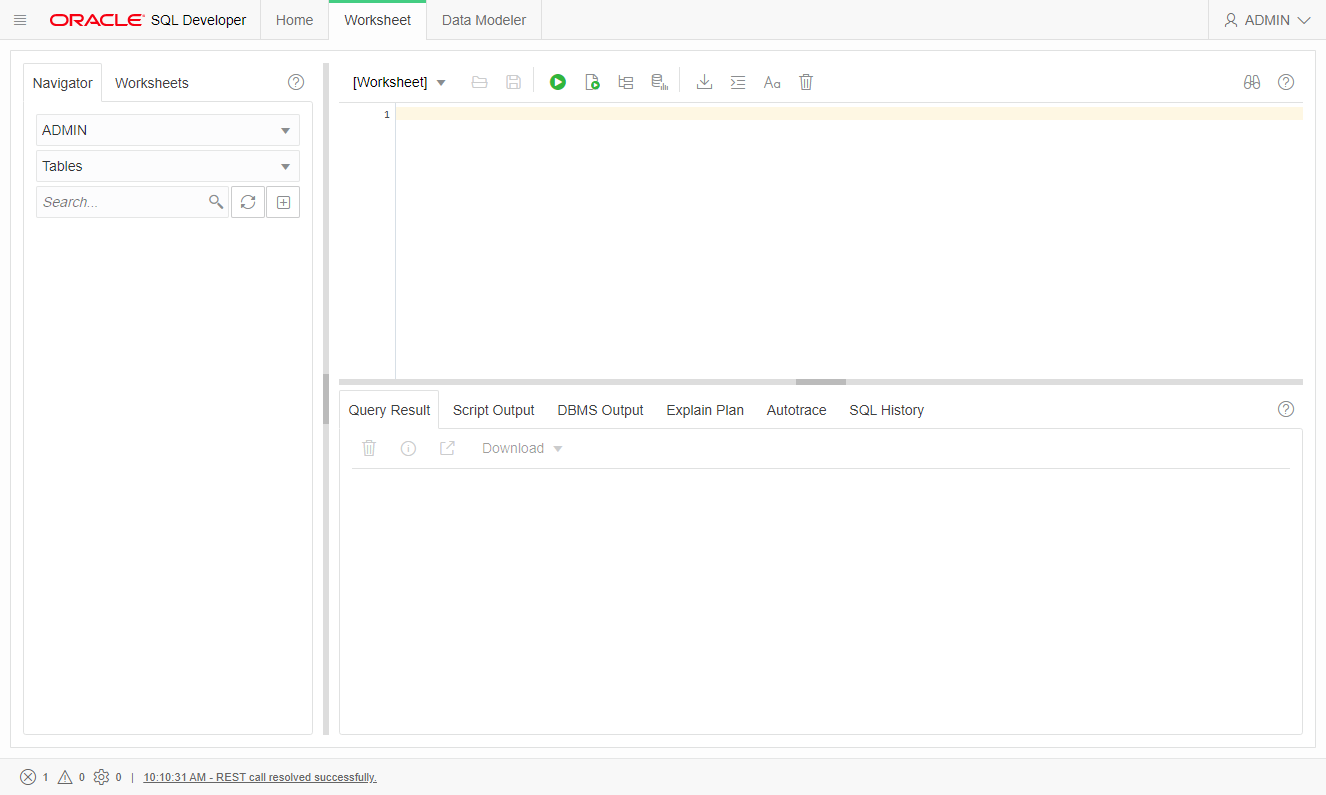
You are presented with the SQL Developer Web tool, which allows you to perform many of the operations you would normally require SQL Developer or SQLcl for.
Connecting to the Autonomous Data Warehouse (ADW) Service Using SQL Developer
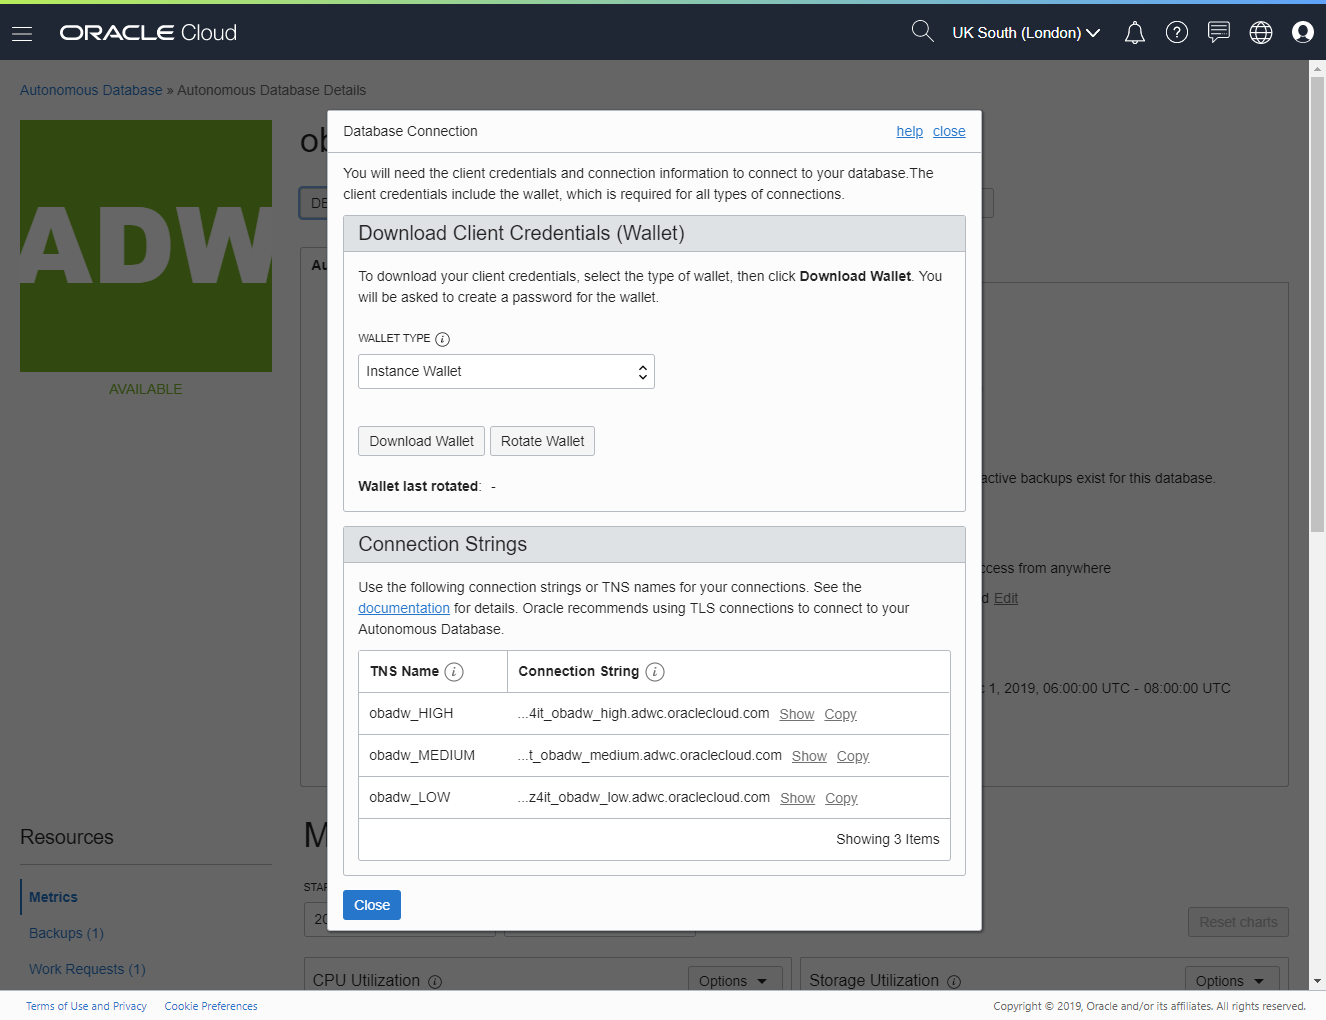
We need to download the client credentials wallet. This can be done from "Service Console > Administration > Download Client Credentials (Wallet)" or from the "DB Connection" button on the main details screen. The process is similar with each approach. Clicking the "DB Connection" button results in the following screen. Click the "Download Wallet" button.
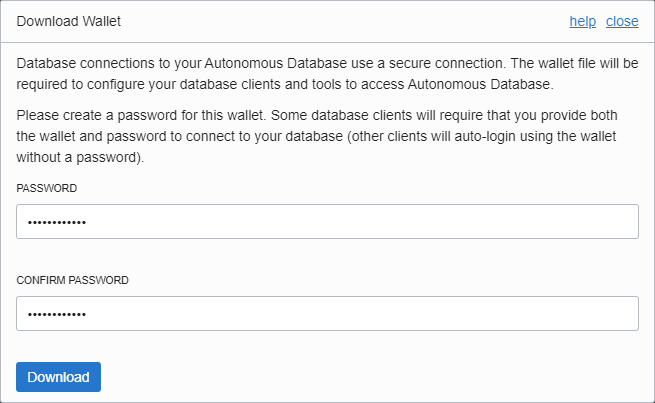
Enter a password to protect the wallet and click the "Download" button. Once downloaded, click the "Close" button on the screen.
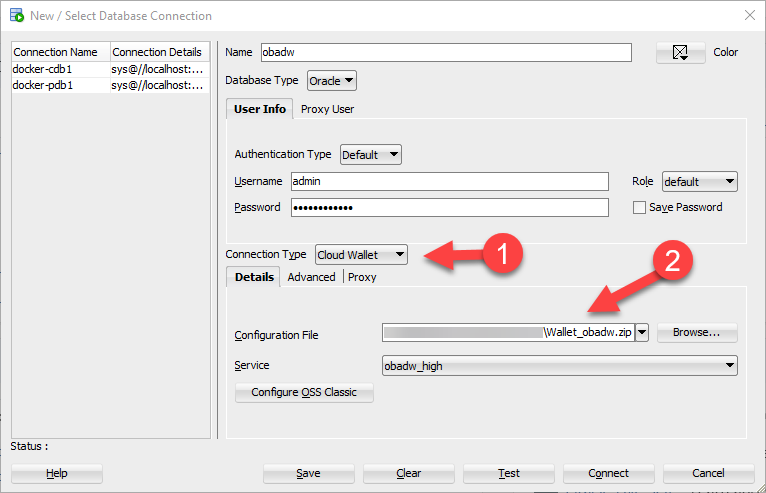
Open SQL Developer and create a new connection. Use the username and password specified when you provisioned the service. Use a connection type of "Cloud Wallet" and enter the zip file location. You can now click the "Test" or "Connect" button. You will be prompted to enter the wallet password.
Connecting to the Autonomous Data Warehouse (ADW) Service Using SQL*Plus
If you want to use SQL*Plus or SQLcl you will need to do a bit of setup. Start by downloading the credentials zip file as described in the previous section.
Create a location for the wallet, place the zip file into it and unzip it.
mkdir -p /tmp/adw_wallet
cd /tmp/adw_wallet
# Download the credentials zip and place it in this new directory.
unzip Wallet_obadw.zip
Edit the "sqlnet.ora" file, specifying the correct wallet location.
cat > sqlnet.ora <<EOF
WALLET_LOCATION = (SOURCE = (METHOD = file) (METHOD_DATA = (DIRECTORY="/tmp/adw_wallet")))
SSL_SERVER_DN_MATCH=yes
EOF
Set the TNS_ADMIN environment variable if you are using a non-standard location, as we are here.
export TNS_ADMIN=/tmp/adw_wallet
You should now be able to connect using the wallet by specifying one of the entries provided in the "tnsnames.ora" file from the zip.
sqlplus my_user/MyPassword123@obadw_high
impdp my_user/MyPassword123@obadw_high ....
Create a New User
Log into your ADW cloud service, as described above.
Create a new user and grant it the DWROLE role if you want it to be an administrator. You can grant other roles and privileges, but the code>DWROLE role will give the user access to the DBMS_CLOUD package.
--DROP USER my_user CASCADE;
CREATE USER my_user IDENTIFIED BY "MyPassword123";
GRANT CREATE SESSION TO my_user;

GRANT dwrole TO my_user;
You can now connect to the user in a similar way to that described above.
Loading Data
Some methods for loading data into Autonomous Databases are listed below.
- Oracle Cloud : Autonomous Database (ADW or ATP) - Load Data from an Object Store (DBMS_CLOUD)
- Oracle Cloud : Autonomous Database (ADW or ATP) - Import Data from an Object Store (impdp)
For more information see:
- Autonomous Data Warehouse
- Oracle Cloud : Autonomous Database (ADW or ATP) - Load Data from an Object Store (DBMS_CLOUD)
- Oracle Cloud : Autonomous Database (ADW or ATP) - Import Data from an Object Store (impdp)
- Autonomous Database
- Cloud : All Articles
Hope this helps. Regards Tim...