8i | 9i | 10g | 11g | 12c | 13c | 18c | 19c | 21c | 23ai | Misc | PL/SQL | SQL | RAC | WebLogic | Linux
Silent Upgrade of Oracle Enterprise Manager Cloud Control to 13c Release 5 (13.5)
This article describes a silent upgrade of Enterprise Manager Cloud Control to 13c Release 5 (13.5). In this case the source version was 13.4, but the process is similar for any supported source version. Each upgrade potentially requires additional steps, so this is not meant as a replacement for reading the documentation.
Before attempting an upgrade you should read the MOS note "13.5: Checklist for Upgrading Enterprise Manager Cloud Control from Version 13.3/13.4 to 13.5 (Doc ID 2761728.1)", which says, "NOTE: Upgrading from 13.4 RU10 or later to 13.5 base release is NOT SUPPORTED, and there will be a loss of functionality and it is irreversible." Follow the upgrade paths suggested in that note.
- Software
- Prerequisites
- Cloud Control 13c Installation and Upgrade
- Agent Upgrade
- Startup/Shutdown
- Remove old OMS
Related articles.
- Oracle Enterprise Manager Cloud Control 13c Release 5 (13.5) Silent Installation on Oracle Linux 7
- Oracle Enterprise Manager Cloud Control 13c Release 5 (13.5) Silent Installation on Oracle Linux 8
- Oracle Enterprise Manager Cloud Control 13c Post-Installation Setup Tasks
Software
Download the following software:
Prerequisites
There are a lot of prerequisites in the documentation, which will vary depending on the version of the OMS you are upgrading from, the versions of the plugins you are currently using, and the versions of the agents you are using on the target hosts. The following prerequisites work when upgrading from a clean 13cR4 installation, but for anything else you should read the documented prerequisites.
Install the following packages as the root user. Many of them may already be present. The list is a little different depending on if you are using Oracle Linux 7 (OL7) or Oracle Linux 8 (OL8).
# OL7 Packages
yum install -y binutils
yum install -y gcc
yum install -y gcc-c++
yum install -y glibc
yum install -y glibc-devel
yum install -y glibc-devel.i686
yum install -y libaio
yum install -y libaio-devel
yum install -y libgcc
yum install -y libstdc++
yum install -y libstdc++-devel
yum install -y libnsl
yum install -y sysstat
yum install -y motif
yum install -y motif-devel
yum install -y redhat-lsb
yum install -y redhat-lsb-core
yum install -y openssl
yum install -y make
yum install -y libgcc.i686
yum install -y libstdc++.i686
yum install -y compat-libcap1
yum install -y compat-libstdc++-33
yum install -y compat-libstdc++-33.i686
yum install -y dejavu-serif-fonts
yum install -y ksh
yum install -y numactl
yum install -y numactl-devel


# OL8 Packages
dnf install -y binutils
dnf install -y gcc
dnf install -y gcc-c++
dnf install -y glibc
dnf install -y glibc-devel
dnf install -y glibc-devel.i686
dnf install -y libaio
dnf install -y libaio-devel
dnf install -y libgcc
dnf install -y libstdc++
dnf install -y libstdc++-devel
dnf install -y libnsl
dnf install -y sysstat
dnf install -y motif
dnf install -y motif-devel
dnf install -y redhat-lsb
dnf install -y redhat-lsb-core
dnf install -y openssl
dnf install -y make
Make sure there are no invalid objects in the repository database.
SELECT owner, object_name, object_type
FROM   dba_objects
WHERE  status = 'INVALID'
AND    owner IN ('SYS', 'SYSTEM', 'SYSMAN', 'MGMT_VIEW', 'DBSNMP', 'SYSMAN_MDS');
If you find any, recompile them. Here is an example of how you might do that.
sqlplus / as sysdba <<EOF

-- Switch to container if using a PDB.
ALTER SESSION SET CONTAINER = emrep;

-- Recompile invalid objects.
EXEC UTL_RECOMP.recomp_serial('SYS');
EXEC UTL_RECOMP.recomp_serial('DBSNMP');
EXEC UTL_RECOMP.recomp_serial('SYSMAN');

EXIT;
EOF
Copy the emkey using the following commands, adjust as required. You will have to enter the Cloud Control sysman password.
export OMS_HOME=/u01/app/oracle/middleware
$OMS_HOME/bin/emctl config emkey -copy_to_repos -sysman_pwd Welcome1
$OMS_HOME/bin/emctl status emkey -sysman_pwd Welcome1
Stop the OMS and the agent.
export OMS_HOME=/u01/app/oracle/middleware
export AGENT_HOME=/u01/app/oracle/agent/agent_inst

$OMS_HOME/bin/emctl stop oms -all
$AGENT_HOME/bin/emctl stop agent
Make sure the prerequisite database parameters are set. I've listed the minimum settings, but for testing I've reduced them further. You may have set hidden parameters for the adaptive optimizer settings in your previous installations. These should be removed now.
sqlplus / as sysdba <<EOF

-- Recommended minimum settings.
alter system set "_allow_insert_with_update_check"=true scope=both;
alter system set session_cached_cursors=200 scope=spfile;

-- Recommended: processes=600
alter system set processes=600 scope=spfile;

-- Recommended: pga_aggregate_target=1G
alter system set pga_aggregate_target=450M scope=spfile;

-- Recommended: sga_target=3G
alter system set sga_target=800M scope=spfile;

-- Recommended: shared_pool_size=600M
--alter system set shared_pool_size=600M scope=spfile;

-- Unset any adaptive optimizer settings that were set for the previous installation. They are not needed now.
alter system reset "_optimizer_nlj_hj_adaptive_join" scope=both sid='*';
alter system reset "_optimizer_strans_adaptive_pruning" scope=both sid='*';
alter system reset "_px_adaptive_dist_method" scope=both sid='*';
alter system reset "_sql_plan_directive_mgmt_control" scope=both sid='*';
alter system reset "_optimizer_dsdir_usage_control" scope=both sid='*';
alter system reset "_optimizer_use_feedback" scope=both sid='*';
alter system reset "_optimizer_gather_feedback" scope=both sid='*';
alter system reset "_optimizer_performance_feedback" scope=both sid='*';

shutdown immediate;
startup;

exit;
EOF
Create a directory for the new installation.
mkdir -p /u01/app/oracle/middleware2
This is a full product installation, so you need enough free space to hold a full Cloud Control installation. You can delete the old OMS later, but for a period there will be two installations on the server.
Backup your repository. In my case, Cloud Control runs on a VM, so a database backup was performed, as well as a whole VM backup.
For clarity, my starting 13cR4 installation had the following details.
HOSTNAME  : ol7-em134.localdomain
DB Version: 19c
ORACLE_SID: emcdb
PDB_NAME  : emrep
PORT      : 1521
URL       : https://ol7-em134.localdomain:7803/em
Cloud Control 13c Installation and Upgrade
Create a response file for the upgrade process.
# Set parameters.
UNIX_GROUP_NAME=oinstall
ORA_INVENTORY=/u01/app/oraInventory
ORACLE_BASE=/u01/app/oracle
MW_HOME=${ORACLE_BASE}/middleware2
OMS_HOME=${MW_HOME}
GC_INST=${ORACLE_BASE}/gc_inst2
OLD_BASE_DIR=${ORACLE_BASE}/middleware
ORACLE_HOSTNAME=${HOSTNAME}
WLS_USERNAME=weblogic
WLS_PASSWORD=Welcome1
DATABASE_HOSTNAME=${HOSTNAME}
LISTENER_PORT=1521
PDB_NAME=emrep
SYS_PASSWORD=SysPassword1
SYSMAN_PASSWORD=${WLS_PASSWORD}


cat > /tmp/upgrade.rsp <<EOF
RESPONSEFILE_VERSION=2.2.1.0.0
UNIX_GROUP_NAME=${UNIX_GROUP_NAME}
INVENTORY_LOCATION=${ORA_INVENTORY}
INSTALL_UPDATES_SELECTION=skip
ORACLE_MIDDLEWARE_HOME_LOCATION=${MW_HOME}
ORACLE_INSTANCE_HOME_LOCATION=${GC_INST}
OLD_BASE_DIR=${OLD_BASE_DIR}
ORACLE_HOSTNAME=${ORACLE_HOSTNAME}
ONE_SYSTEM=true
WLS_ADMIN_SERVER_USERNAME=${WLS_USERNAME}
WLS_ADMIN_SERVER_PASSWORD=${WLS_PASSWORD}
WLS_ADMIN_SERVER_CONFIRM_PASSWORD=${WLS_PASSWORD}
NODE_MANAGER_PASSWORD=${WLS_PASSWORD}
NODE_MANAGER_CONFIRM_PASSWORD=${WLS_PASSWORD}
DATABASE_HOSTNAME=${DATABASE_HOSTNAME}
LISTENER_PORT=${LISTENER_PORT}
SERVICENAME_OR_SID=${PDB_NAME}
SYS_PASSWORD=${SYS_PASSWORD}
SYSMAN_PASSWORD=${SYSMAN_PASSWORD}
EMPREREQ_AUTO_CORRECTION=false
REPOSITORY_BACKUP_DONE=true
PLUGIN_SELECTION={}
b_upgrade=true
EM_INSTALL_TYPE=NOSEED
EOF
Start the upgrade by running the "em13500_linux64.bin" file.
unset CLASSPATH

chmod u+x ${SOFTWARE_DIR}/em13500_linux64.bin
${SOFTWARE_DIR}/em13500_linux64.bin -silent -responseFile /tmp/upgrade.rsp
If you have limited space in your "/tmp" location, you can provide an alternative location for temporary files.
unset CLASSPATH

chmod u+x ${SOFTWARE_DIR}/em13500_linux64.bin
mkdir -p /u01/tmp
${SOFTWARE_DIR}/em13500_linux64.bin -silent -responseFile /tmp/upgrade.rsp -J-Djava.io.tmpdir=/u01/tmp/
Once the upgrade completes, run the root scripts as the root user.
/u01/app/oracle/middleware2/allroot.sh
With the upgrade complete you should secure the EMKey using the following command. It should tell you it has already been done, but it does no harm to run the command again to make sure.
export OMS_HOME=/u01/app/oracle/middleware2
$OMS_HOME/bin/emctl config emkey -remove_from_repos -sysman_pwd Welcome1
Check your stop/start scripts have the updated OMS home.
export MW_HOME=${ORACLE_BASE}/middleware2
export OMS_HOME=${MW_HOME}
Start the original agent. We will upgrade that in the next section.
export AGENT_HOME=/u01/app/oracle/agent/agent_inst
$AGENT_HOME/bin/emctl start agent
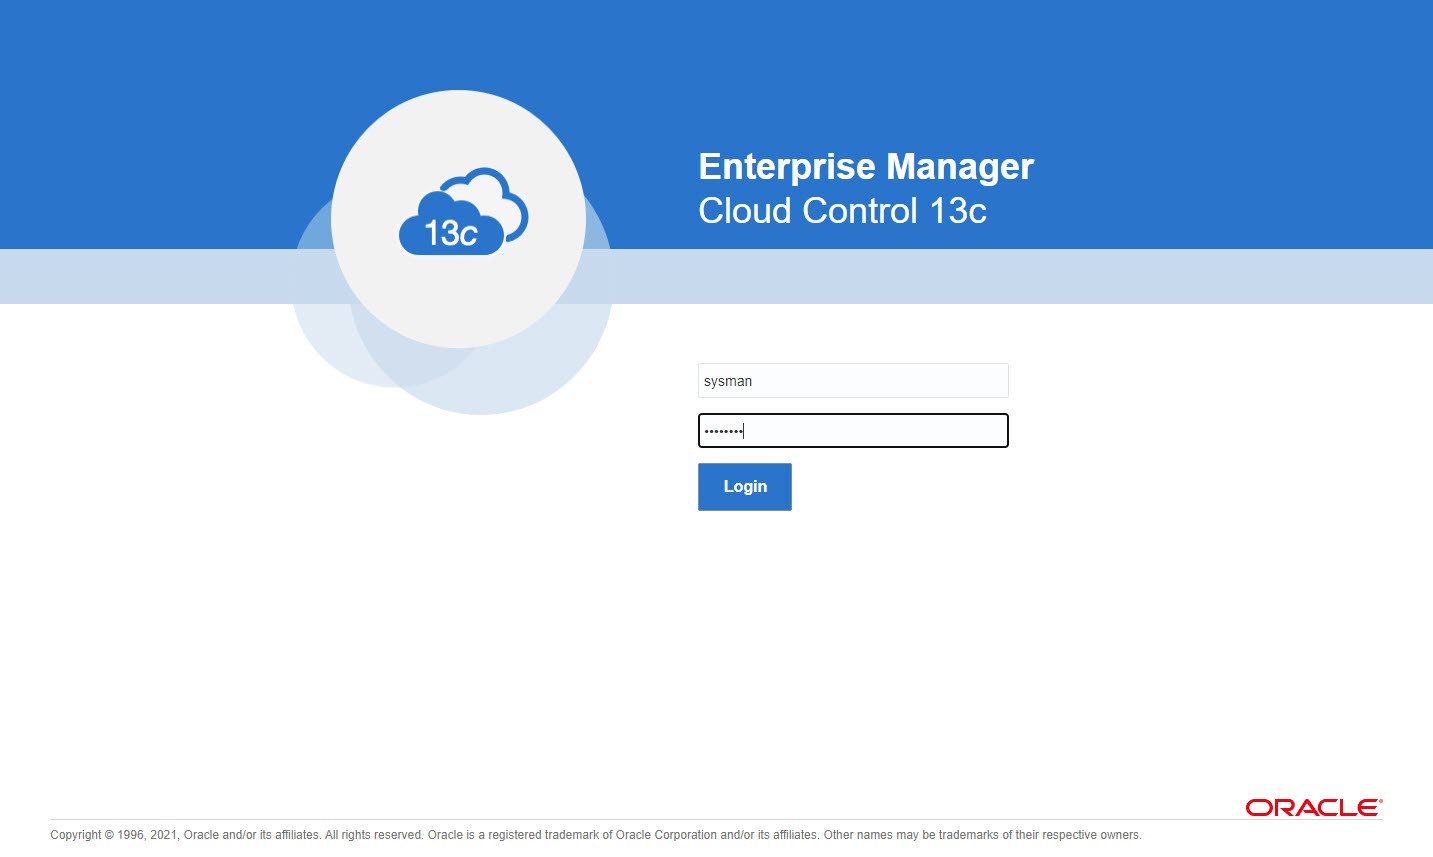
The login screen is available from a browser using the URL provided in the previous screen ("https://ol7-em134.localdomain:7803/em"). Log in with the username "sysman" and the password you specified during your installation.
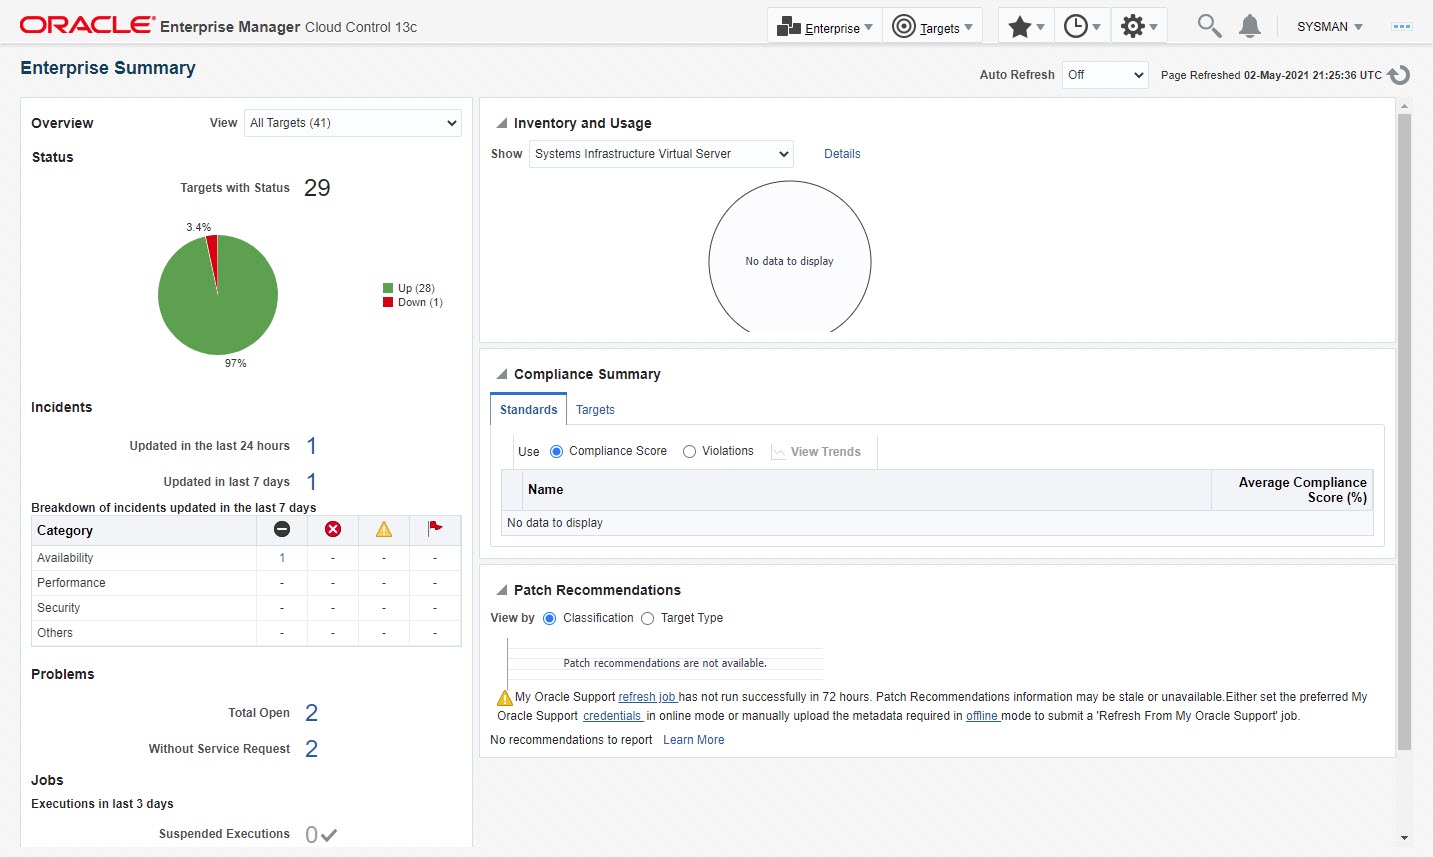
Once logged in, you are presented with the "License Agreement" screen. Click the "I Accept" button and you are presented with your default homepage. It might take some time for all of the targets to be recognised as up.
Agent Upgrade
If you want to perform the agent upgrade silently using WLST, there is an example of how to do this here. There rest of this section assumes you are pushing the agent upgrade from the Cloud Control interface.
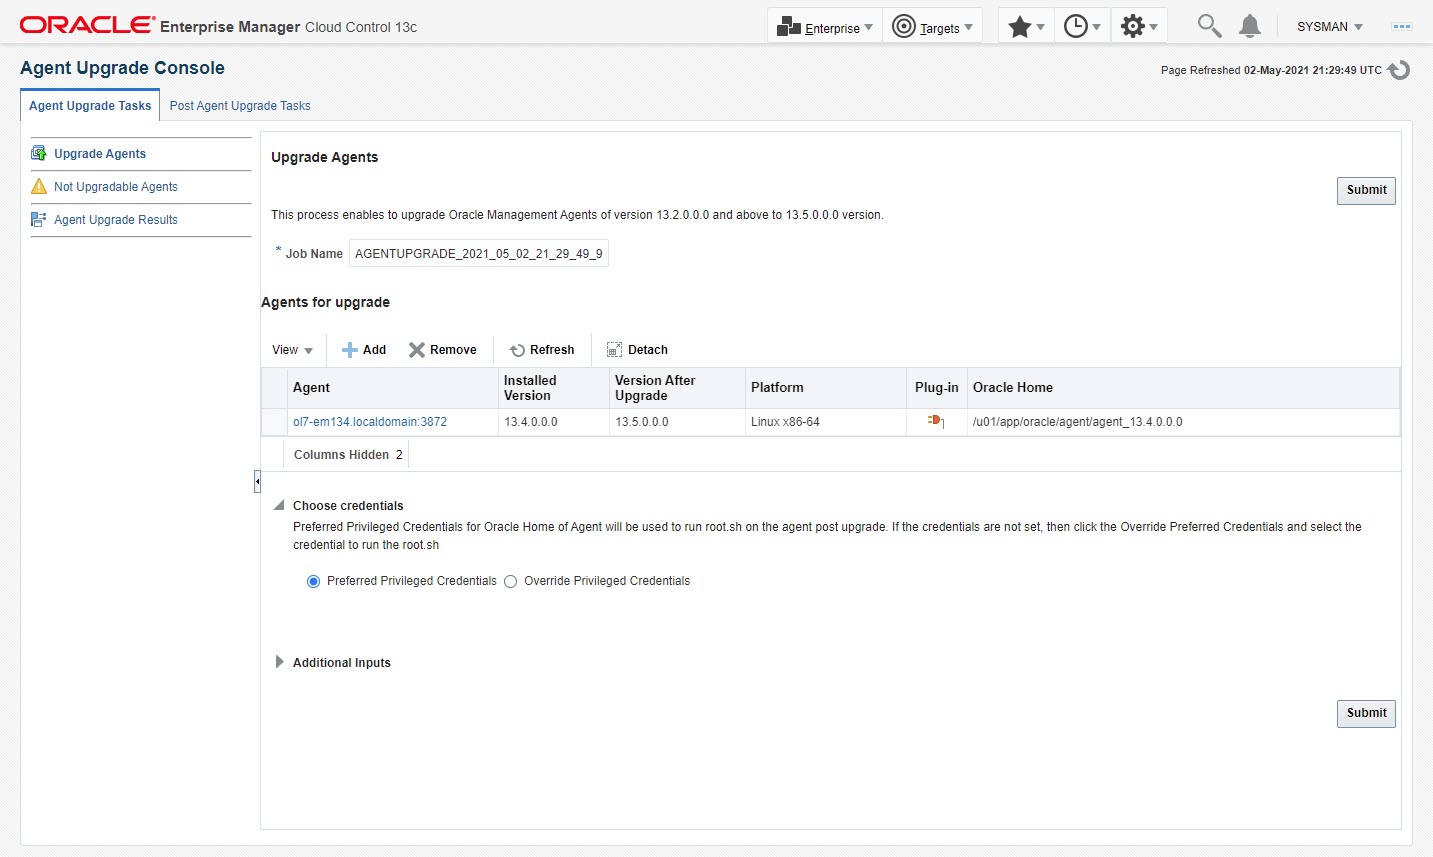
Navigate to "Setup (cog icon) > Manage Cloud Control > Upgrade Agents".
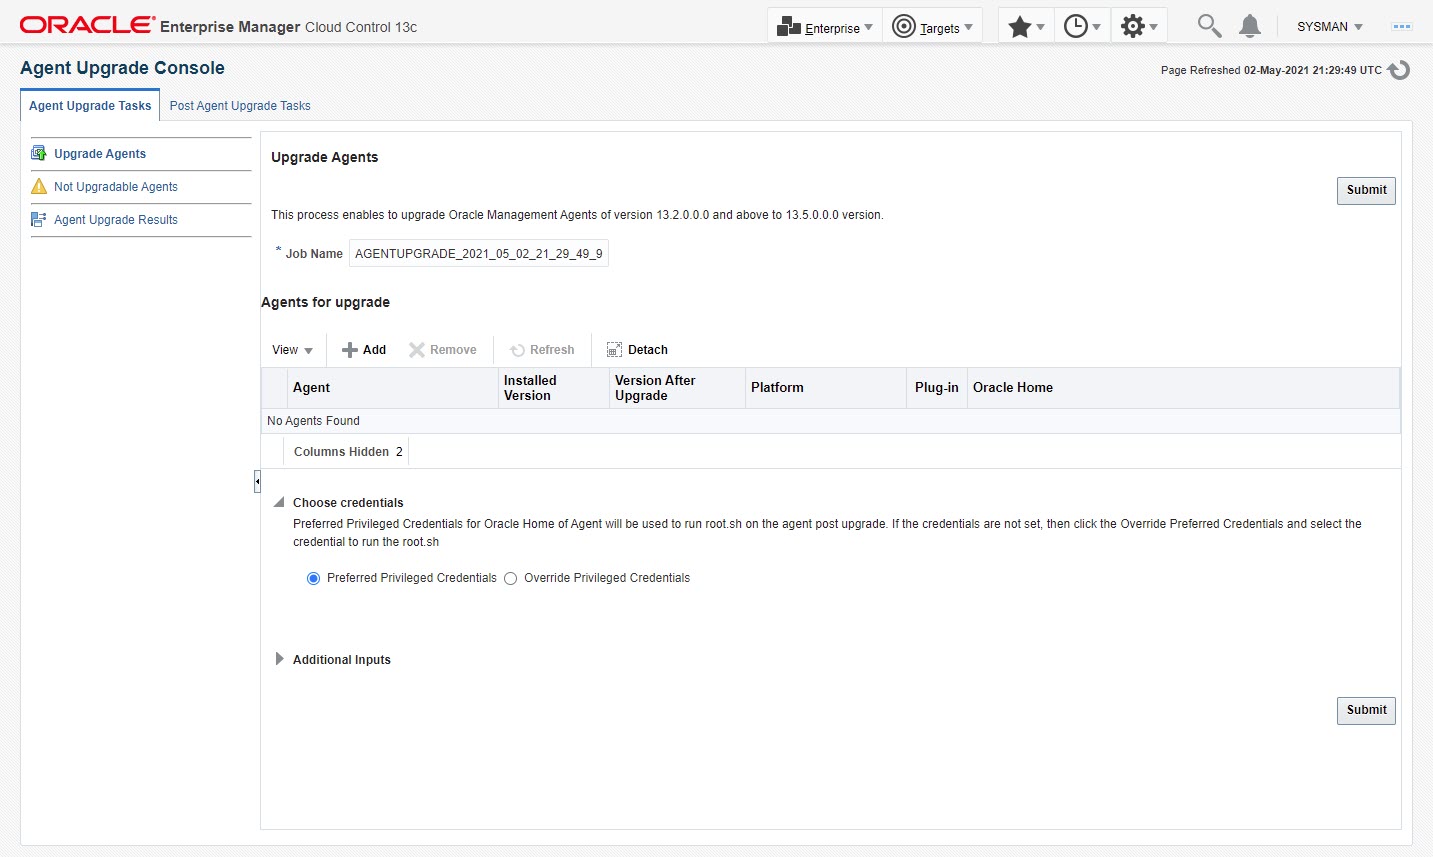
Click the "+ Add" button, highlight any agents to upgrade, then click the "OK" button.

When you are happy with your selection, click the "Submit" button.
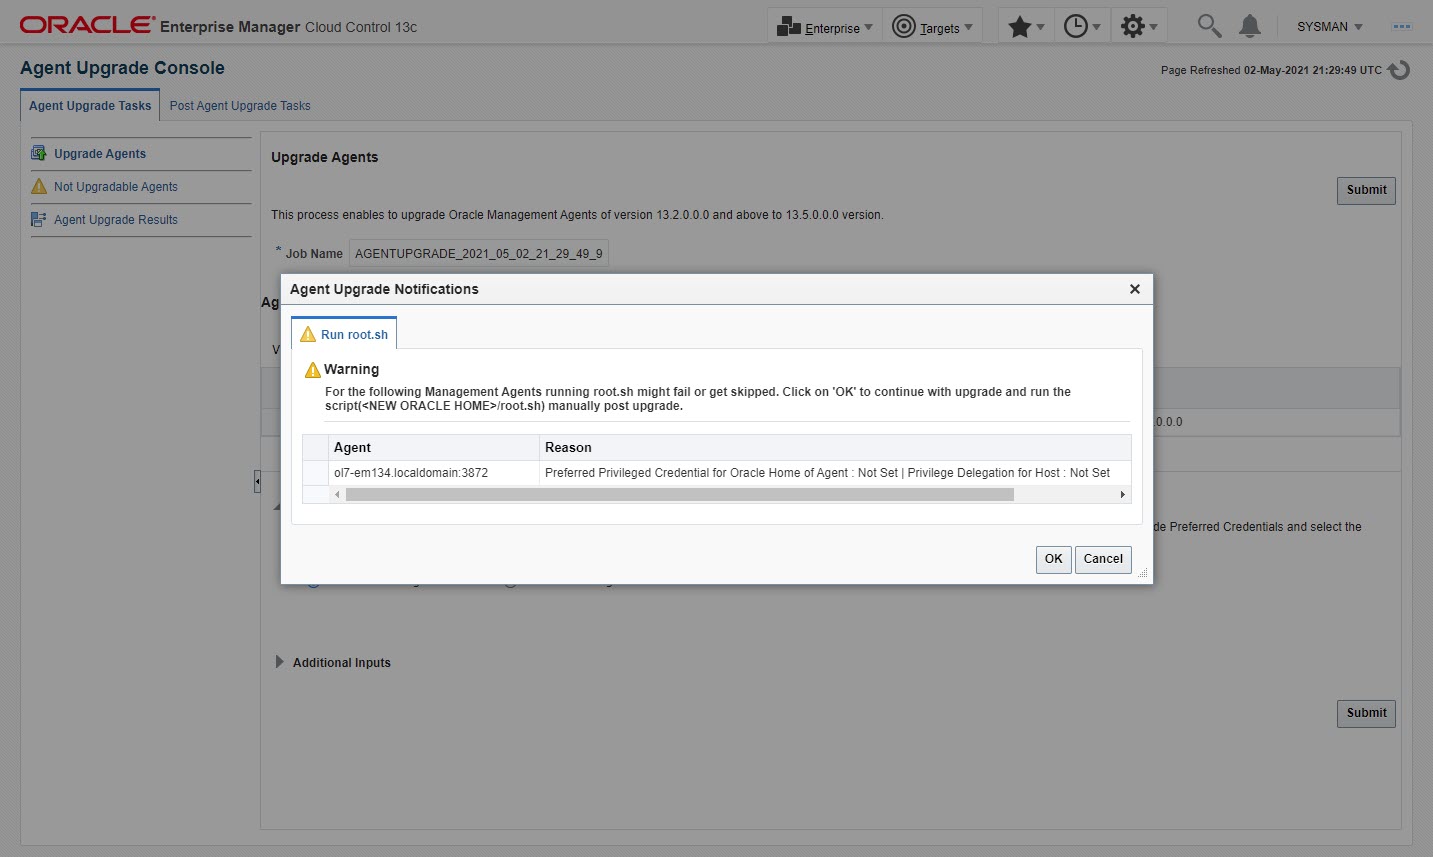
If you do not have "root" access or sudo configured to allow you to run the root scripts, click the "OK" on the warning message. The root scripts can be run after the installation completes.
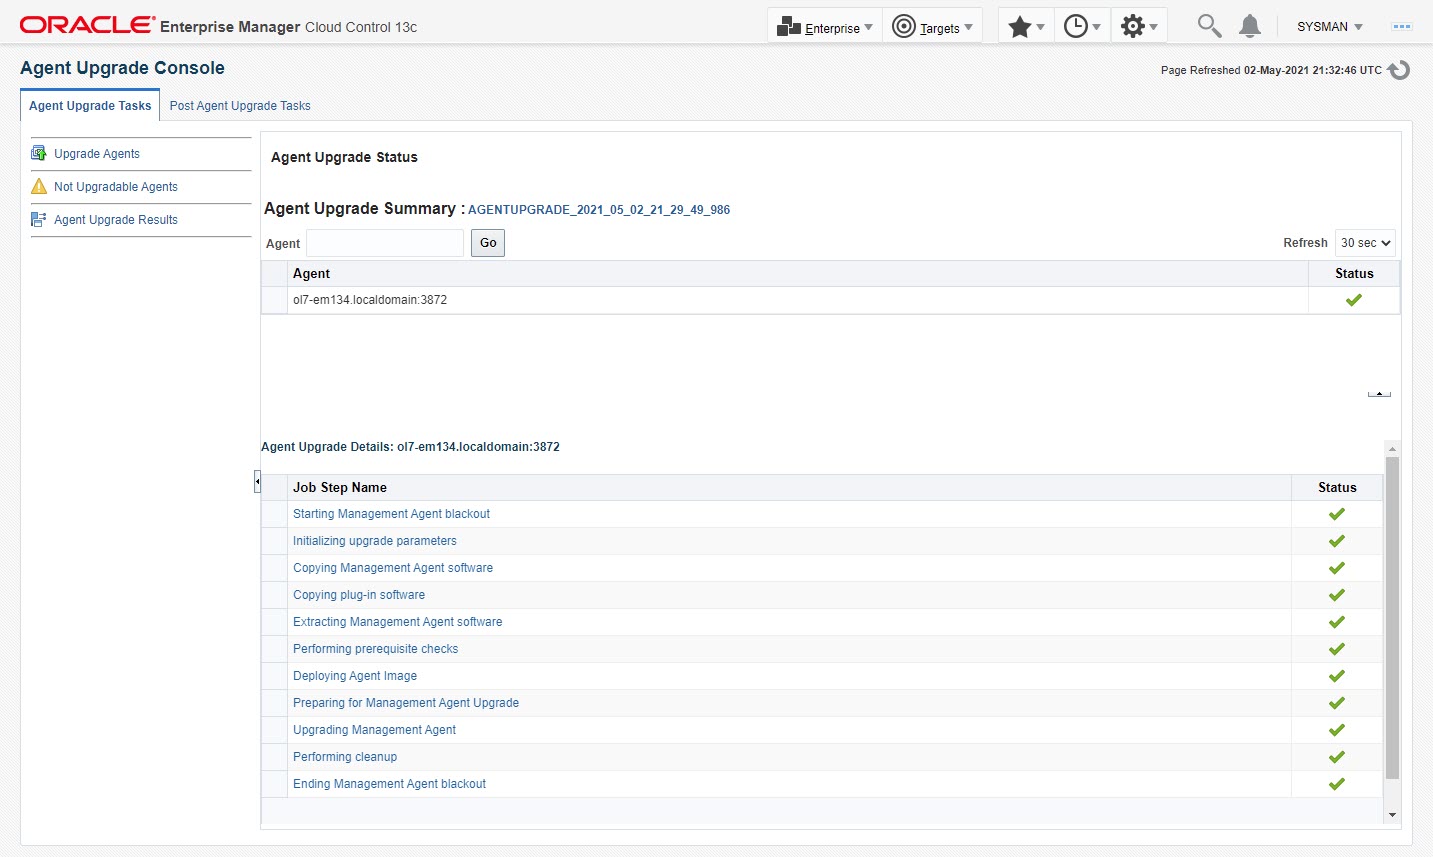
Wait while the upgrade takes place.
If you need to run any root scripts manually, do so now. They are located in the agent home on each monitored machine (AGENT_HOME/agent_13.5.0.0.0/root.sh).
Click on the "Post Agent Upgrade Tasks" tab and click the "+Add" button to create a job to clean up old agents from the servers that have had their agents upgraded. This can be done immediately, or at a later date.
The main body of the upgrade is now complete.
Navigate to the "Post Upgrade Tasks" screen (Setup > Manage Cloud Control > Post Upgrade Tasks). All tasks should be complete. If not, highlight any outstanding tasks in the list and click the "Start" button. This just performs some final data migration.
Startup/Shutdown
Cloud Control is set to auto-start using the "gcstartup" service. The "/etc/oragchomelist" file contains the items that will be started by the system. After the upgrade, it may list both OMS installations. If you want to use this auto-start, you will need to amend the contents of the file to make sure it is consistent with the new installation.
/u01/app/oracle/middleware2

/u01/app/oracle/agent/agent_13.5.0.0.0:/u01/app/oracle/agent/agent_inst
The path to the agent is the same as that from the previous installation. If you included a version number in the agent home, this may look a little strange.
On a simple installation the default auto-start will cause a problem as Cloud Control will attempt to start before the database has started. The service can be disabled by commenting out (using #) all the contents of the "/etc/oragchomelist" file to prevent the auto-start and use start/stop scripts described below.
If the start/stop needs to be automated, you can do it in the usual way using Linux service that calls your start/stop scripts that include the database management.
Use the following commands to turn on all components installed by this article. If you have a startup/shutdown script, remember to amend it to take account of the new paths.
#!/bin/bash
export ORACLE_HOME=/u01/app/oracle/product/19.0.0/dbhome_1
export OMS_HOME=/u01/app/oracle/middleware2
export AGENT_HOME=/u01/app/oracle/agent/agent_inst

# Start everything
$ORACLE_HOME/bin/dbstart $ORACLE_HOME

$OMS_HOME/bin/emctl start oms

$AGENT_HOME/bin/emctl start agent
Use the following commands to turn off all components installed by this article.
#!/bin/bash
export ORACLE_HOME=/u01/app/oracle/product/19.0.0/dbhome_1
export OMS_HOME=/u01/app/oracle/middleware2
export AGENT_HOME=/u01/app/oracle/agent/agent_inst

# Stop everything
$OMS_HOME/bin/emctl stop oms -all

$AGENT_HOME/bin/emctl stop agent

$ORACLE_HOME/bin/dbshut $ORACLE_HOME
Remove old OMS
If you have followed best practices when you originally installed Cloud Control and the upgrade has worked with no errors, the clean up of old OMS installation is simple. You just remove the directory.
# Old OMS: /u01/app/oracle/middleware
# New OMS: /u01/app/oracle/middleware2

# Delete old OMS.
rm -Rf /u01/app/oracle/middleware
Check the crontab for the "oracle" user, to make sure there is no reference to the old OMS. If there is, remove it.
If your central agent was originally installed under the OMS home, you will have to relocate the agent before doing this. This topic is covered in full here.
For more information see:
- Oracle Enterprise Manager Cloud Control Upgrade Guide
- Oracle Enterprise Manager Cloud Control 13c Release 5 (13.5) Silent Installation on Oracle Linux 7
- Oracle Enterprise Manager Cloud Control 13c Release 5 (13.5) Silent Installation on Oracle Linux 8
- Oracle Enterprise Manager Cloud Control 13c Post-Installation Setup Tasks
Hope this helps. Regards Tim...