8i | 9i | 10g | 11g | 12c | 13c | 18c | 19c | 21c | 23ai | Misc | PL/SQL | SQL | RAC | WebLogic | Linux
Home » Articles » Linux » Here
Fedora 11 (F11) Installation
This article provides a pictorial guide for performing a basic server installation of Fedora 11 (F11).
Basic Installation
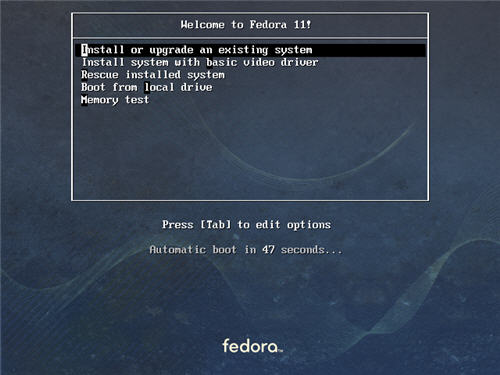
Boot from the DVD. At the boot screen, select the default installation by pressing the the return key.
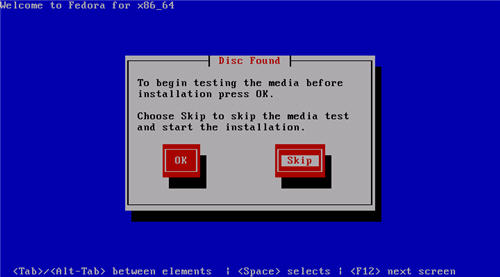
On the Media Test screen, tab to the "Skip" button and press the return key.
Click the "Next" button on the welcome screen.

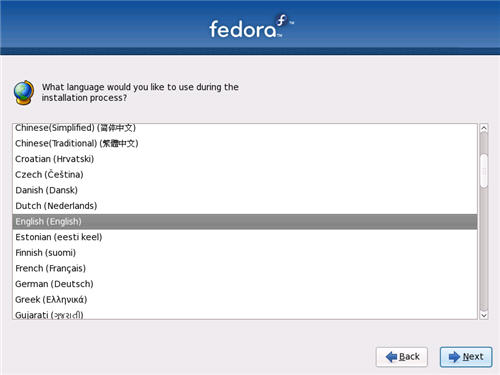
Select the appropriate language, then click the "Next" button.
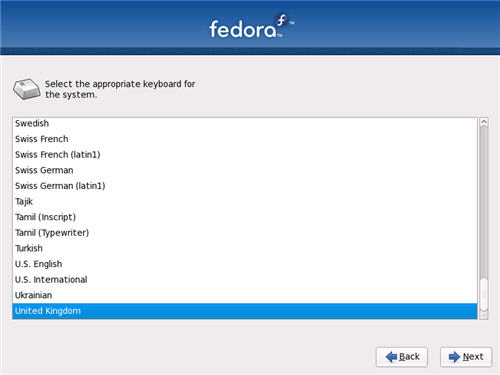
Select the appropriate keyboard, then click the "Next" button.
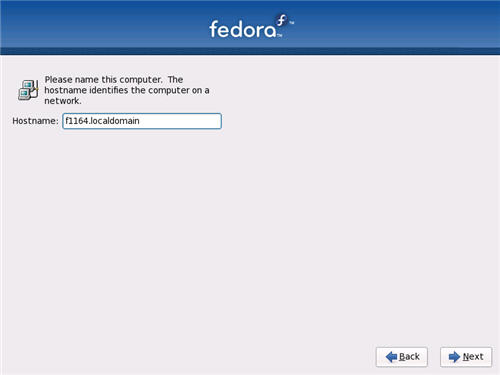
Enter the hostname, then click the "Next" button.
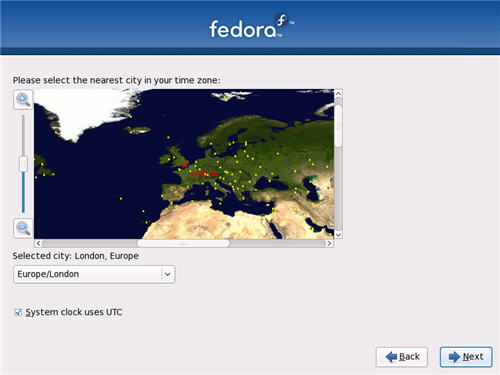
Select the appropriate timezone by clicking on the nearest city on the map, then click the "Next" button.
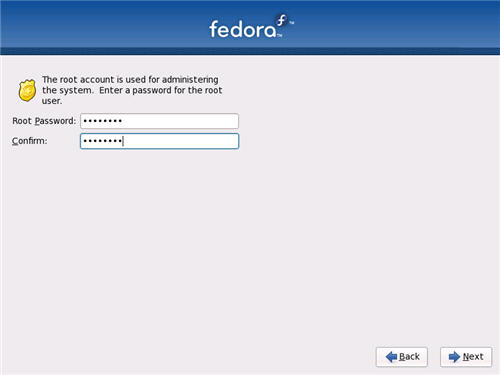
Enter the root password, then click the "Next" button.
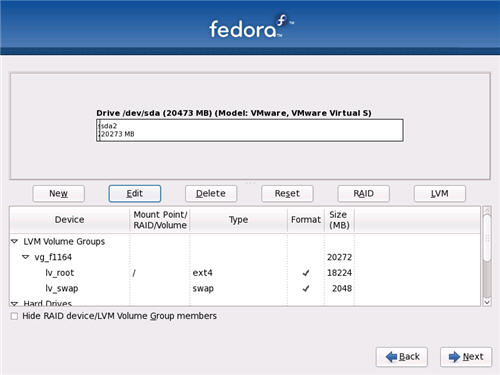
Uncheck the "Encrypt system" option and check the "Review and modify partitioning layout" option, then click the "Next" button.
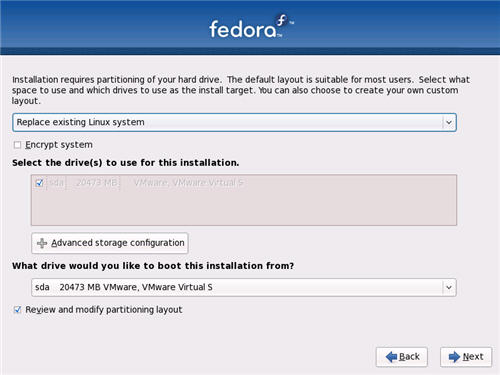
The current partitioning layout is presented. If the OS is to be used for an Oracle installation, make sure the swap partition is at least 2G (2048M) in size. Once you are happy with the partition structure, click the "Next" button followed by the "Write changes to disk" button.
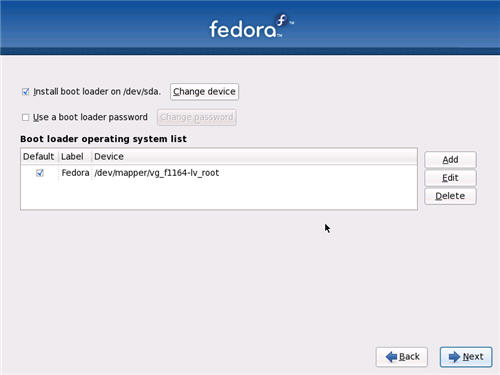
Accept the default boot loader settings by clicking the "Next" button.
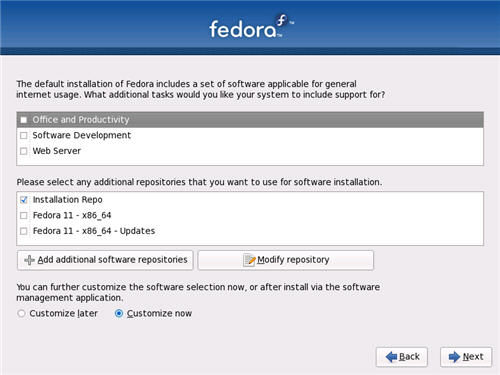
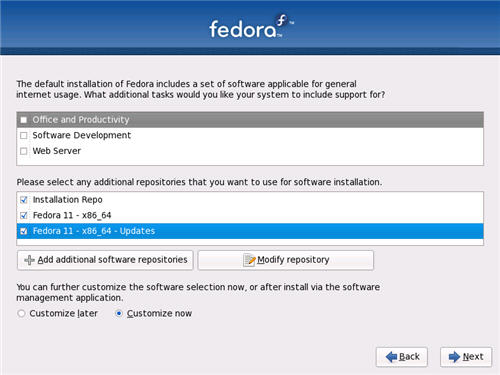
Select the appropriate packages to install and check all three repositories.
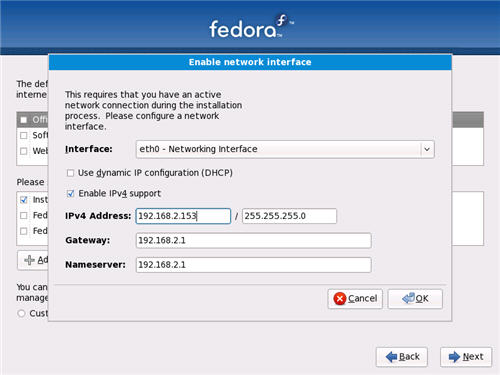
Selecting the repositories will require you to enter your network configuration. Enter the appropriate information, then click the OK button.
Once the repositories are selected, select the "Customize Now" option and click the "Next" button.
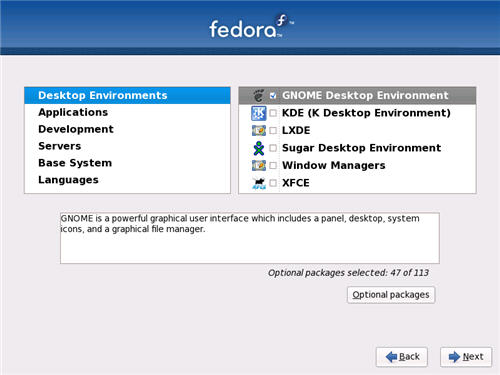
Select the appropriate package groups and optional packages for your installation and click the "Next" button.
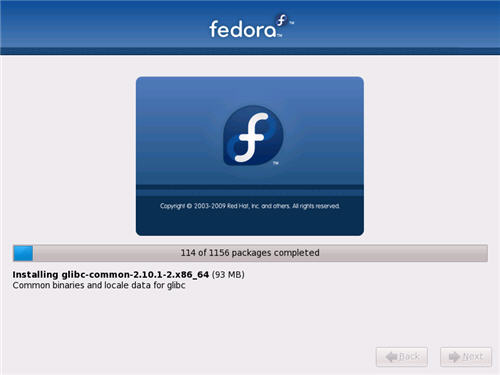
Wait while the installation completes.
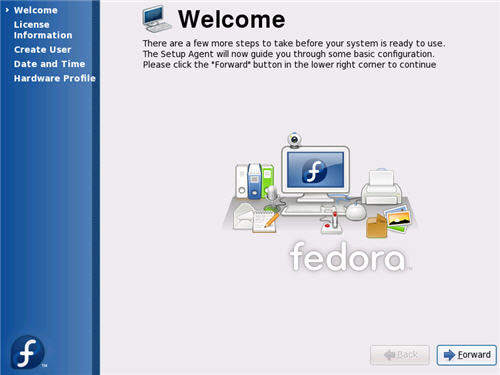
When the installation is complete, restart the machine as instructed. When the machine has restared, click the "Forward" button on the welcome screen.
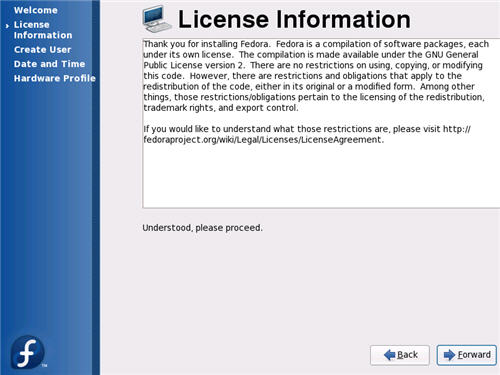
Accept the license agreement by clicking the "Forward" button.
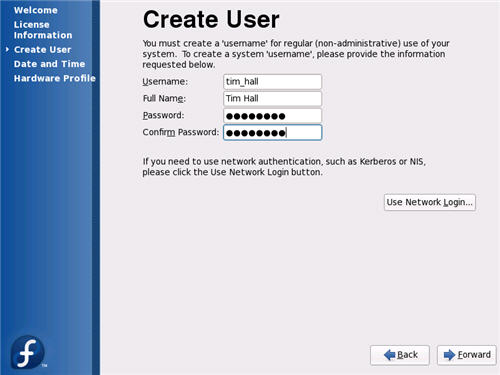
Enter login user details, then click the "Forward" button.
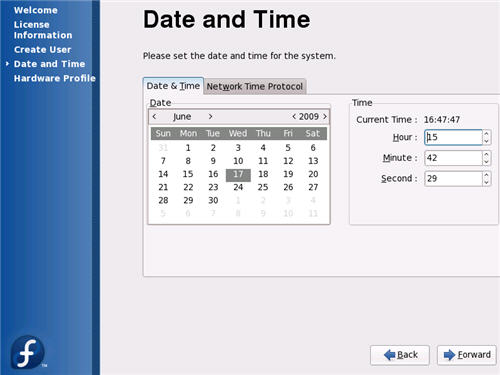
Set the appropriate date-time information, then click the "Forward" button.
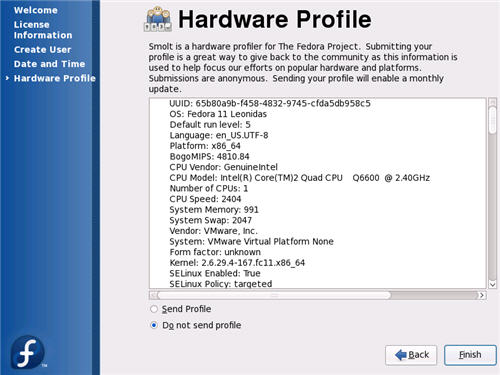
Decide if you want to send a hardware profile to the Fedora project, then click the "Finish" button.
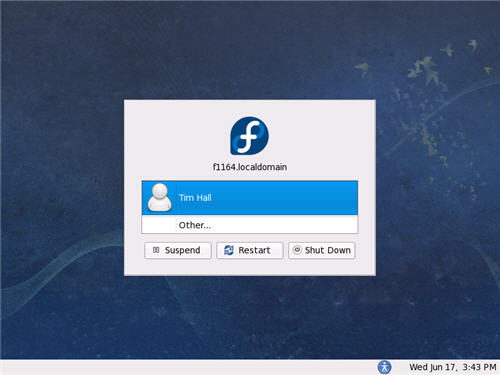
Click the appropriate username to login.
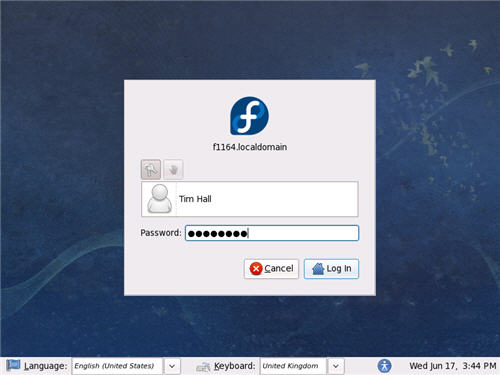
Enter the password and click the "Log In" button.
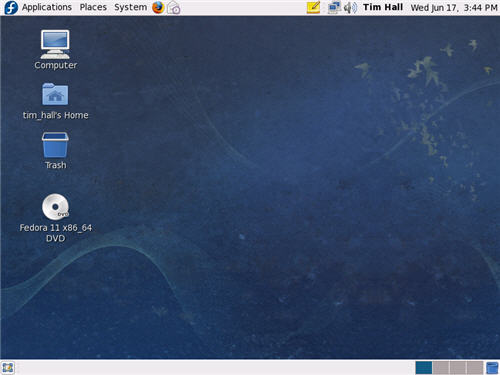
After you've logged in, you are are presented with the default Fedora desktop.
Network Configuration
If you have followed the previous installation, the following instructions are unnecessary as the information used during connection to the repositories has already been entered here for you.
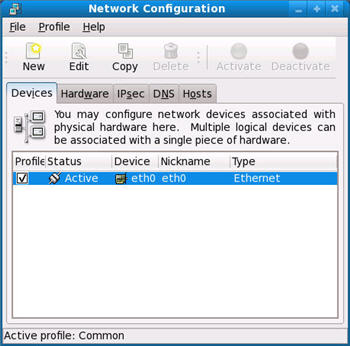
If you are using DHCP to configure your network settings, then ignore the following network configuration screens, otherwise click the "System > Administration > Network" menu option then enter the root password when requested. You are then presented with the "Network Configuration" dialog. On the "Devices" tab, highlight the "eth0" device and click the "Edit" button.
Make sure the "Controlled by NetworkManager" and "Activate device when computer starts" options are checked. Click the "Statically set IP addresses" option and enter the appropriate IP address and subnet mask and default gateway, then click the "OK" button.
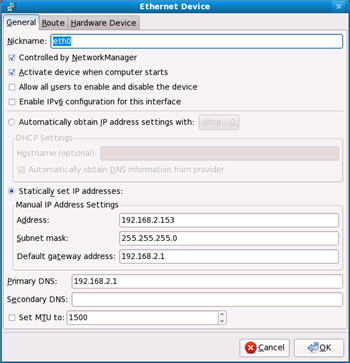
- Click on the "DNS" tab, enter the appropriate DNS information, then return to the "Devices" tab.
- Select the "File > Save" menu option and close the dialog.
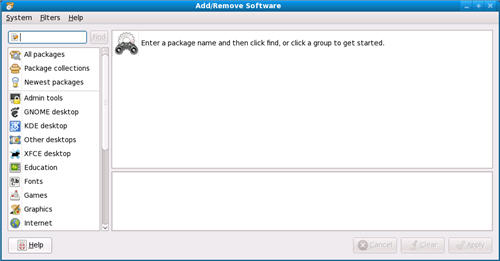
Customizing Software
You can customize the installed packages using the "Add/Remove Software" dialog, started using the "System > Administration > Add/Remove Software" menu option.
SELinux
If the OS is to be used for an Oracle installation, it is easier if Secure Linux (SELinux) is disabled. To do this select the "System > Administration > SELinux Management" menu option. On the resulting dialog, select the "System Default Enforcing Mode" of "Disabled".
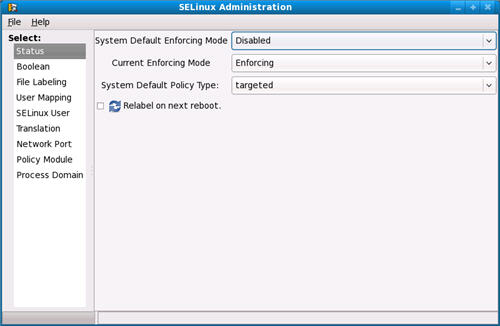
- Select the "File > Quit" menu option to exit the dialog, then restart the machine.
Firewall
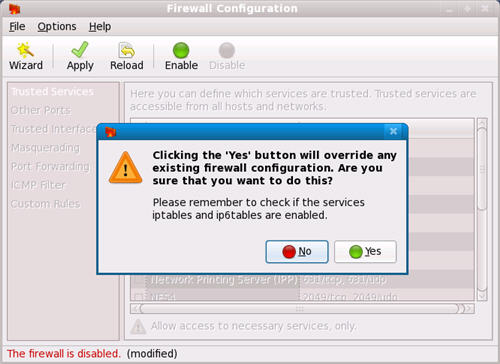
If the OS is to be used for an Oracle installation, it is easier if the firewall is disabled. To do this select the "System > Administration > Firewall" menu option. On the resulting dialog, click the "Disable" button, then the "Apply" button on the toolbar.
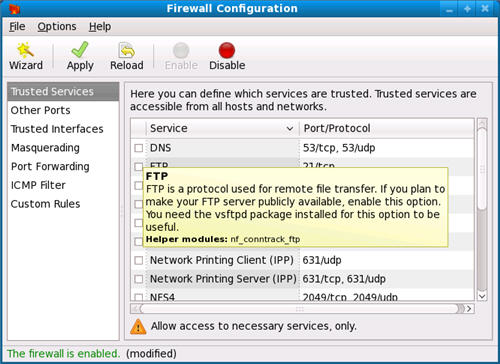
Click the "Yes" button on the resulting dialog.
- Select the "File > Quit" menu option to exit the dialog.
SSH
The SSH Daemon is enabled and disabled using the "Services" dialog. Select the "System > Administration > Services" menu option. On the resulting dialog, highlight the "sshd" service and click the "Enable/Disable" and "Start/Stop/Restart" buttons as desired.
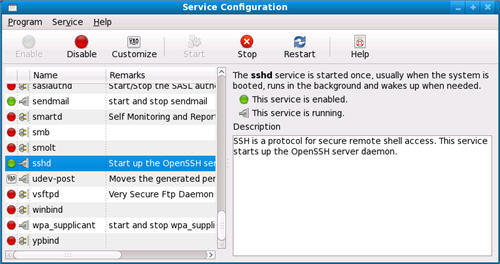
- Select the "Program > Quit" menu option to exit the dialog.
For more information see.
Hope this helps. Regards Tim...