8i | 9i | 10g | 11g | 12c | 13c | 18c | 19c | 21c | 23ai | Misc | PL/SQL | SQL | RAC | WebLogic | Linux
Home » Articles » Linux » Here
Oracle Linux 9 (OL9) Installation
This article provides a pictorial guide for performing a basic installation of Oracle Linux 9 (OL9).
Basic Installation
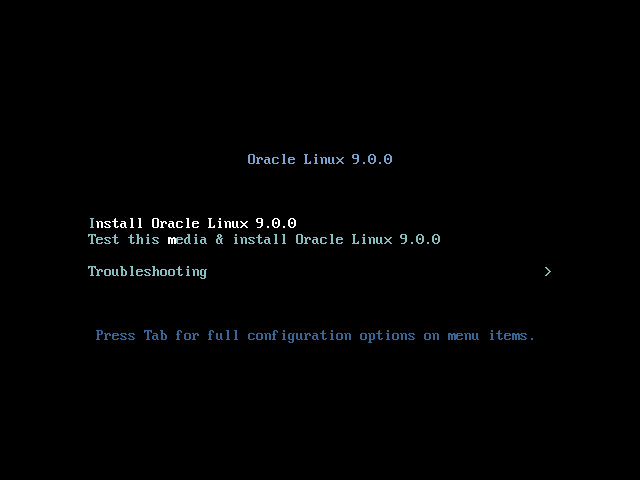
Boot ISO image. Use the up arrow to pick the "Install Oracle Linux 9.0.0" option and hit the return key.
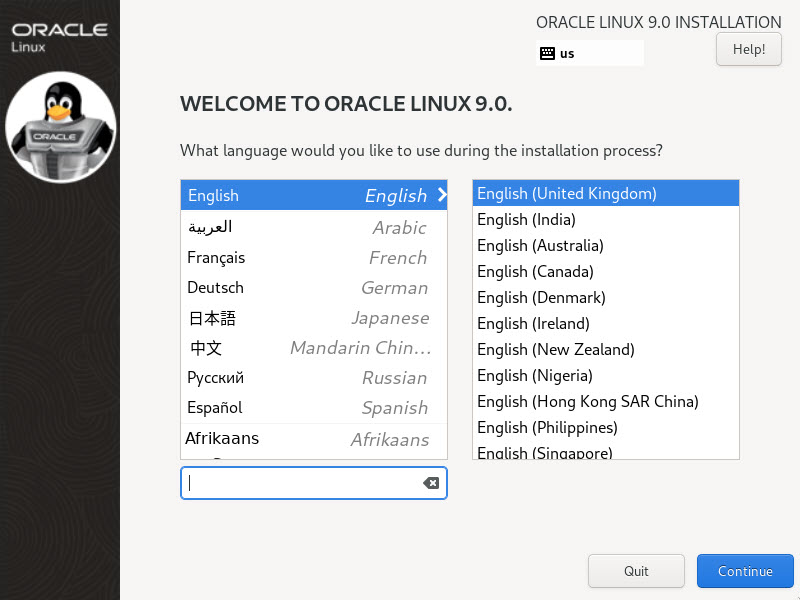
Select the appropriate language and click the "Continue" button.
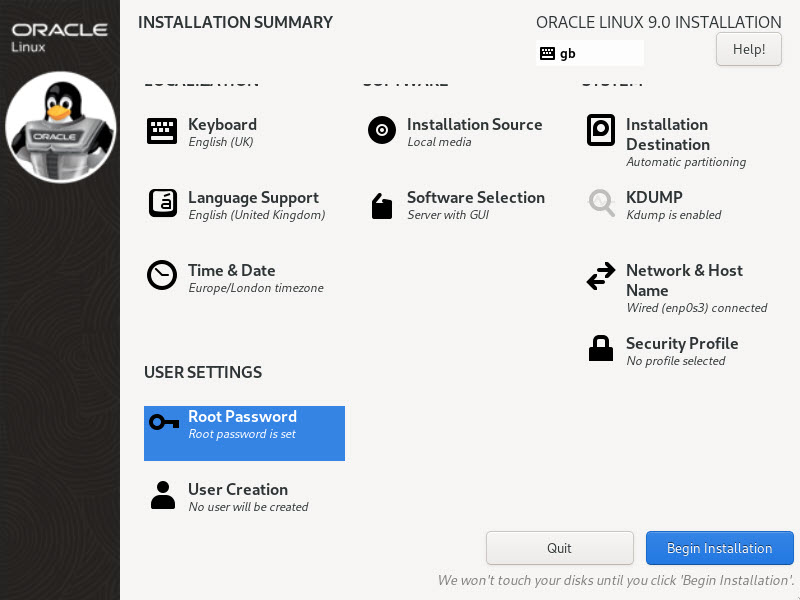
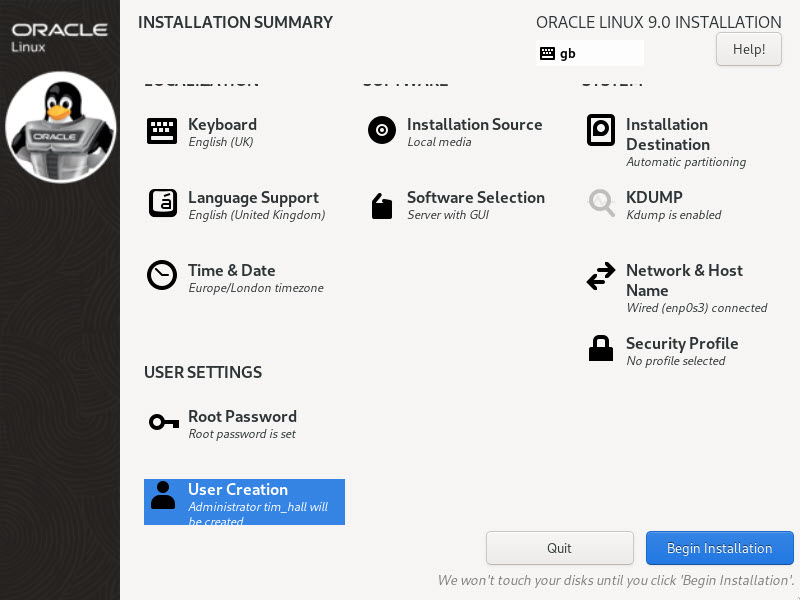
You are presented with the "Installation Summary" screen. You must complete any marked items before you can continue with the installation. Depending on your requirements, you may also want to alter the default settings by clicking on the relevant links.
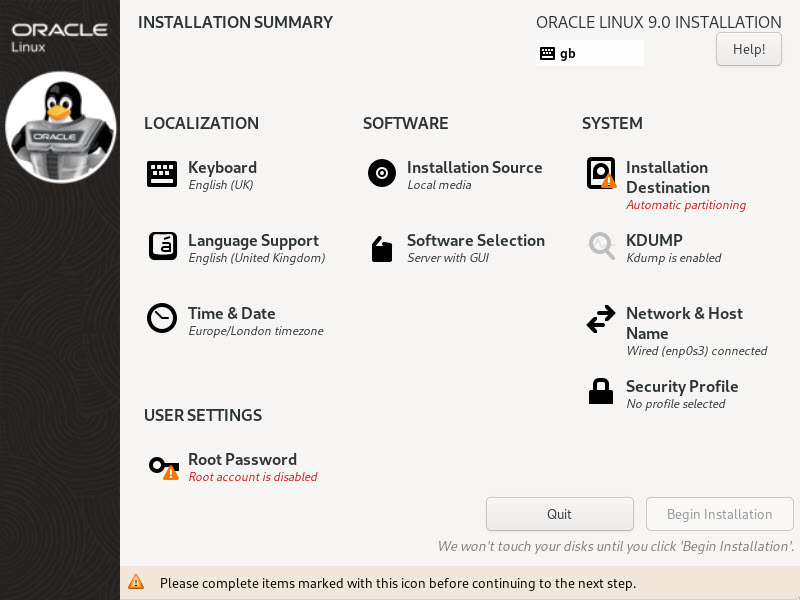
Click the "Installation Destination" link.
If you are happy to use automatic partitioning of the whole disk, click the "Done" button to return to the previous screen.
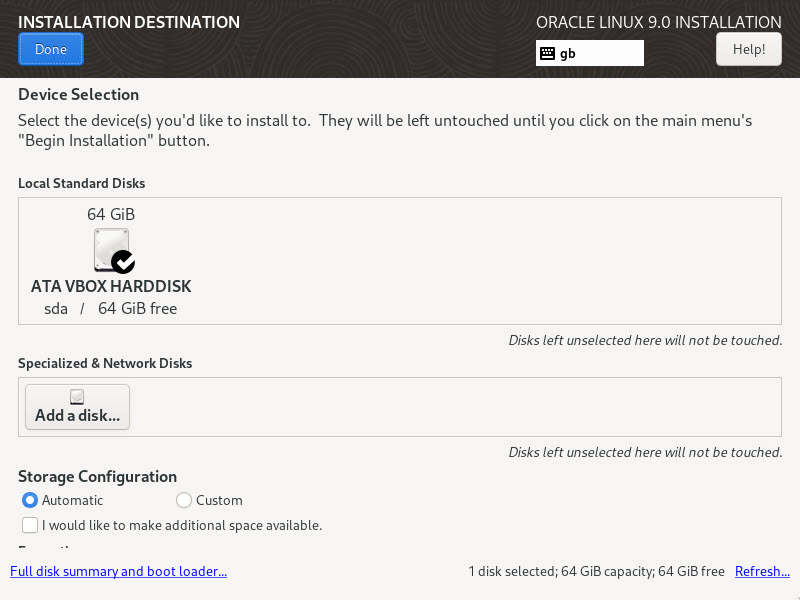
If you want to modify the partitioning configuration, check the "Custom" option, click the "Done" button and work through the partitioning screens.
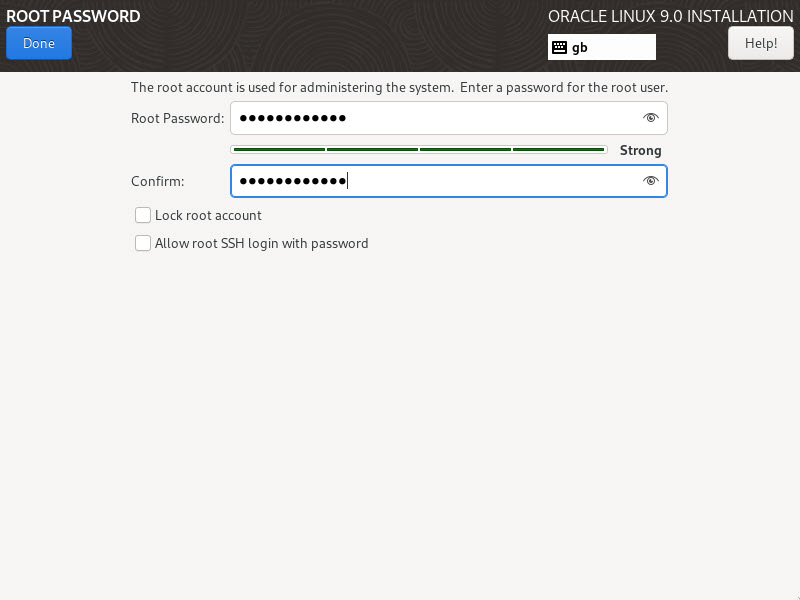
Click the "Root Password" link.

Enter the root password and confirmation, then click the "Done" button to return to the previous screen.
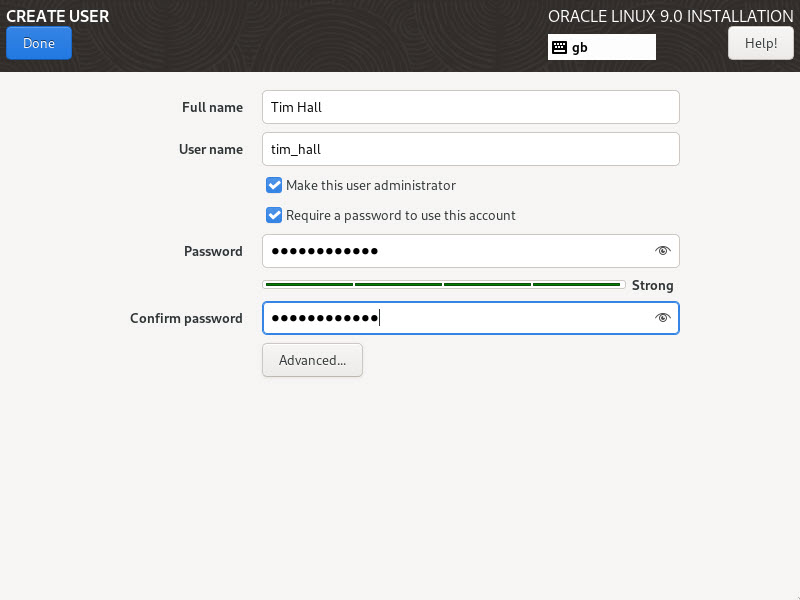
Click the "User Creation" link. You might have to scroll down to see this.
Enter the user details, and remember to check the "Make this user administrator" checkbox. When you are finished, click the "Done" button.
If you want anything other than a minimal installation click on the "Software Selection" link and pick the options you require. Once you have completed your selection, click the "Done" button. If you need any other alterations, click the relevant link and fill in the desired details. Once you have completed your alterations to the default configuration, click the "Begin Installation" button.
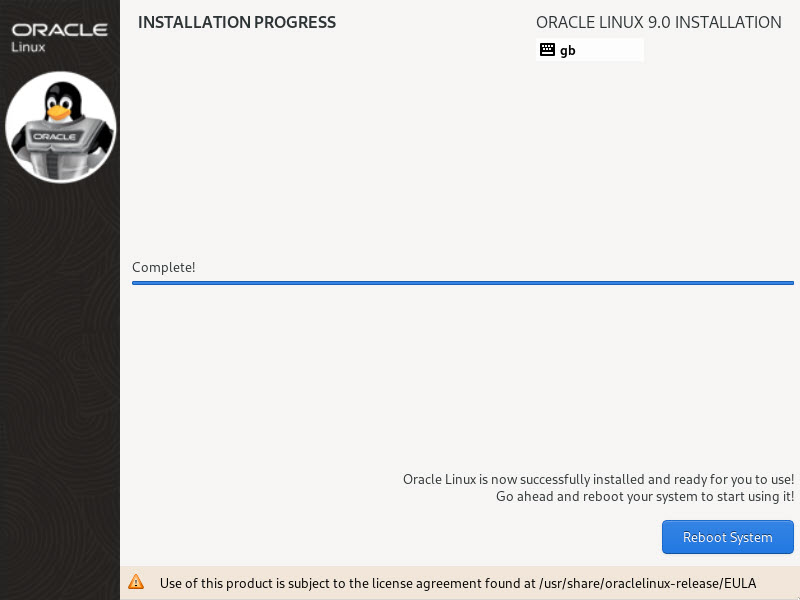
Wait for the installation to complete. When prompted, click the "Reboot System" button.
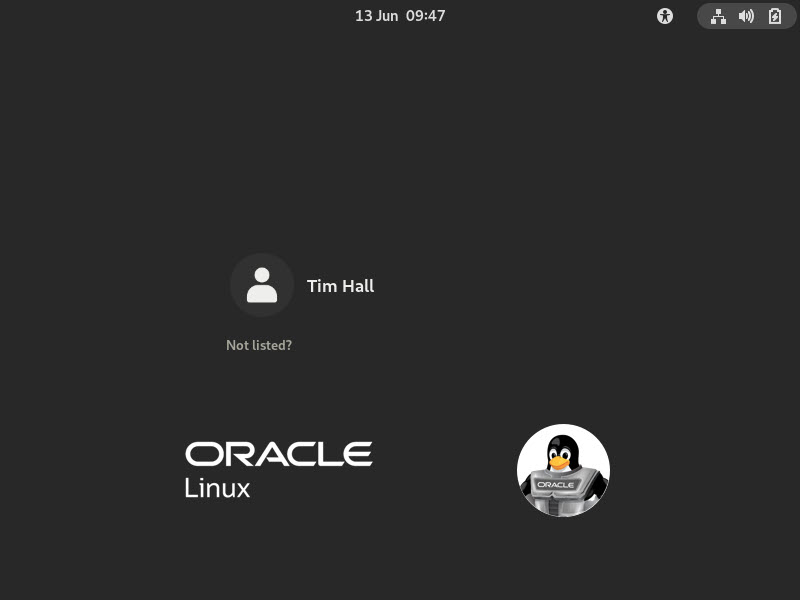
We did a "Server with GUI" installation, so we get the default GUI login screen. Login with the user you created earlier by clicking on the username.
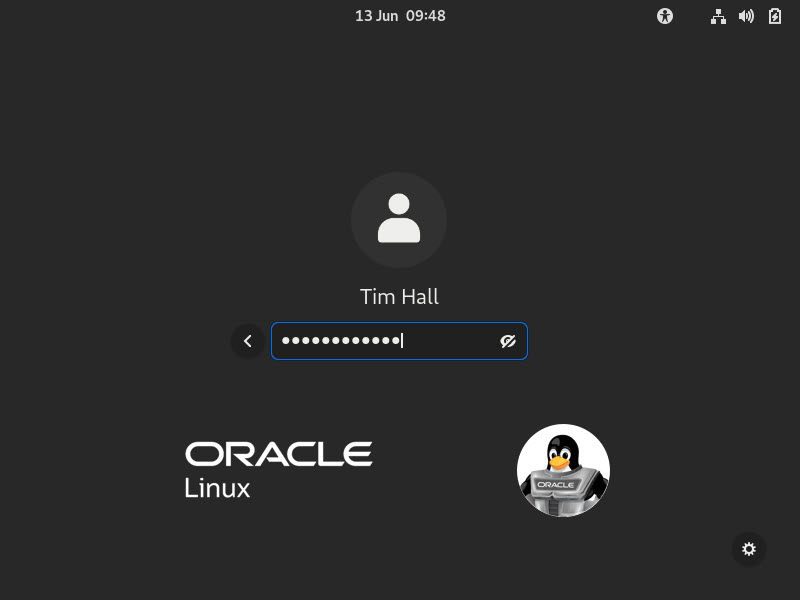
Enter the password and hit the return key.
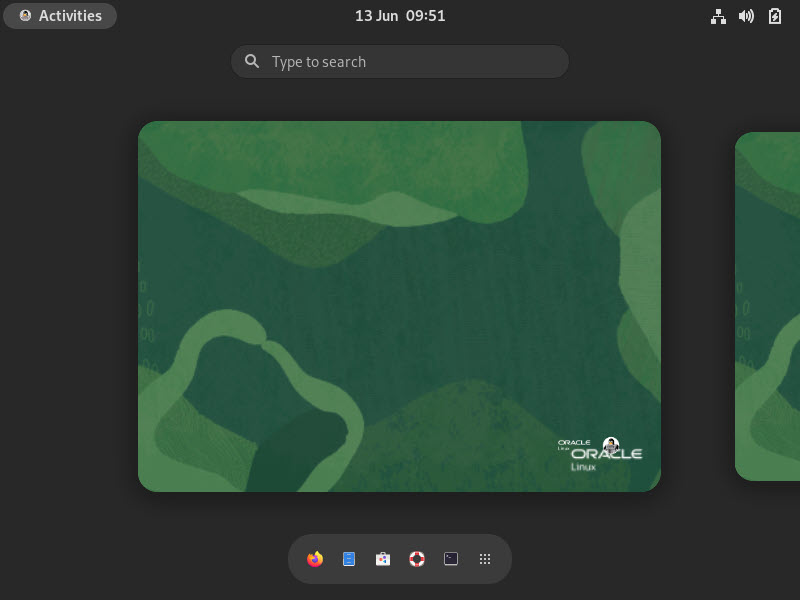
We are presented with the main screen.
If we had done a minimal installation, but later decide we wanted a GUI desktop, we would log in and issue the following commands from the console to install the desktop packages and reboot.
# dnf groupinstall -y "Server with GUI" --skip-broken
# systemctl set-default graphical.target
# dnf update -y
# reboot
Network Configuration
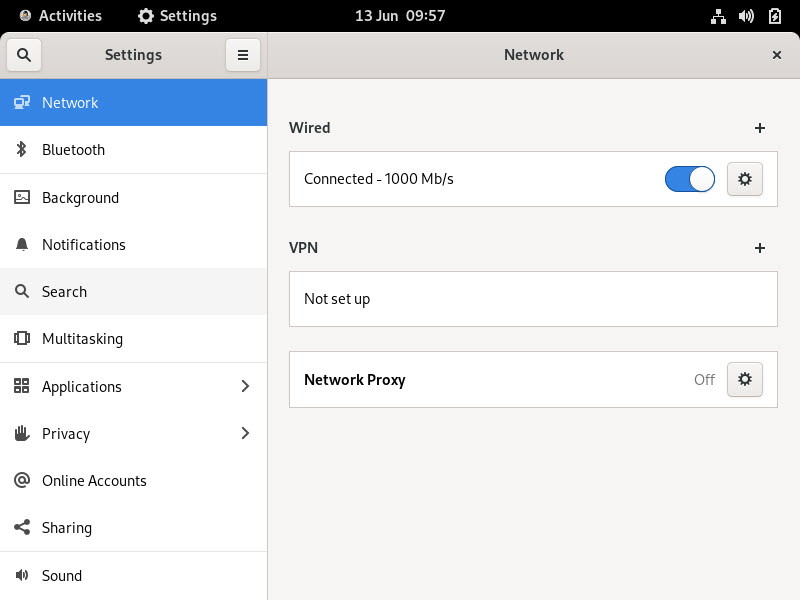
If you are using DHCP to configure your network settings, then ignore the following network configuration screens, otherwise click the network icon on the top bar and click the "Wired Connected > Wired Settings" link. You are then presented with the "Settings" screen. Flick the switch to "ON" and click the cog icon next to the network of choice.
Click the IPv4 option, select the "Manual" method and enter the appropriate IP address and subnet mask, default gateway and primary DNS, then click the "Apply" button.
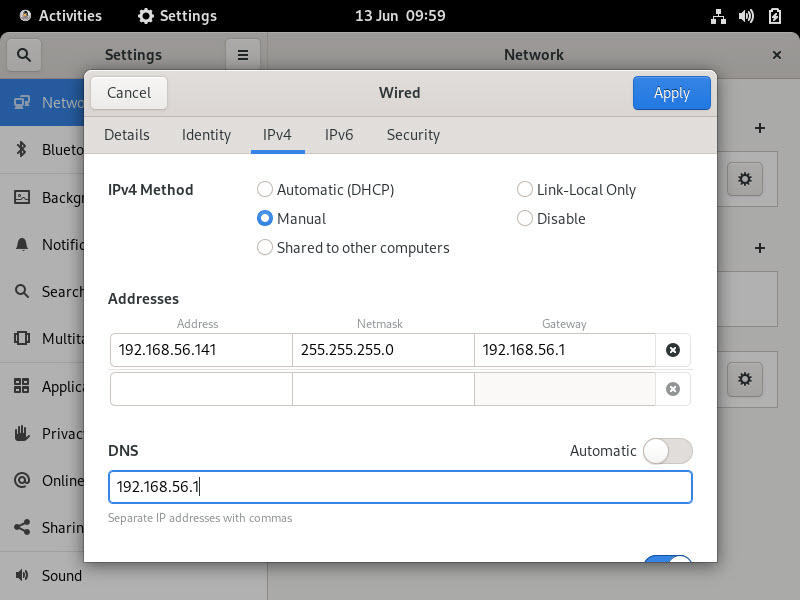
- Close the "Network" dialog.
SELinux
If the OS is to be used for an Oracle installation, it is easier if Secure Linux (SELinux) is disabled or switched to permissive. To do this edit the "/etc/selinux/config" file, making sure the SELINUX flag is set as follows.
SELINUX=permissive
If SELinux is configured after installation, the server will need a reboot for the change to take effect.
Firewall
If the OS is to be used for an Oracle installation, you will need to disable or configure the local firewall, as shown here. To disable it, do the following as the "root" user.
# systemctl stop firewalld
# systemctl disable firewalld
You can configure it later if you wish.
SSH
Make sure the SSH daemon is started using the following commands.
# systemctl start sshd.service
# systemctl enable sshd.service
For more information see:
Hope this helps. Regards Tim...