8i | 9i | 10g | 11g | 12c | 13c | 18c | 19c | 21c | 23ai | Misc | PL/SQL | SQL | RAC | WebLogic | Linux
Home » Articles » Linux » Here
SUSE Linux 10.1 Installation
This article provides a pictorial guide for performing a default installation of SUSE Linux 10.1.
Boot from the DVD and wait while the welcome screen is displayed.

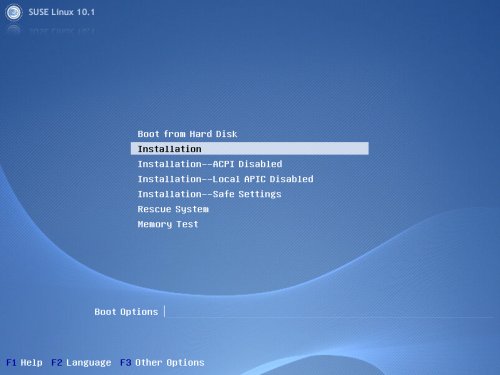
At the boot screen, select the "Installation" option and press the "Enter" key.
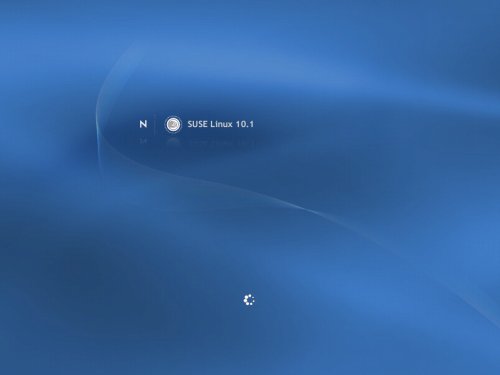
Wait while the installation prepares to begin.
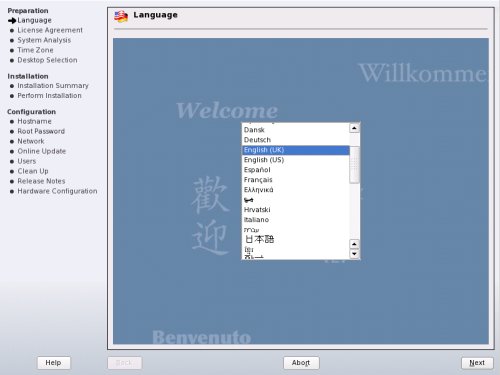
Select the appropriate langauge, then click the "Next" button.
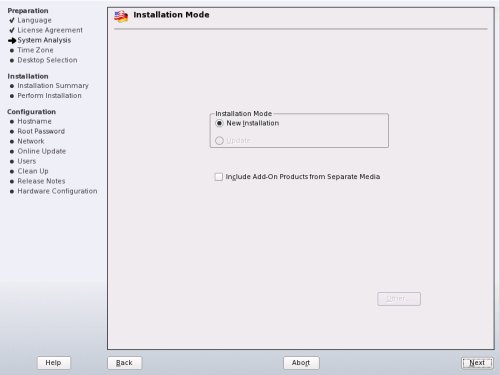
Accept the default installation mode of "New Installation" by clicking the "Next" button.

Accept the default installation mode of "New Installation" by clicking the "Next" button.
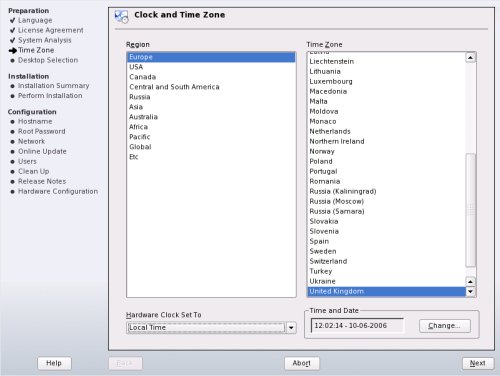
Select the appropriate "Region" and "Time Zone", then click the "Next" button.
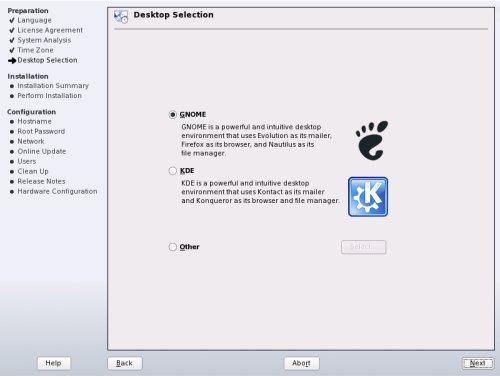
Select your preferred desktop environment, then click the "Next" button.
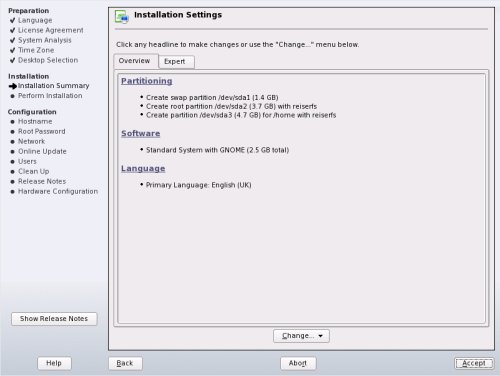
Accept the default partitioning scheme and software instalaltion by clicking the "Accept" button.
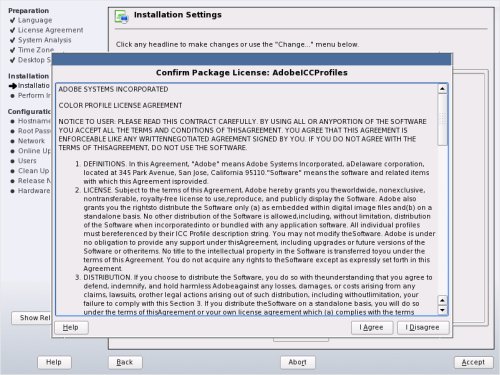
Accept the Adobe license agreements by clicking the "I Accept" button on the two confirmation screens.
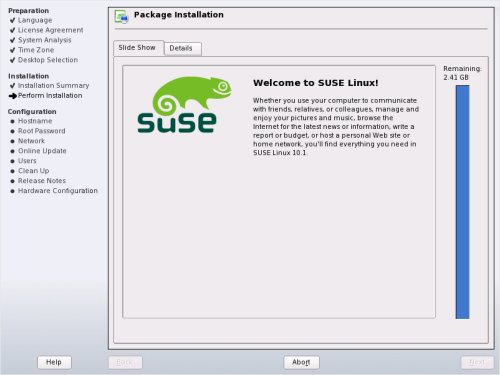
Start the installation by clicking the "Install" button.

Wait for the base installation to complete.
Once the base installation is complete the system will reboot then continue the installation.
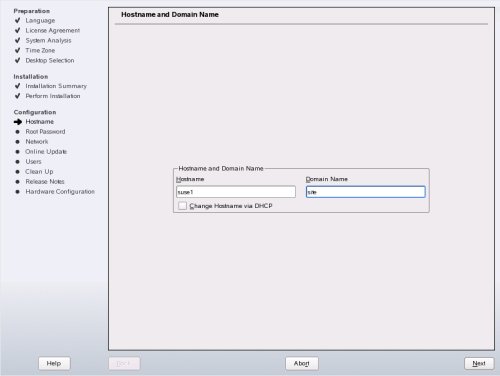
Enter the appropriate hostname and domain name, then click the "Next" button.
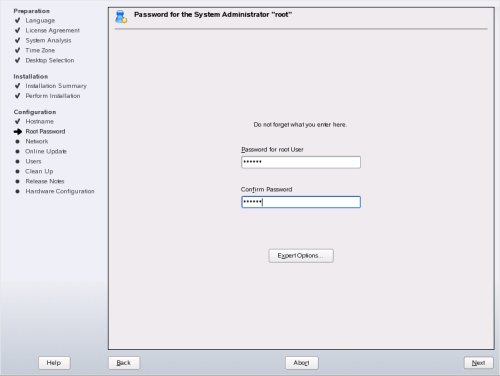
Enter and confirm the root password, then click the "Next" button.
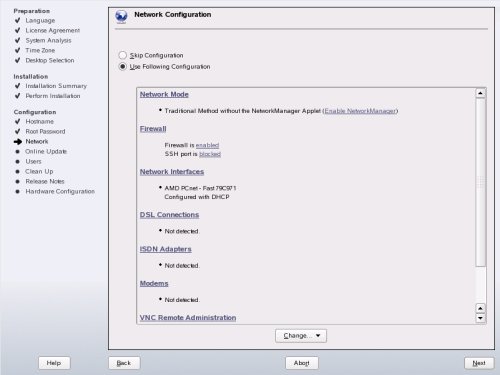
If you are not using DHCP, click the "Network Interfaces" link on the "Network Configuration" screen.
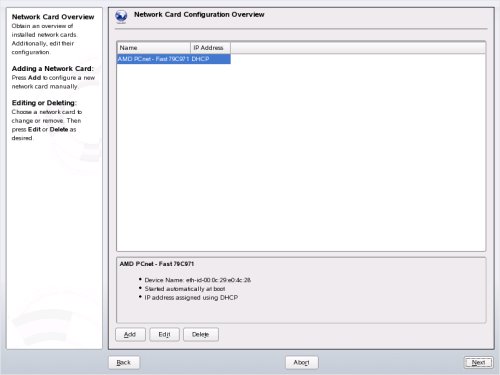
On the "Network Card Configuration Overview" screen, then click the "Edit" button.
Enter the appropriate IP address and submet mask, then click the "Hostname and Name Server" button.
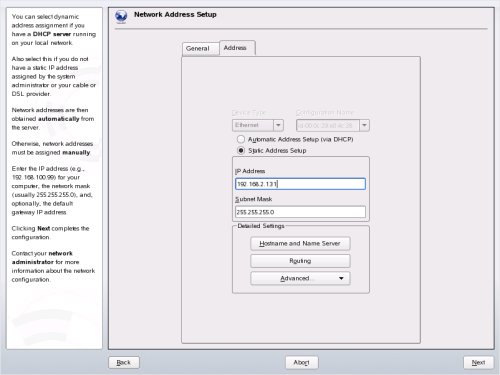
Enter the appropriate DNS information, then click the "OK" button to return to the previous screen.

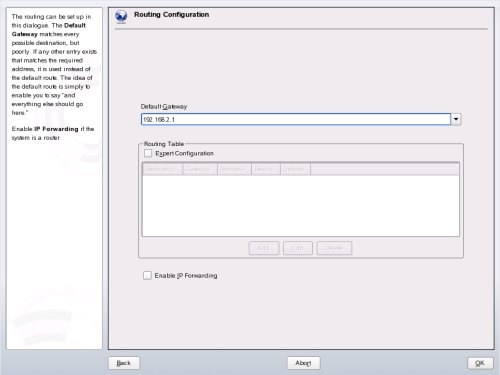
Then click the "Routing" button.
Enter the appropriate gateway information, then click the "OK" button to return to the previous screen.
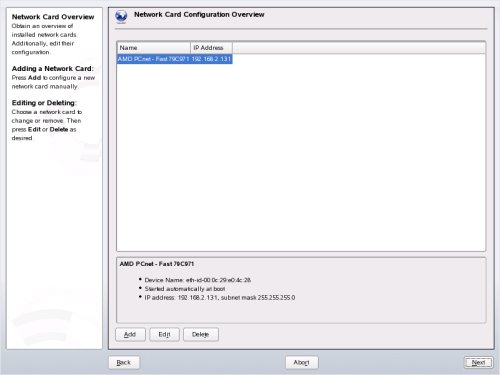
The click the "Next" button.
On the "Network Card Configuration Overview" screen, then click the "Next" button.
Disable the firewall by clicking the "enable" link under the "Firewall" section on the "Network Configuration" screen.
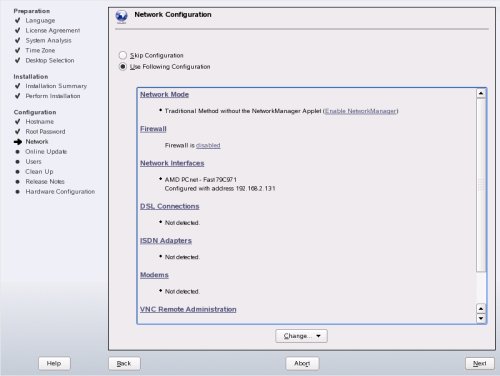
When the firewall is listed as disabled, click the "Next" button.
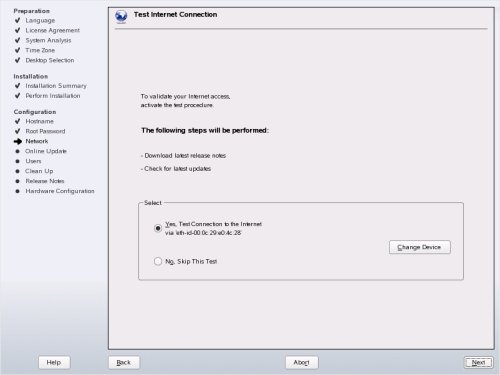
Agree to test the internet connection by clicking the "Next" button.
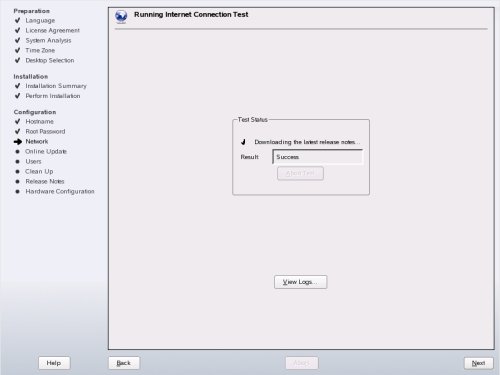
Once the test is complete, click the "Next" button.
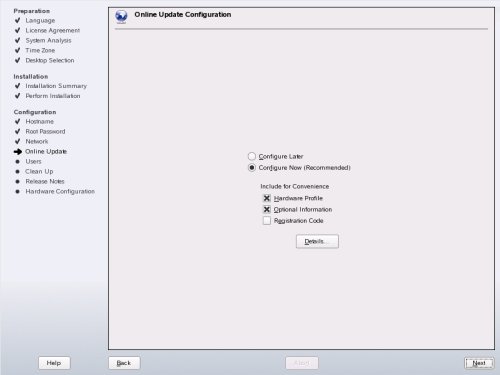
Accept the default online update settings by clicking the "Next" button.
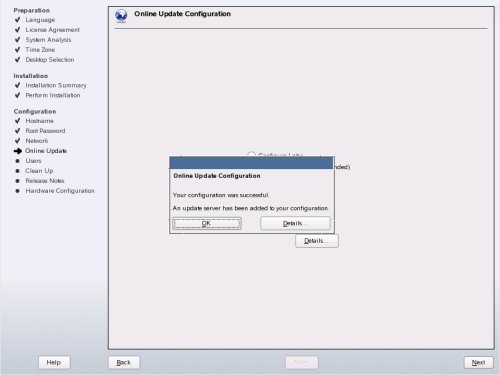
When the online update configuration is complete, click the "OK" button.
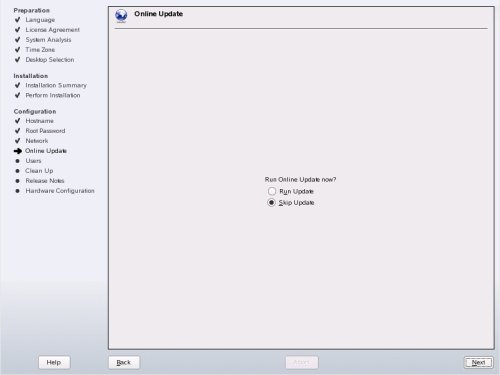
Select whether to run the update immediately, or skip it until later, then click the "OK" button.
Accept the local user authentication method by clicking the "OK" button.

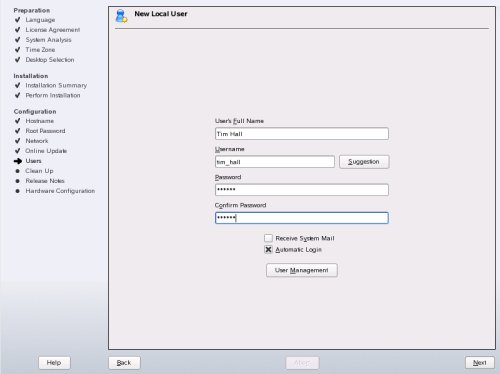
Define a new local user, then click the "Next" button.
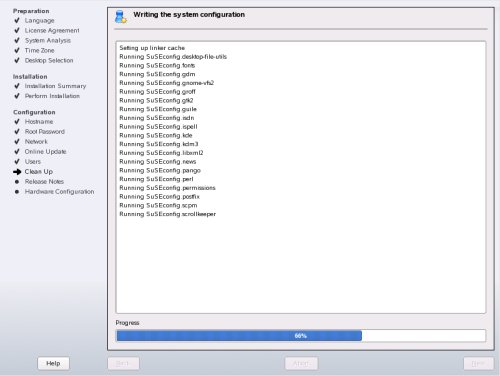
Wait while the system configuration completes.
Read the release notes, then click the "Next" button.

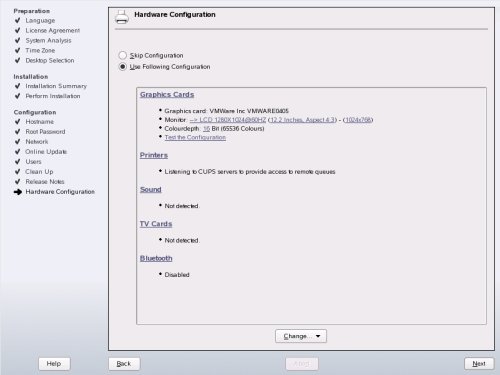
Select the appropriate hardware configuration settings, then click the "Finish" button.
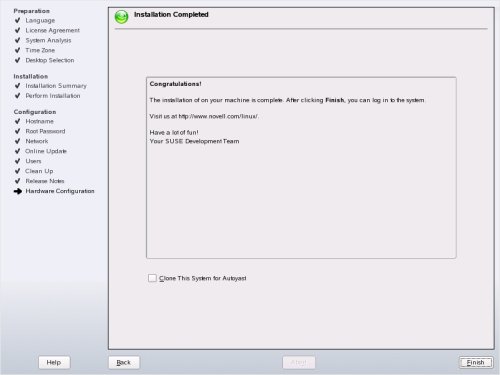
Click the "Finish" button to complete the installation.
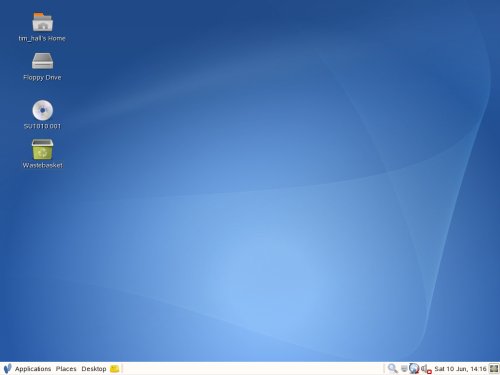
With the installation complete you are presented with the desktop.
For more information see:
Hope this helps. Regards Tim...